


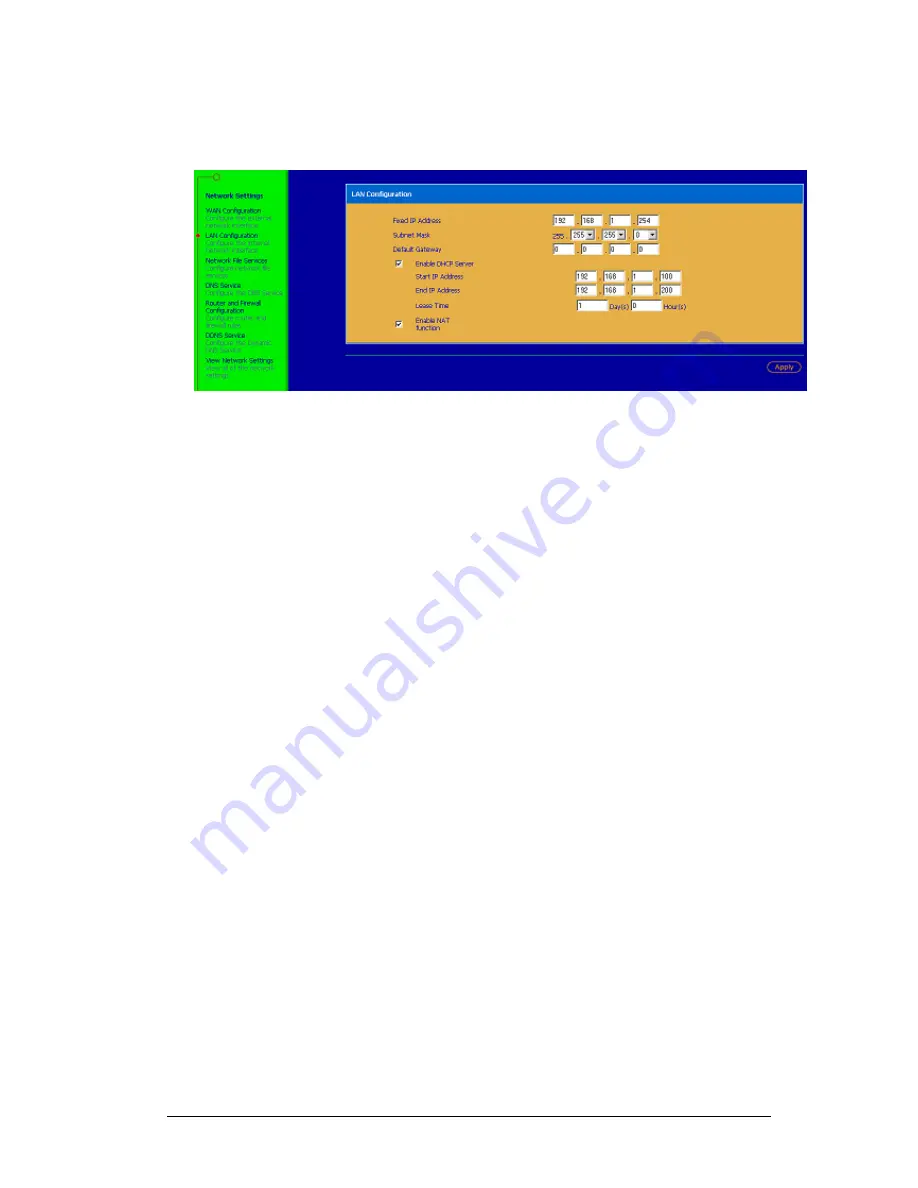
LAN Configuration
1. Click on the
LAN Configuration
tab from the menu to continue.
2. Assign a fixed IP address that won’t conflict with any other devices on
your network. We suggest contacting your network administrator if you
are unaware of the available IP address on your network. We also
suggest only changing the third field in the IP address. For example you
could change 192.168.
1
.254 to 192.168.
2
.254. The
Subnet Mask
and
Default Gateway
should match the settings of your LAN’s router.
3. If you plan to have computers connected to the iNAS, then you should
keep
Enable DHCP Server
selected. However you must make sure that
this doesn’t cause IP confliction on your network, so you may have to
change the Start/End IP range. If you are not connecting devices to the
iNAS, then you should disable this option.
4. Click
Apply
to change the setting and the iNAS will restart. Please note
that the URL of
192.168.1.254 is no longer valid
and will not open the
iNAS after it has rebooted.
5. When the iNAS has finished rebooting, switch the Ethernet cable on the
back of the iNAS from the LAN port to the WAN port. The iNAS should
now pick up an IP address from the network’s DHCP router or use the
static IP that you assigned. You can now access the iNAS from a web
browser using this new IP address. Please note if you selected to use a
port other than 80, you will have to enter that number as described in
step 3 of the WAN configuration section.
6. The iNAS should now be connected via the WAN port to your network,
and you should have access through a Web Browser or Network
Neighborhood. It’s now time to configure the users of the iNAS, and then
configure your router to allow for remote access.
20
Summary of Contents for iNAS-100
Page 56: ...56 56 ...


