SEW IN COMFORT. SEW LONGER.™
ASSEMBLY INSTRUCTIONS
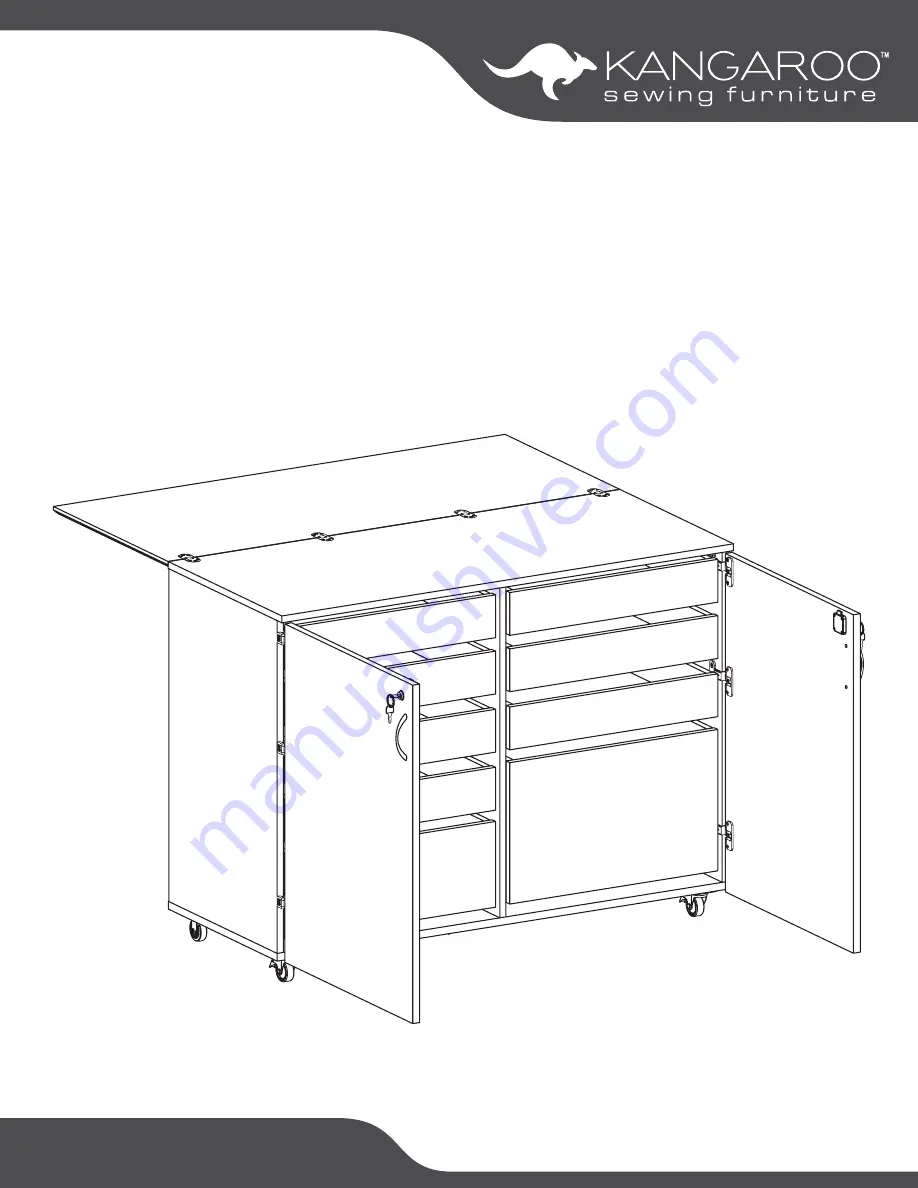
Dingo II
ITEM NO.:
K7905 TeakK7911 Ash White
Page 1: ...SEW IN COMFORT SEW LONGER ASSEMBLY INSTRUCTIONS Dingo II ITEM NO K7905 Teak K7911 Ash White ...
Page 2: ...0 or similar lubricant into the pre installed cam bolt holes to help the cam bolts screw in better 4 Glue provided is to secure wood dowels in place and is optional If glue is used during assembly locate the appropriate hole for the dowel place a small amount of glue in the hole and insert the dowel Wipe away excess glue immediately It is not necessary to glue the other end of the dowel when attac...
Page 3: ... 1 3 of 4 V2 Right Door Panel 1 3 of 4 O1 Left Gate Leg 1 3 of 4 O2 Right Gate Leg 1 3 of 4 ITEM DESCRIPTION QTY PACK L3 Drawer Back 7 3 of 4 L Drawer Front 7 3 of 4 K Drawer Front 1 3 of 4 K4 Drawer Front 1 3 of 4 L1 Drawer Left Side 7 4 of 4 L2 Drawer Right Side 7 4 of 4 L4 Drawer Bottom 7 4 of 4 K1 Drawer Left Side 1 4 of 4 K2 Drawer Right Side 1 4 of 4 K3 Drawer Back 1 4 of 4 K5 Drawer Left Si...
Page 4: ...4mm Wrench x1 Cam 5 8 Cam Cover x86 Alignment Pin x2 Caster x2 Locking Plate Caster x2 Butt Hinge x4 Hinge Body x6 Lock x2 Lock plate x2 Key x4 8x16 Fix Bolt x20 4x24 Fix Bolt x4 Pre installed parts Drawer Runners Caster Bracket 8x30 Dowel Pin x58 3 5x20 Screw x8 c1 b1 s1 a c2 c5 s2 s4 b2 s3 h r3 h1 g1 L t1 t2 d1 Plate Caster x3 t1 ...
Page 5: ...nderside of Panel G Top side of panel G G t2 b1 c1 a G Locking Plate Caster x2 6x35 Cam Bolt x10 Allen Wrench x1 t2 c1 a Attach t2 Locking Plate Casters to front edge of the underside of Panel G using b1 Bolts Attach t1 Plate Casters to the center of Panel G and the back edge of Panel G Tighten with Allen Wrench Lock casters and flip Panel G over Attach c1 Cam Bolts to the topside of Panel G Set P...
Page 6: ...owel Pin x26 d1 Attach 2 c1 Cam Bolts to Panel D Insert 12 d1 Dowel Pins into the edges of Panel D Attach 2 c1 Cam Bolts to Panel X Insert 4 d1 Dowel Pins into the edges of Panel X Insert 6 d1 Dowel Pins into the edges of Panel Y Attach 2 c1 Cam Bolts to Panel Z Insert 4 d1 Dowel Pins into the edges of Panel Z ...
Page 7: ...D Attach Panels X Y and Z to Panel D Tighten Cam Locks and apply Cam Covers Attach Panel G to Panels D X Y and Z as shown Tighten cam locks and apply c2 Cam Covers Make sure the casters are locked and turn the cabinet over onto its wheels X D Y Z G 5 8 Cam Cover x10 c2 ...
Page 8: ...k plate x2 Key x4 L 6x35 Cam Bolt x10 c1 3 5x14 Screw x4 s1 Attach L Lock Plates to Panel A with s1 Screws Set aside the rest of the lock and keys Lower Panel A inserting cam bolts on Panel A onto cams on Panels X Y Z and D Tighten cam locks and apply c2 Cam Covers 5 8 Cam Cover x10 c2 ...
Page 9: ...s1 Lock x2 Lock plate x2 Key x4 L h 4x24 Fix Bolt x4 b2 Attach g1 Hinge Body to Panel V1 with s1 Screws Repeat with Panel V2 Attach L Lock to Pan el V2 with s2 Screws Repeat with Panel V1 Press the trim kit around the lock mechanism on the front side of Panel V2 Repeat with Panel V1 g1 3 5x20 Screw x8 s2 ...
Page 10: ...Assembly Instructions Dingo II 10 s1 g1 X V1 V2 Part 1 Doors g1 3 5x14 Screw x12 s1 Attach g1 Hinge Body on Panels V1 and V2 to Panels X and Z with s1 Screws ...
Page 11: ... of Panels O1 and O2 using r3 Wrench h1 t1 Alignment Pin x2 s4 Butt Hinge x4 h1 Caster x2 t1 s4 Attach Panels O1 and O2 to Panel D using S1 Screws You may need a friend to help you hold Panels O1 and O2 steady as you attach them but it is not required A SPECIAL NOTE ABOUT USING TABLETOP LEAVES Do NOT extend the leaves until you have support panels in place Doing so may damage the cabinet and void ...
Page 12: ... Panel K5 Attach 4 c1 Cam Bolts Insert 2 d1 Dowel Pins Panel K8 Attach 8 d1 Dowel Pins Repeat with remaining K8 Panel 6x35 Cam Bolt x60 c1 8x30 Dowel Pin x32 d1 Panel K3 Attach 2 c1 Cam Bolts Insert 4 d1 Dowel Pins Panel K2 Attach 4 c1 Cam Bolts Insert 2 d1 Dowel Pins Panel K7 Attach 2 c1 Cam Bolts Insert 4 d1 Dowel Pins Panel K6 Attach 4 c1 Cam Bolts Insert 2 d1 Dowel Pins Panel L Attach 4 c1 Cam...
Page 13: ...e drawer runners to access screw holes as shown above Repeat with remaining 6 drawers 7 total Attach Panels L1 and L2 to Panel L as shown above Tighten cams and apply c2 Cam Covers Repeat with remaining 6 drawers 7 total Slide drawer bottom Panel L4 into the grooves on Panels L L1 and L2 Repeat with remaining 6 drawers 7 total Attach back Panel L3 using s3 Screws Realign drawer runners and replace...
Page 14: ...h Panel K3 to Panel K8 as shown Tighten cams and apply c2 Cam Covers Attach Panels K1 and K2 to Panels K3 and K8 as shown Tighten cams and apply c2 Cam Covers Attach Panel K to Panels K1 K2 and K8 as shown Tight en cams and apply c2 Cam Covers K2 K1 K 5 8 Cam Cover x16 c2 K8 ...
Page 15: ...K5 K5 K4 Attach Panel K7 to Panel K8 as shown Tighten cams and apply c2 Cam Covers Attach Panels K5 and K6 to Panels K7 and K8 as shown Tighten cams and apply c2 Cam Covers Attach Panel K4 to Panels K5 K6 and K8 as shown Tighten cams and apply c2 Cam Covers 5 8 Cam Cover x16 c2 ...
Page 16: ...net rails align drawer rails and slide drawers into cabinet Be sure that the silver ball bearing pieces are positioned all the way to the front of the rails TIP Once you hear the drawer runners click into place gently open and close the drawers a few times to engage the Soft Close mechanism ...
Page 17: ...ed use nor any condition resulting from incorrect or inadequate maintenance cleaning care or neglect cuts or scratches caster damage as a result of moving furniture fully loaded or with locked casters damage resulting from electrical surge or lightning or use in commercial or education environments Kangaroo Sewing Furniture is designed for residential use only ARROW SHALL HAVE NO LIABILITY for ANY...
Page 18: ...rists straighter stitches and an elevated sewing experience Arrow s 1 Rated Height Adjustable Sewing Chair is a must have accessory for your dream sewing room Cute comfortable and convenient our lovable sewing chairs feature vibrant sewing themed patterns 360 swivel access and lumbar support for long hours at your workstation Don t look now but under every seat cushion is a hidden storage compartm...