jWIN JD-C6325 User Manual Download Page 38

Digital Camera >>

38-E

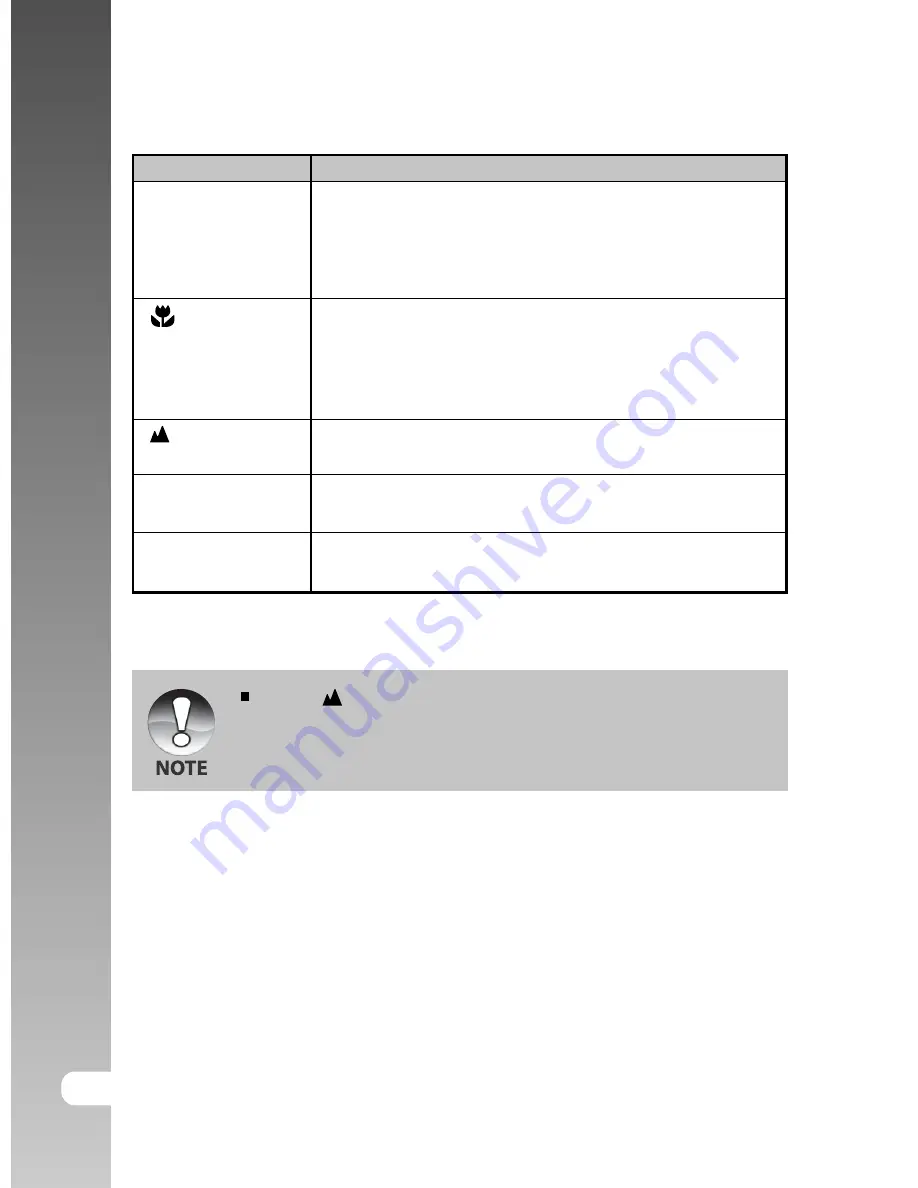
The table below will help you choose the appropriate focus mode:

Focus mode

Description

[ Blank]

Selects this when you want to leave the settings up to

Auto Focus

the camera so that you can take photographs without
paying attention to settings.
Approximately 80 cm (both Wide and Tele)

 ]

Selects this when you want to takes a close up

Macro

photography.
Wide (zoom off) : Approximately 9 cm to infinity
Tele (at optical zoom 3x) : Approximately 30 cm to infinity

 ]

Selects this when you want to take photographs of

Infinity

subjects at a distance of 5 m or more from the camera.

3M

 ]

Selects this when you want to take photographs of

Fixed at 3 m

subjects at a distance of about 3 m from the camera.

1M

 ]

Selects this when you want to take photographs of

Fixed at 1 m

subjects at a distance of about 1 m from the camera.

When [ 

 ], [ 

3M

 ] or [ 

1M

 ] is set, the camera takes photographs with the

focus fixed at those distances.

Summary of Contents for JD-C6325

Page 1: ...E ENGLISH...

Page 2: ...communications However there is no guarantee that interference will not occur in a particular installation If this equipment does cause harmful interference to radio or television reception which can...

Page 3: ...rent from those described in this manual This is due to the fact that different retailers often specify slightly different product inclusions and accessories to suit their market requirements customer...

Page 4: ...se fire or electric shock For repair or internal inspection ask the store of purchase Use the specified AC power adapter only with the indicated power supply voltage Use with any other power supply vo...

Page 5: ...a is a precision instrument Do not drop it strike it or use excessive force when handling the camera This might cause damage to the camera Do not use the camera in humid steamy smoky or dusty places T...

Page 6: ...can be taken Therefore to maximize its performance and lifetime we recommend that you fully charge the battery and discharge it for at least one complete cycle before use The battery may feel warm aft...

Page 7: ...24 Turning the Power On Off 25 Formatting the SD Card 26 Choosing the Language 27 Setting the Date and Time 28 Setting Image Resolution and Quality 31 PHOTOGRAPHY MODE 31 Auto Photography Mode 33 Usin...

Page 8: ...NU OPTIONS FULL FUNCTION 64 Photography Menu Picture 66 Photography Menu Function 69 Photography Menu AE AWB 71 Playback Menu 72 Setup Menu Basic 74 Setup Menu Custom 76 TRANSFERRING RECORDED IMAGES A...

Page 9: ...e Variety of camera modes allows you to operate for your preference and take photographs according to photographic condition Optical zoom 3x optical lens allows you to take telephoto and wide angle pi...

Page 10: ...ttings Have more control over picture quality by adjusting the menu options Thumbnail display Display in sets of nine pictures on the LCD for easier and quicker selection of pictures TV and PC connect...

Page 11: ...and ensure that you have the following items Common Product Components Digital camera A V cable User s manual USB cable Software CD ROM Camera strap Camera pouch Common Optional Accessories SD card A...

Page 12: ...Power button Turns the camera power on and off 4 Viewfinder window Allows you to frame the subject of the picture 5 MIC Microphone Records audio clips 6 Flash Provides flash illumination 7 Zoom lens...

Page 13: ...ode or changes the exposure compensation shutter speed or aperture value setting 7 MENU button Toggles OSD menu on and off 8 Strap holder Camera strap attachment 9 SET Direction button Allows you to s...

Page 14: ...he appropriate flash setting 3 button Scrolls downwards Self timer Allows you to toggle the self timer on off button selects the desired self timer mode or choose the interval photography 4 button Scr...

Page 15: ...with aperture priority 5 M Manual photography Selects this when you want to manually set the exposure aperture and other settings 6 Portrait Selects this when you want to photograph a person and blur...

Page 16: ...s locked Writing to SD card in progress Auto focusing failure Interval photography stand by Processing image Flash charging in progress No battery power left Camera malfunction Battery cover open SD c...

Page 17: ...ed halfway 6 Capture mode icon 7 Image size 8 Possible number of shots 9 Quality 10 Date and time 11 Self timer icon 12 Unsteady hold warning icon 13 Backlight correction 14 Metering icon 15 White bal...

Page 18: ...ure 11 Self timer icon 12 Shutter speed 13 Long time exposure mode icon 14 Unsteady hold warning icon 15 Exposure compensation 16 Focus area When the shutter button is pressed halfway 17 Metering icon...

Page 19: ...ttery status 3 Image size 4 Possible recording time elapsed time 5 Quality 6 Recording indicator 7 Self timer icon 8 Focus icon 9 Mode icon 1 File number 2 Folder number 3 Protect icon 4 Voice memo ic...

Page 20: ...Digital Camera 20 E GETTING STARTED Attaching the Camera Strap Attach the camera strap as shown in the illustration...

Page 21: ...ing the battery Inserting the Battery 1 Open the battery SD card cover 2 Insert the battery in the correct orientation shown Tilt the battery lock lever in the direction of the arrow and orient the ba...

Page 22: ...ding to the ambient temperature and the status of battery This camera must be used with specified AC power adapter Damage caused by the use of an incorrect adapter is not covered under the warranty Wh...

Page 23: ...rface facing the rear side of the camera and then insert the card as far as it can go 3 Close the battery SD card cover Removing the SD card Open the battery SD card cover press lightly on the edge of...

Page 24: ...s the button to turn the power off The power is turned off automatically when the camera has not been operated for a fixed period time To resume the operation condition turn the power on again Refer t...

Page 25: ...en press the SET button 3 Select Execute with the buttons and press the SET button To cancel formatting select Cancel and press the SET button You need to format an SD card before using it in this cam...

Page 26: ...ation on the LCD monitor 1 Set the mode dial to and press the button Custom of the set up menu is displayed 2 Select Language with the buttons and press the SET button The Language setting screen will...

Page 27: ...e 1 Set the mode dial to and press the button Custom of the set up menu is displayed 2 Select Date Time with the buttons and press the SET button The Date Time setting screen will be displayed 3 Selec...

Page 28: ...High resolution and quality settings are recommended for printed output and situations requiring the finest detail Lower resolution quality images take up less memory space and may be quite suitable f...

Page 29: ...MB 128MB 256MB 512MB Fine 6M 2816 x2112 Standard Economy Fine 4M 2272 x1704 Standard Economy Fine 2M 1600 x1200 Standard Economy Fine VGA 640 x 480 Standard Economy TIFF 11 18 34 2 18 30 59 37 59 118...

Page 30: ...256MB 512MB Fine 320 x 240 Standard The data shows the standard testing results The actual capacity varies according to the shooting conditions and settings The memory card testing results are based...

Page 31: ...ges Taking photographs using the viewfinder will conserve the battery power If the battery power is low it is recommended that you only compose images using the viewfinder Using the LCD monitor you ca...

Page 32: ...of the focus area turns yellow and the viewfinder LED flashes red If the photographic preview is set to ON the preview image captured image will be displayed while the image is being recorded onto th...

Page 33: ...times the size or wide angle photography depending on the distance up to the subject You can also enlarge the center of the screen and take photographs in the digital zoom mode 1 Set the mode dial to...

Page 34: ...the digital zoom a Press the MENU button b Select Function with the buttons c Select Digital Zoom with the buttons and press the SET button d Select ON with the buttons again and press the SET button...

Page 35: ...flash setting is limited depending on the selected photography mode scene mode and capture mode 2 Toggle the button to select the desired flash mode Each press of the button moves the icon one step th...

Page 36: ...n at the second firing When the camera mode is and P the flash will fire to suit the brightness of the subject When the camera mode is Tv Av and M the flash will always fire In this mode the flash alw...

Page 37: ...at 3 m or 1M fixed at 1 m The settings will be maintained even when the power is turned off or when Auto Power Off is activated The focus settings will be limited depending on the selected photograph...

Page 38: ...photography Wide zoom off Approximately 9 cm to infinity Tele at optical zoom 3x Approximately 30 cm to infinity Selects this when you want to take photographs of Infinity subjects at a distance of 5...

Page 39: ...e icon one step through the sequence and displays it on the screen For the mode and capture mode Continuous and Auto Exp 3 Compose the picture press the shutter button down halfway then press it down...

Page 40: ...Intv Interval This allows photographs to be taken with settings of a fixed interval and number of photograph cycles The photographic interval can be set to 1 3 10 or 60 minutes and the number of photo...

Page 41: ...the screen Exposure can be set in 0 3 EV units 1 Set the mode dial to one of P Tv or Av and press the button Each press of the button displays the setting in the order of Blank Backlight Correction an...

Page 42: ...comprising white text on blackish paper Weak reflecting bodies such as evergreen trees or darkish leaves Backlight correction 1 3 fixed When the background is bright and the subject is dark When subje...

Page 43: ...can take photographs that give the impression that the subject is in motion 1 Set the mode dial to Tv and press the button 2 Set the shutter speed with the search dial Turn the search dial to the sid...

Page 44: ...ken 3 Compose the picture press the shutter button down halfway then press it down fully Setting the shutter speed slower than 0 5 second will result in long exposure photography and the will be displ...

Page 45: ...ape photographs 1 Set the mode dial to Av and press the button 2 Set the aperture value with the search dial Turn the search dial to the side to increase the value Turn the search dial to the side to...

Page 46: ...the aperture with the button 3 Set the shutter speed or the aperture value with the search dial 4 Compose the picture press the shutter button down halfway then press it down fully In the flash photo...

Page 47: ...ppropriate scene mode Scene Mode Description Portrait Selects this when you want to take a photograph that makes the person stand out and blurs the background The flash setting is fixed at which is ef...

Page 48: ...shutter button one more time will end the recording of the video clip and record the image on the SD card The recording time depends on the storage size and the subject of the picture to be recorded...

Page 49: ...into the camera and turn on the power before starting 1 Set the mode dial to The last image appears on the screen 2 Turn the search dial to move forward or reverse Turn to the side go back to the prev...

Page 50: ...ay The button rotates the image clockwise and displays it whereas the button rotates the image counterclockwise and displays it A press of the button opposite to the direction in which the image was r...

Page 51: ...video clip with the search dial You can also select the desired video clip with the buttons 3 Press the SET button A press of the buttons during playback allows fast forward play fast reverse play To...

Page 52: ...ed or enlarged Turning the search dial during a pause feeds the video forward or backward respectively one frame at a time Turning the search dial to the side feeds the video forward turning to the si...

Page 53: ...er adapter while transferring the recorded images and video files 1 Set the mode dial to 2 Connect one end of the A V cable to the A V OUT terminal of the camera 3 Connect the other end to the A V inp...

Page 54: ...Press the shutter button VOICE RECORDING is displayed on the screen and recording starts 4 To stop recording voice memo during recording press the shutter button again VOICE RECORD END will be display...

Page 55: ...e button once The images are displayed in the thumbnail display Images that have been selected with the buttons or the search dial will be indicated by a green frame When there are ten or more images...

Page 56: ...he thumbnail display 3 Adjust the zoom ratio with the buttons Pressing the button enlarges the image To return to normal magnification press the button The image is displayed enlarged and a white fram...

Page 57: ...he MENU button The playback menu is displayed 3 Select Slide Show with the buttons and press the SET button The slideshow starts 4 To stop the slide show during playback press the SET button The image...

Page 58: ...dial 3 Press the MENU button The playback menu is displayed 4 Select Protect with the buttons and press the SET button 5 Select Single or All with the buttons and press the SET button 6 Select Set wi...

Page 59: ...ayback menu and press the SET button 2 Select Select with the buttons and press the SET button The images are displayed in the thumbnail display 3 Select the image you want to protect with the buttons...

Page 60: ...ode dial to 2 Select the image that you want to set DPOF with the search dial 3 Press the MENU button The playback menu is displayed 4 Select DPOF with the buttons and press the SET button The DPOF se...

Page 61: ...s the SET button This creates a file containing the DPOF information and when the operation is finished the screen returns to the playback screen The date that is printed on the photo is the date set...

Page 62: ...mode dial to one of the photography modes 2 Press the button The last image and quick delete menu appear on the screen 3 Press the SET button to erase the image To not erase select Cancel and press th...

Page 63: ...he file number is assigned the next number of the very last one before the image was erased Erasing selected images This erases a number of selected images 1 Set the mode dial to 2 Press the button Th...

Page 64: ...button Picture of the photography menu is displayed 3 Select the desired Picture option item with the buttons and press the SET button to enter its respective menu 4 Select the desired setting with t...

Page 65: ...setting is set to 2816x2112 Sharpness This sets the sharpness of the image that will be photographed Hard Hard touch Normal Normal touch Soft Soft touch This setting cannot be set in the mode Contrast...

Page 66: ...s sets the recording method at the time of taking pictures Blank Single Takes one photograph at a time Continuous Permits continuous photography of 5 pictures max at the fastest interval of 0 62 secon...

Page 67: ...ss level for the LCD monitor The LCD becomes brighter with the button and darker with the button The adjustment range is from 5 to 5 Digital Zoom This sets whether or not to use digital zoom at the ti...

Page 68: ...d interval for the number of set cycles It is effective when the Intv is set with the button 1 Min Photographs at a 1 minute interval 3 Min Photographs at a 3 minute interval 10 Min Photographs at a 1...

Page 69: ...exit from the photography menu press the MENU button White Balance This sets the white balance photographing under a variety of lighting conditions and permits photographs to be taken that approach t...

Page 70: ...sible even in dark locations but the more pixilated grainer the image will appear 50 Equivalent to ISO50 100 Equivalent to ISO100 200 High sensitive photography equivalent to ISO200 Auto Automatic set...

Page 71: ...a time Refer to section in this manual titled Slideshow Display for further details DPOF Set the number of prints and date display in DPOF format to images that you want to print This function is avai...

Page 72: ...4 To exit from the set up menu change the mode dial setting Card Info This allows a check of the free capacity of the SD card as well as other information Fr No Reset This creates a new folder The pho...

Page 73: ...f this function is enabled ON Sounds the beep tone OFF Does not sound the beep tone Auto PoFF If no operation is performed for a specific period of time the power to the camera is automatically turned...

Page 74: ...3 Select the desired setting with the buttons and press the SET button 4 To exit from the set up menu change the mode dial setting Date Time This sets the date and the time Refer to section in this ma...

Page 75: ...age for further details English English Fran ais French Deutsch German Espa ol Spanish Italiano Italian Chinese Traditional Chinese Simplified Video Output This sets video output system of the video e...

Page 76: ...Windows 98 and Mac OS 8 6 users only Step 2 Connecting the camera to your computer Step 3 Downloading images and video files System Requirements Windows Pentium 166 MHz or higher Windows 98 98SE Me 2...

Page 77: ...1 Insert the CD ROM that came with the camera into your CD ROM drive The welcome screen appears 2 Click Install USB Driver Follow the on screen instructions to complete the installation After the USB...

Page 78: ...new Removable disk icon This Removable disk is actually the memory card in your camera Typically the camera will be assigned drive letter e or higher 7 Double click on the removable disk and locate th...

Page 79: ...ur images are inside these folder s Select the images that you want and then choose Copy from the Edit menu Open the destination location folder and choose Paste from the Edit menu You may also drag a...

Page 80: ...applications Mr Photo also provides fun photo templates motion shows slideshows e mail html and links to other applications It makes personalized creations easy for everyone To install Presto Mr Photo...

Page 81: ...ticated set of image editing tools enables you to quickly create new images or enhance pre existing ones With this program your imagination is your only limit To install Presto Image Folio 1 Insert th...

Page 82: ...Digital Camera 82 E CONNECTING THE CAMERA TO OTHER DEVICES...

Page 83: ...y Supports SD card optional up to 512MB Compression format JPEG compliant Image file format DCF 1 0 DPOF 1 1 EXIF 2 2 AVI TIFF Lens f 7 2 mm 21 6 mm equivalent to 35 mm 105 mm on a 35 mm camera F 2 8...

Page 84: ...flash Flash effective range 0 6 m 3 0 m Wide ISO 200 ISO sensitivity Equivalent to ISO 50 100 200 Auto ISO 50 ISO 200 Self timer 10 sec 2 sec 10 2 sec Interval 1 3 10 60 min Video output NTSC PAL Inte...

Reviews: