


17
English
English
English
English
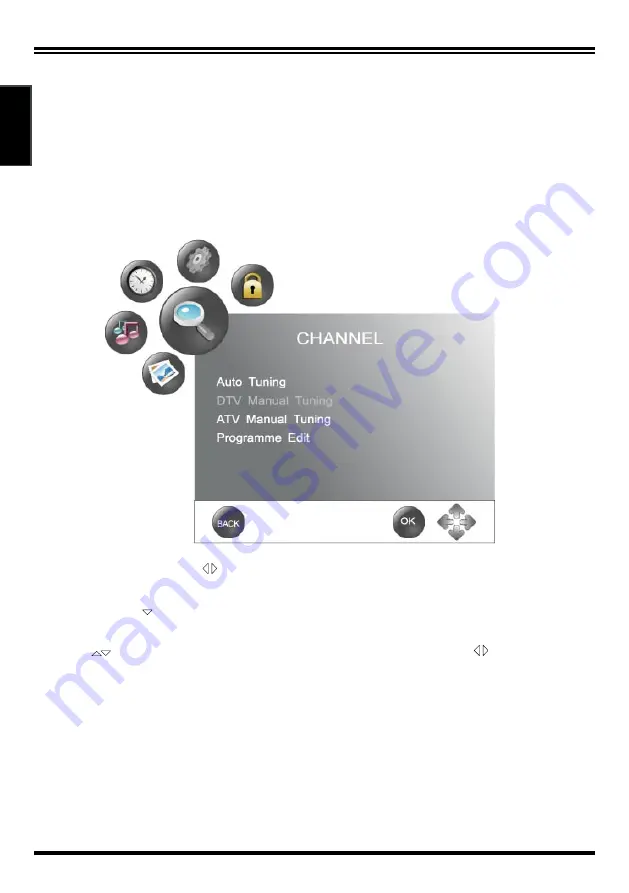
Using the OSD MENU
The On-Screen Display (OSD) menu system provides a quick and
simple method to adjust LCD TV setting. OSD menu can be viewed
using both the remote control and the control buttons on the control
panel. If you want to adjust the display settings, please follow the
instructions below:
(In TV mode)
After changing the OSD menus, the new settings are confirmed automatically when OSD
picture disappears, even if you did not press the menu to exit the OSD system.
Press the “MENU” and “
” buttons to browse the Channel Menu, Picture Menu,
Sound Menu, Time Menu, Option Menu and Lock Menu in turn.
Press “OK” or “ ” button to enter into the submenu, such as: CHANNEL or
PICTURE.
Press
“
”
to select items which you want to adjust and press “
” button to
adjust it.
Press “BACK” button to return to the previous menu.
Press “MENU” button to exit “MENU” mode.
Note:
1.When an item in MENU displayed in gray, it means the item is not available.
2.In order to save the energy, you’d better make the settings of “Picture Mode”
and “Sound Mode” as “Standard”.


