


4
IMPORTANT
PREPARE
USE
SETTING
TR
OUBLE?
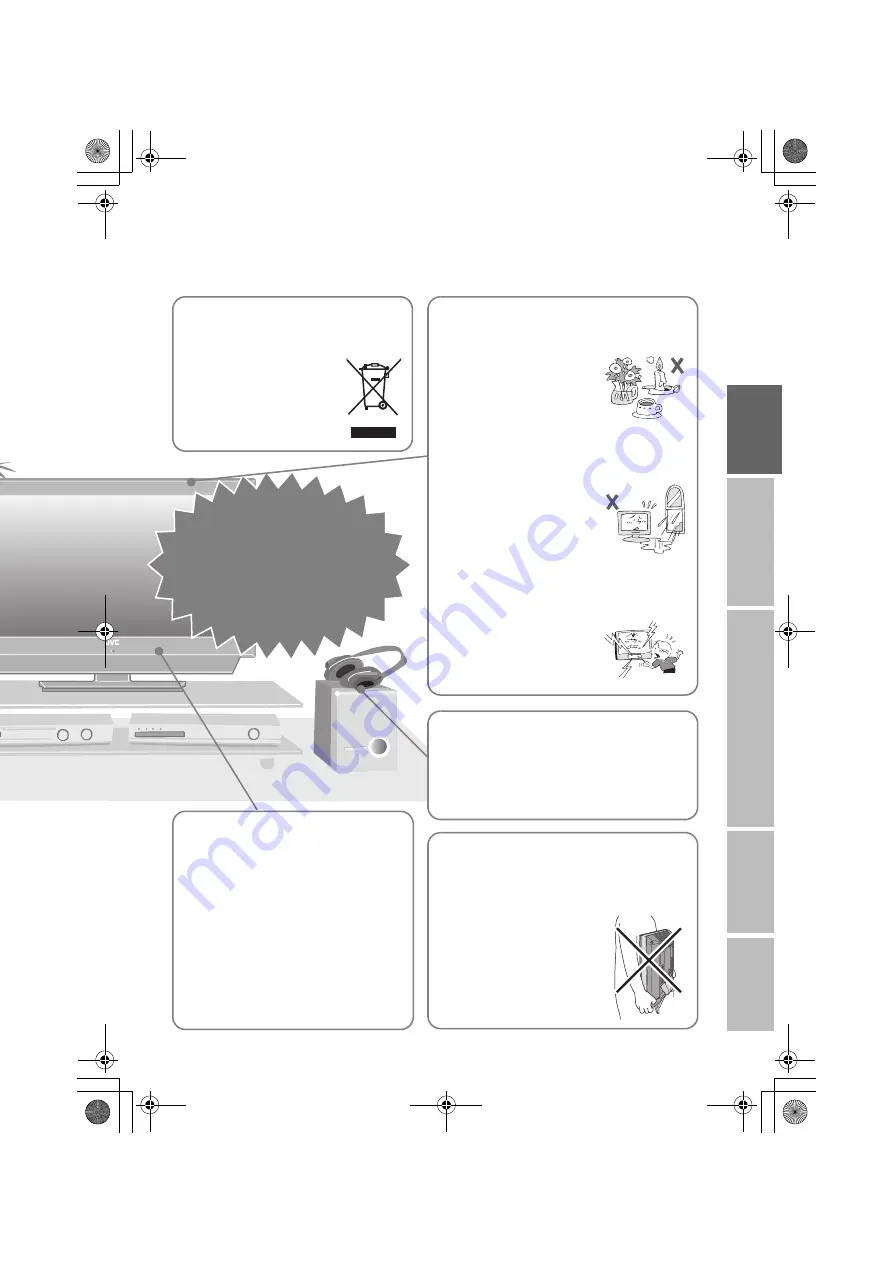
On disposal of the
TV!
z
Follow the instruction in
“Information for Users on
Disposal of Old Equipment”
(P. i).
Never place anything on
the TV!
Never expose to rain or
moisture!
Never insert objects into
the cabinet openings!
z
It may cause a fatal electric
shock. Take care when
children are near.
z
Placing liquids, naked flames,
cloths, paper, etc. on the TV
may cause a fire.
z
To prevent fire or electric
shock, never allow liquids to
enter the unit.
Never listen to
headphones at high
volume!
z
It may damage your hearing.
Hold the TV so as not to
scratch the screen!
z
Do not touch the screen when carrying the TV.
Do not carry the
TV on your own!
z
In order to prevent accidents,
ensure that the TV is carried by
two or more people.
Never dismantle the
rear panel!
z
It may cause an electric shock.
Never obstruct the
ventilation holes!
z
It may cause overheating or a fire.
Handle LCD panel
with care!
z
Use a soft, dry cloth when cleaning.
If the TV is damaged
or behaving
strangely, stop using
it at once!
g
Unplug the power cord and
contact your retailer.
LT-42DP8BJ.book Page 4 Tuesday, September 4, 2007 11:51 AM


