


Using the Touch Screen
Icon operation buttons, thumbnails, and menu items are displayed on the
touch screen according to the mode in use.
0
There are two ways to operate the touch screen, namely “tap” and “drag”.
The following are some examples.
A
Tap the displayed button (icon) or thumbnail (file) on the touch screen
to make selection.
B
Drag the thumbnails on the touch screen to search for the desired file.
.
≪
CAM
0:01:23
0:12:34
Recording Screen
Playback Screen
Index screen (thumbnail display)
MENU
≪
MEDIA
REC
0:01:23
0:12:34
MENU
≪CAM
Memo :
0
The touch screen of this unit is pressure-sensitive. When the touch screen
does not respond smoothly, apply slightly more force to your fingertip.
0
Tap the buttons (icons) on the touch screen accurately. The buttons may
not respond if they are not tapped on the right area.
0
Do not press or rub with excessive force.
0
Do not operate the touch screen using an object with a sharp or hard tip.
0
Pressing two or more places at a time may cause a malfunction.
0
Perform “TOUCH SCREEN ADJUST” if the reactive area of the screen is
misaligned with the touched area. (Adjust by lightly tapping with a corner
of an SD card, etc. Do not press with an object with a sharp tip or do not
press hard.)
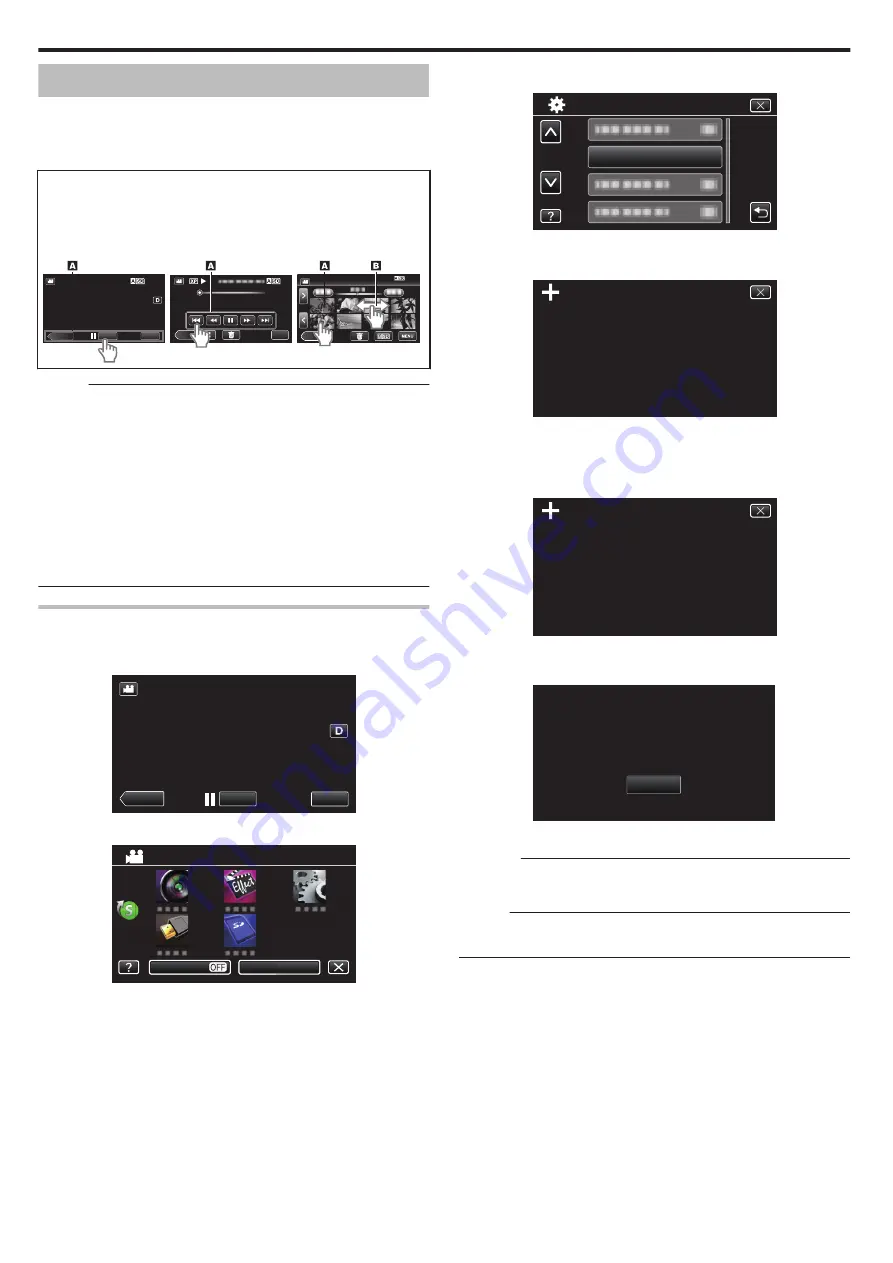
Adjusting the Touch Panel
Adjusts the response position of the buttons on the touch screen.
1
Tap “MENU”.
.
REC
MENU
≪
MEDIA
2
Tap “SETUP”.
.
OFF
TOP MENU
SILENT
INFO.
3
Tap “TOUCH SCREEN ADJUST”.
.
TOUCH SCREEN ADJUST
SETUP
0
The touch screen adjustment screen appears.
4
Tap “+”. (3 times in total)
.
1/3
PRESS THE + MARK
0
Keep tapping “+” as its position changes with every tap.
0
If areas other than the “+” mark are tapped, errors will occur. Make
sure to tap the “+” mark.
5
Tap “+” again to confirm the adjusted positions. (3 times in total)
.
1/3
PRESS + MARK AGAIN
CONFIRM THE ADJUSTMENT
0
Keep tapping “+” as its position changes with every tap.
6
Tap “OK”.
.
OK
COMPLETED
0
Setting ends and returns to the menu screen.
Caution :
0
Do not tap areas other than the “+” mark during touch screen adjustment
(steps 4 - 5). Doing so may cause the touch screen to malfunction.
Memo :
0
Adjust by lightly tapping with a corner of an SD card, etc.
0
Do not press with an object with a sharp tip or do not press hard.
Getting Started
8


