


28
1
2
3
4
6
7
8
5
0
9
3
4
¢
7
8
1
••
••
¡
5
/
8
™
£
3
2
q
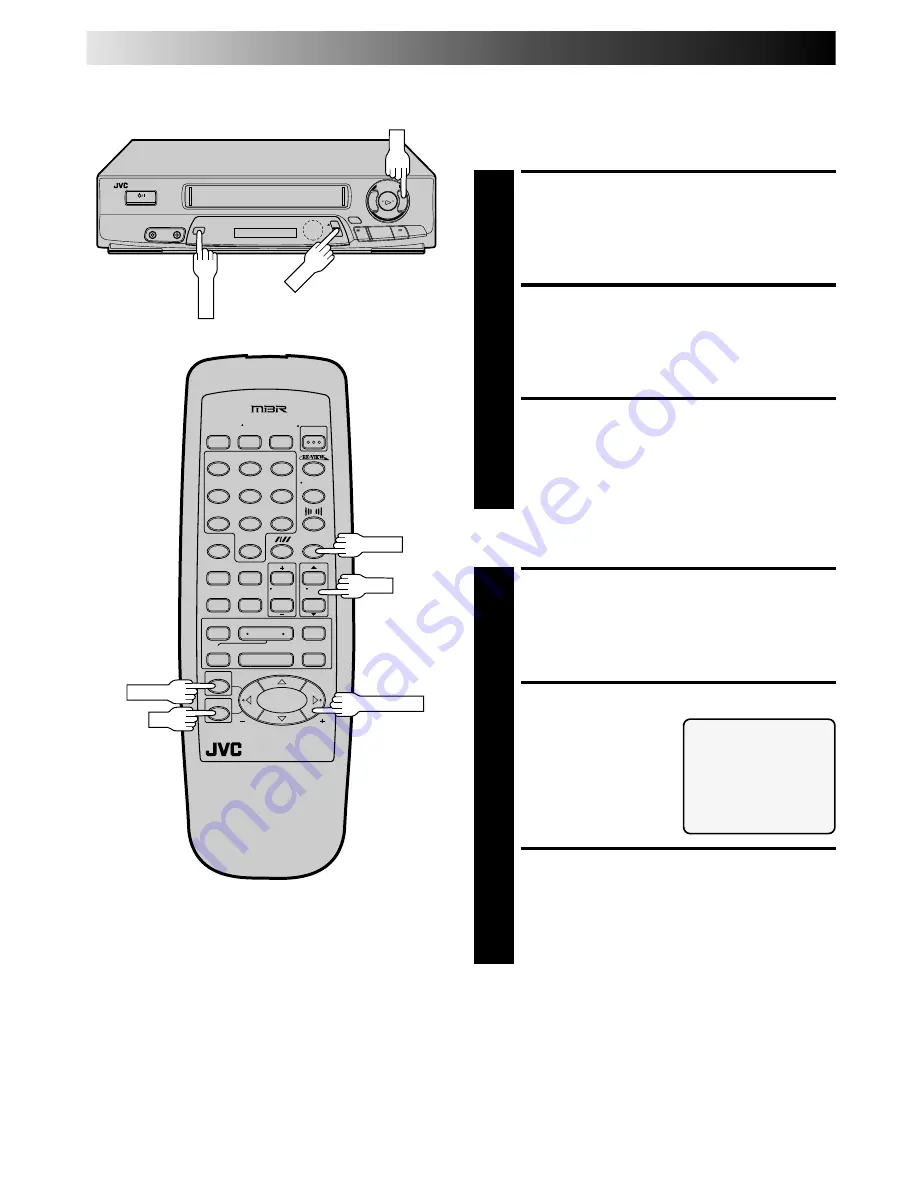
Auto Timer
When the Auto Timer is set to ON the timer is automatically
engaged when the VCR's power is turned off and automatically
disengaged when the VCR is powered back on.
ACCESS MAIN MENU
SCREEN
1
Press MENU.
ACCESS FUNCTION SET
SCREEN
2
Place the arrow next to "FUNCTION SET" by pressing
CH
5∞
or PUSH JOG
%fi
, then press OK.
ACCESS AUTO TIMER
SCREEN
3
Place the arrow next to "AUTO TIMER" by pressing
CH
5∞
or PUSH JOG
%fi
, then press OK. Now skip to
step 2 of the procedure below.
Or, during on-screen timer programming ...
ACCESS AUTO TIMER
SCREEN
1
In step 7 in the On-Screen Timer Programming
procedure (
Z
pg. 25), press MENU.
SELECT MODE
2
Place the arrow next to
your choice ("ON" or
"OFF") by pressing CH
5∞
or PUSH JOG
%fi
.
RETURN TO NORMAL
SCREEN
3
Press MENU as many times as necessary.
NOTE:
For safety, when AUTO TIMER is set to “OFF”, all other VCR
functions are disabled while the Timer mode is engaged. To
disengage the timer, press TIMER.
AUTO TIMER
=
ON
OFF
PRESS (
5
,
∞
) TO SELECT
PRESS (MENU) TO END
TIMER RECORDING (cont.)
MENU
CH
OK
CH
TIMER
MENU
OK
PUSH JOG
Summary of Contents for HR-J4404UM
Page 42: ...MEMO ...
Page 43: ...MEMO ...


