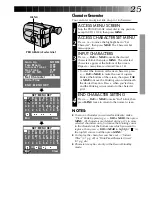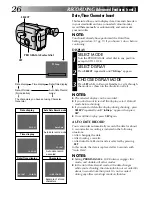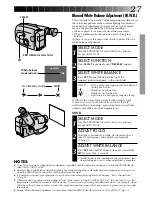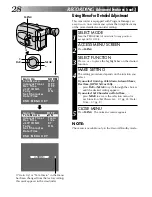
39
A
B
C
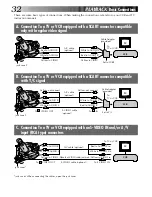
VCR (Recording deck)
MAKE CONNECTIONS
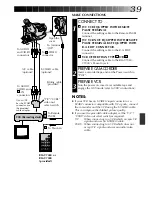
CONNECT TO . . .
1
A
JVC VCR EQUIPPED WITH REMOTE
PAUSE TERMINAL
Connect the editing cable to the Remote PAUSE
terminal.
B
JVC VCR NOT EQUIPPED WITH REMOTE
PAUSE TERMINAL BUT EQUIPPED WITH
R.A. EDIT CONNECTOR.
Connect the editing cable to the R.A. EDIT
connector.
C
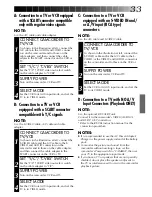
VCR OTHER THAN TYPE
A
OR
B
Connect the editing cable to the RM-V704U/
V700U’s Pause-In jack.
PREPARE CAMCORDER
2
Insert a recorded tape and set the Power switch to
“PLAY”.
PREPARE VCR
3
Turn the power on, insert a recordable tape and
engage the AUX mode (refer to VCR’s instructions).
NOTES:
●
If your VCR has an S-VIDEO input connector or a
SCART connector compatible with Y/C signals, connect
the camcorder and the VCR using the S-VIDEO cable.
This can improve the dubbed picture quality.
●
If you use the provided cable adapter, set the “Y/C”/
“CVBS” video out select switch as required.
Y/C
: When connecting to a VCR which accepts Y/C
signals and uses an S-VIDEO cable.
CVBS : When connecting to a VCR which does not
accept Y/C signals and uses an audio/video
cable.
To Remote
PAUSE
To Pause-In
A/V cable
(optional)
To AUDIO
and VIDEO
connectors
To
S
-VIDEO
connector
To J terminal
(JLIP)
If your VCR
has the SCART
connector, use
the provided
cable adapter.
To AUDIO,
VIDEO and
S
-IN
connectors
“Y/C”/“CVBS”
video out
select switch
Editing cable
(provided)
S-VIDEO cable
(optional)
Open the
cover
RM-V704U or
RM-V700U
(provided)

