2
EN
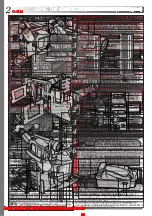
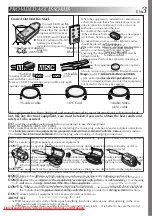
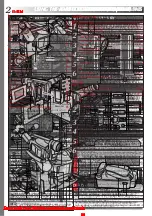
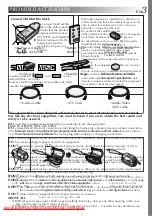
Using This Instruction Manual
It is recommended that you . . .
WARNING:
TO PREVENT FIRE OR SHOCK
HAZARD, DO NOT EXPOSE
THIS UNIT TO RAIN OR
MOISTURE.
Dear Customer,
Caution on Replaceable lithium battery
IMPORTANT
Connection to the mains supply in the United
Kingdom.
DO NOT cut off the mains plug from this equipment.
BE SURE to replace the fuse only with an identical
approved type, as originally fitted, and to replace the
fuse cover.
DO NOT
Downloaded From VideoCamera-Manual.com Manuals
4
EN
MAJOR FEATURES
Electronic Fog Filter
ND Effect
Sepia
Twilight
Sports
Nega/Posi
1/2000 sec. High Speed Shutter
Automatic Demonstration takes place when “DEMO MODE” is set to “ON”
(factory-preset).
MENU
Setting Menu
Zoom in
Zoom out
Downloaded From VideoCamera-Manual.com Manuals
6
EN
GETTING STARTED
Power
CHARGING THE BATTERY PACK
1
2
3
To AC outlet
Marks
CHARGE
indicator
Battery pack BN-V11U,
BN-V12U or BN-V20U
AC Power
Adapter/Charger
AA-V16EK
Battery pack
Charging time
Charge Marker
Charge marker
DC OUT connector
1.
not
2.
Downloaded From VideoCamera-Manual.com Manuals
8
EN
Clock (Lithium) Battery Insertion/Removal
1
2
3
4
GETTING STARTED
(cont.)
Slot
Battery holder
Loading/Unloading A Cassette
1
2
EJECT
3
4
5
Cassette holder
Erase Protection tab
Gear
Turn to take
up slack.
EJECT Switch
Close Button
Downloaded From VideoCamera-Manual.com Manuals
10
EN
GETTING STARTED
(cont.)
Tape length indicator
TAPE LENGTH
Setting Menu
Select Wheel
Power Switch
MENU Button
Viewfinder
Tape Length Setting
1
MENU
2
3
4
Menu Screen
Display
Downloaded From VideoCamera-Manual.com Manuals
12
EN
Compatibility Between S-VHS And VHS
Cassette adapter
S-VHS VCR
Regular VHS VCR
Blank tape
Camcorder
Recorded tape
GETTING STARTED
(cont.)
Downloaded From VideoCamera-Manual.com Manuals
14
EN
Shooting While Watching The Viewfinder
1
LENS COVER
2
To Stop Recording . . .
Shooting While Watching The LCD Monitor
1
LENS COVER
2
To Stop Recording . . .
Power Switch
Select Wheel (BRIGHT)
Recording Start/Stop Button
Tape remaining time
indicator
(Approximate)
To Adjust The Brightness Of The LCD Monitor
BRIGHT
LENS COVER Open/Close Ring
RECORDING
Basic Recording
Power Switch Position
AUTO :
PRO. :
OFF
:
PLAY :
DISPLAY Button
Downloaded From VideoCamera-Manual.com Manuals
16
EN
Zoom in (T: Telephoto)
Zoom out (W: Wide angle)
Power Zoom Lever
Zoom indicator bar
FEATURE:
PURPOSE:
OPERATION:
Zoom In
T
Zoom Out
W
FEATURE:
PURPOSE:
OPERATION:
P. STABILIZER
P. STABILIZER
Zoom level
indicator
Display
Approximate
zoom ratio
P. STABILIZER Button
Picture Stabilizer indicator
RECORDING
Basic Features
Downloaded From VideoCamera-Manual.com Manuals
18
EN
DANGER
LIGHT OFF/AUTO/ON Switch
FEATURE:
PURPOSE:
OPERATION:
LIGHT OFF/AUTO/ON
OFF
AUTO
ON
LIGHT OFF/AUTO/ON
LIGHT
OFF/AUTO/ON
RECORDING
Basic Features (cont.)
Downloaded From VideoCamera-Manual.com Manuals
20
EN
Fade/Wipe Effects
1
2
EFFECT
3
3
4
EFFECT
Recording Start/Stop Button
EFFECT
Button
Power Switch
RECORDING
Advanced Features
Downloaded From VideoCamera-Manual.com Manuals
22
EN
Using Menus For Detailed Adjustment
1
2
If you select the functions from the “Menu Screen
Available Using The Select Wheel” described on
pg. 23 . . .
If you select the functions from the “Menu Screen
Available Using The MENU Button” described on
pg. 23 and 24 . . .
MENU
3
6
4
If you select “FOCUS”, “EXPOSURE”, “M.W.B.” or
“DATE/ TIME” . . .
4
If you select “JLIP ID NO.” . . .
If you select any other functions . . .
5
6
Display
(ex. Menu Screen available using the MENU Button)
Select Wheel
Menu Screen 1
Setting Menu
(ex. TITLE LANG.)
Menu Screen 2
Normal Screen
MENU Button
RECORDING
Advanced Features (cont.)
Downloaded From VideoCamera-Manual.com Manuals
24
EN
Menu Screen Available Using The MENU Button (cont.)
: Factory-preset
*
*
*
RECORDING
Advanced Features (cont.)
Downloaded From VideoCamera-Manual.com Manuals
26
EN
Exposure Control
1
2
3
4
5
6
7
4
2
Manual Exposure
Screen
To brighten the image
To darken the image
Select Wheel
Power Switch
Exposure control
level counter
RECORDING
Advanced Features (cont.)
Downloaded From VideoCamera-Manual.com Manuals
28
EN
Power Switch
White Balance Adjustment
1
2
MENU
3
4
5
To Return To Automatic White Balance . . .
4
Manual White Balance Operation
1
1
4
2
3
4
White paper
Select Wheel
To Change The Tint For Recording . . .
2
2
MENU Button
RECORDING
Advanced Features (cont.)
Downloaded From VideoCamera-Manual.com Manuals
30
EN
1
2
PLAYBACK
Basic Playback
Rewind (
) Button
Fast-Forward (
) Button
Play/Pause ( / ) Button
Stop ( ) Button
Power Zoom Lever (VOL.)
Select Wheel
(BRIGHT)
Set to “PLAY”.
Speaker
BRIGHT
+
–
VOL.
+
–
1)
2)
1)
2)
Downloaded From VideoCamera-Manual.com Manuals
32
EN
PLAYBACK
Connections
A/V cable
(provided)
Yellow to Video
Output
TV
VCR
Connector cover*
To TV or VCR
Yellow to VIDEO
*
Connector cover*
S-Video cable
(provided)
To S-Video Output
A/V cable
(provided)
White to AUDIO
(L/MONO)
VCR
TV
To
-IN
White to
Audio Output
A. Connection to a TV or VCR equipped with a SCART connector compatible only with regular video
signal
To TV or VCR
White to Audio Output
White to AUDIO
(L/MONO)
Cable Adapter
Set to CVBS
*
To S-VIDEO IN
To S-Video Output
Yellow to
VIDEO in
TV
To TV or VCR
B. Connection to a TV or VCR equipped with a SCART connector compatible with Y/C signal
Yellow:
not connected
Set to Y/C
Cable Adapter (provided)
Yellow:
not connected
*
Connector cover*
VCR
White to
AUDIO in
S-Video cable
(provided)
C. Connection to a TV or VCR equipped with an S-VIDEO IN and/or A/V input (RCA type)
connectors
Yellow to
Video Output
White to
Audio Output
A/V cable
(provided)
When the S-Video cable is
not used.
(
)
Downloaded From VideoCamera-Manual.com Manuals
34
EN
PLAYBACK
Using The Cassette Adapter (optional)
Compact video cassette
VCR
Reels
Compartment door
Recording safety hole
Sliding latch
Cassette Adapter (optional)
1
2
3
4
Downloaded From VideoCamera-Manual.com Manuals
36
EN
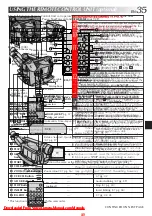
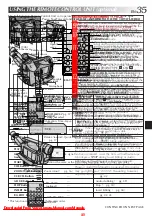
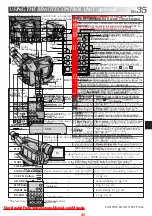
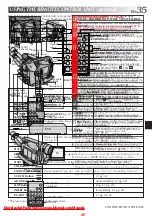
USING THE REMOTE CONTROL UNIT (optional)
(cont.)
Installing The Battery
1
2
+
3
Transmitted beam
effective area
Remote sensor
Lock hole
Knob
Downloaded From VideoCamera-Manual.com Manuals
38
EN
Insert editing
indicator
Display
COUNTER R/M Button
Tape Counter
Remote sensor
Power Switch
Insert Editing
1
2
PAUSE
3
COUNTER R/M
4
REW
PLAY
PAUSE
5
INSERT
INSERT
PAUSE
6
START/STOP
7
STOP
5
P. AE
RM-V700U
(optional)
USING THE REMOTE CONTROL UNIT (optional)
(cont.)
Downloaded From VideoCamera-Manual.com Manuals
40
EN
6 2
6 4
7 7
6 7
6 8
3 7
3 8
1 4
3 4
6 6
6 3
1 3
1 7
1 1
9 4
1 8
9 1
9 6
9 3
9 7
9 8
3 2
1 3
3 6
3 5
1 5
1 `
6 9
6 1
6 5
6 `
3 9
3 1
9 1
9 6
9 7
3 2
9 1
9 6
1 9
9 5
1 1
9 4
9 1
9 6
1 2
3 3
7 2
VCR (Recording deck)
RM-V700U (optional)
Random Assemble Editing [R.A.Edit]
SET REMOTE/VCR CODE
1
MBR SET
MBR SET
2
VCR CTL
VCR CTL
You are now ready to try Random Assemble
Editing.
Although the MBR is compatible with JVC VCRs and
those of many other makers, it may not work with
yours or may offer limited functions.
1
2
USING THE REMOTE CONTROL UNIT (optional)
(cont.)
Downloaded From VideoCamera-Manual.com Manuals
42
EN
SELECT SCENES
4
PLAY
ON/OFF
5
REW
FF
IN/OUT
6
REW
FF
IN/OUT
7
5
6
8
CANCEL
5
6
ON/OFF
Power Switch
Remote sensor
RM-V700U
(optional)
USING THE REMOTE CONTROL UNIT (optional)
(cont.)
Downloaded From VideoCamera-Manual.com Manuals
44
EN
TROUBLESHOOTING
SYMPTOM
POSSIBLE CAUSE(S)
No power is supplied.
The power suddenly goes off and
does not come back on by itself.
Recording cannot be performed.
Recording does not start.
Animation or Time-Lapse is not
available.
The tape is running, but there is no
playback picture.
Playback picture is blurred or
interrupted.
The counter indication is blurred
during Still playback.
The playback picture on the
connected TV is without colour.
The tape stops during fast-forward or
rewind.
Rewinding or fast-forwarding cannot
be performed.
Downloaded From VideoCamera-Manual.com Manuals
46
EN
INDEX
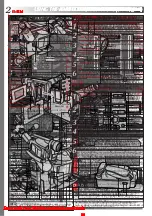
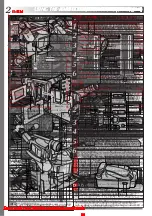
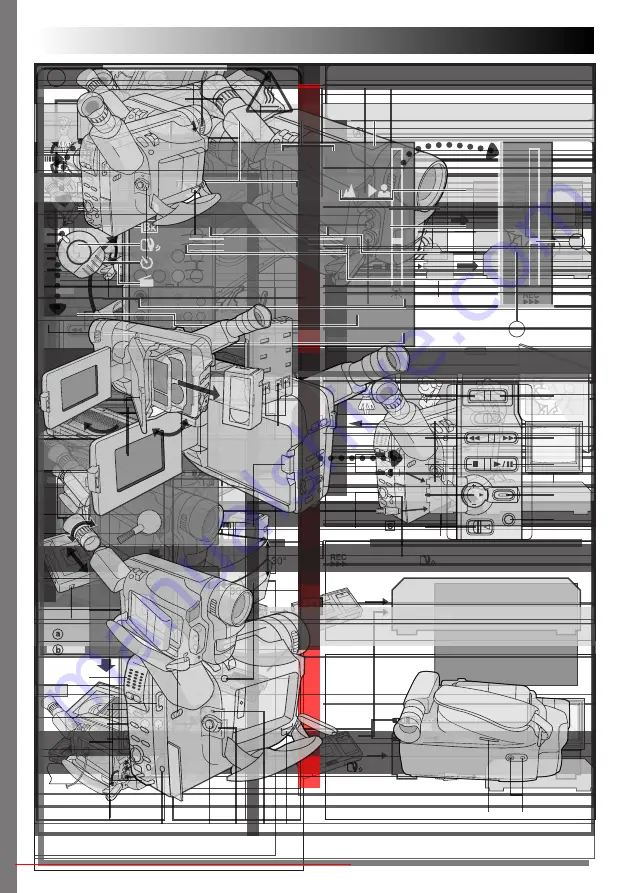
Controls, Connectors And Indicators
U
I
1
i
o
q
u
p
e
r
w
2
Q
W
3 4 5 6
&
(
*
y
E
R
Y
T
t
7
8
0
@
$
%
9
!
#
^
)
Downloaded From VideoCamera-Manual.com Manuals
48
EN
INDEX
Indications
6
7
8
9
0
@
#
!
&
^
%
$
4
2
3
1
*
5
1
2 7
2
P.AE
7
2 8
2
EFFECT
8
3
4
5
6
9
0
!
@
#
$
%
^
&
*
Indications During Recording
Downloaded From VideoCamera-Manual.com Manuals
50
EN
CAUTIONS
DANGER:
1. To avoid hazard . . .
do not
do not
do not
2. To prevent damage and prolong service life . . .
do not
Terminals
1. During use . . .
2. Store cassettes . . .
Downloaded From VideoCamera-Manual.com Manuals
52
EN
USER MAINTENANCE
Remove.
Close Button
LENS COVER Open/Close Ring
EJECT
Set to “OFF”.
BATTERY RELEASE
After Use
1
2
EJECT
3
4
5
BATTERY RELEASE
6
LENS COVER
Cleaning The Camcorder
1
2
3
4
5
6
Downloaded From VideoCamera-Manual.com Manuals
54
EN
P
Q
R
S
T
U
V
W
Z
TERMS
(cont.)

