EN
35
100-DVC00021
VGA
1 9
0 0
0 0
0 0
0 0
0 3
0 0
2 0
2 1
2 3
2 2
NEXT
2 4
<
D P O F
>
SE ECT
L
–
EXECUTE
CANCEL
DPOF
TO PRINT BY SELECTING STILL IMAGES
AND NO. OF PRINTS
1
Perform steps
1
through
3
on pg. 34.
2
Rotate the
MENU/BRIGHT
wheel to selsect “SELECT”
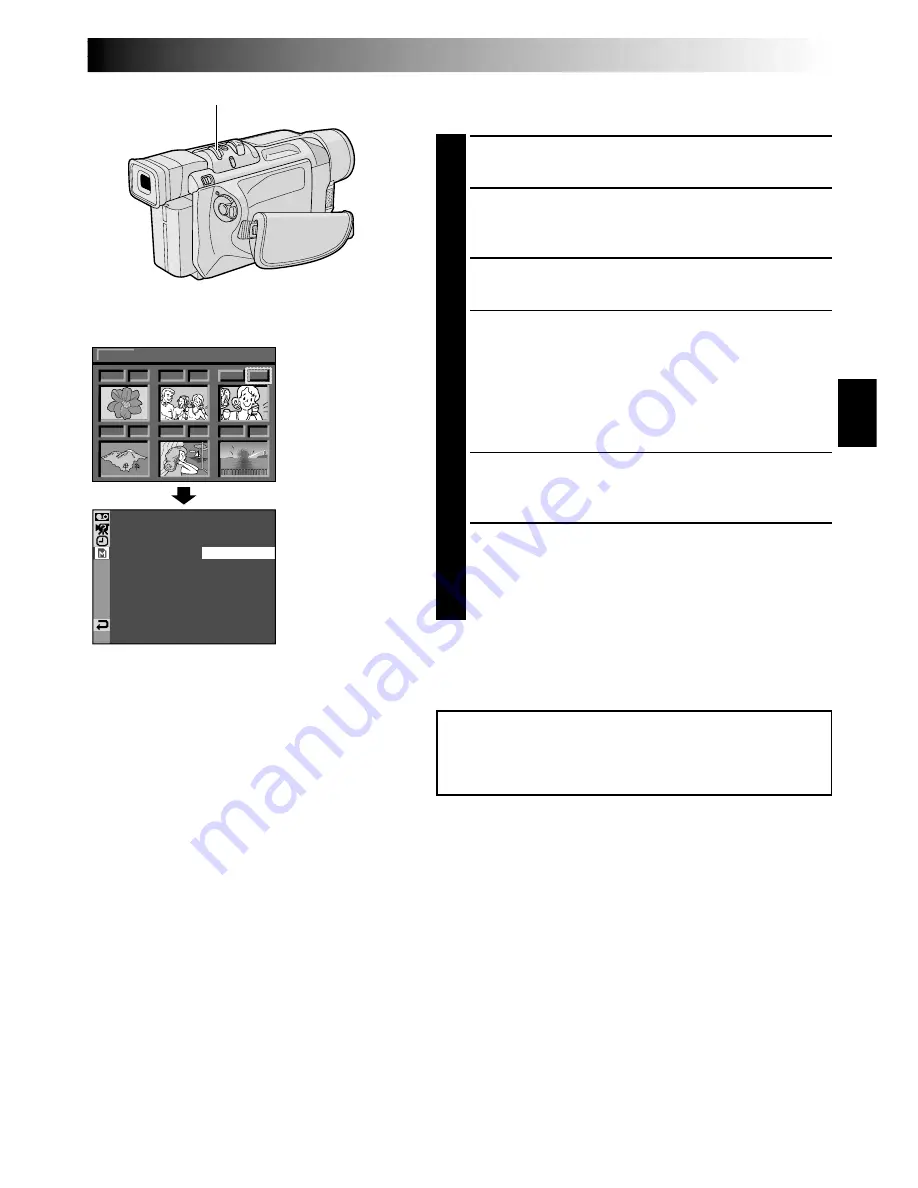
and press it. Selection is complete. The DPOF Screen
appears.
3
Rotate the
MENU/BRIGHT
wheel to move the green
frame to the image you wish to print and press it.
4
Select the number of prints by rotating the
MENU/
BRIGHT
wheel towards “
+
” to increase the number,
or towards “
–
” to decrease the number and press it.
Repeat steps
3
and
4
for the desired number of prints.
•The number of prints can be set up to 15.
•To correct the number of prints, select the image
again and change the number.
5
Rotate the
MENU/BRIGHT
wheel upward to select
“NEXT” and press it. Selection is complete. The
Confirmation Screen appears.
6
Rotate the
MENU/BRIGHT
wheel to select
“EXECUTE” and press it. The normal playback screen
appears.
•To cancel selection, rotate the
MENU/BRIGHT
wheel to select “CANCEL” and press it.
To Reset The No. Of Prints . . .
.... select “RESET” in step
4
on pg. 34. The number of
prints is reset to 0 for all still images.
DPOF Screen
NOTES:
●
If you load a memory card already set as shown above
in a printer compatible with DPOF, it will make prints of
the selected still images automatically.
●
To print images recorded on a tape, first dub them to a
memory card (
墌
pg. 55).
CAUTION:
While performing the above, never disconnect power,
as this may cause the memory to be corrupted.
Display
Confirmation
Screen
MENU/BRIGHT Wheel


