26
Preparation
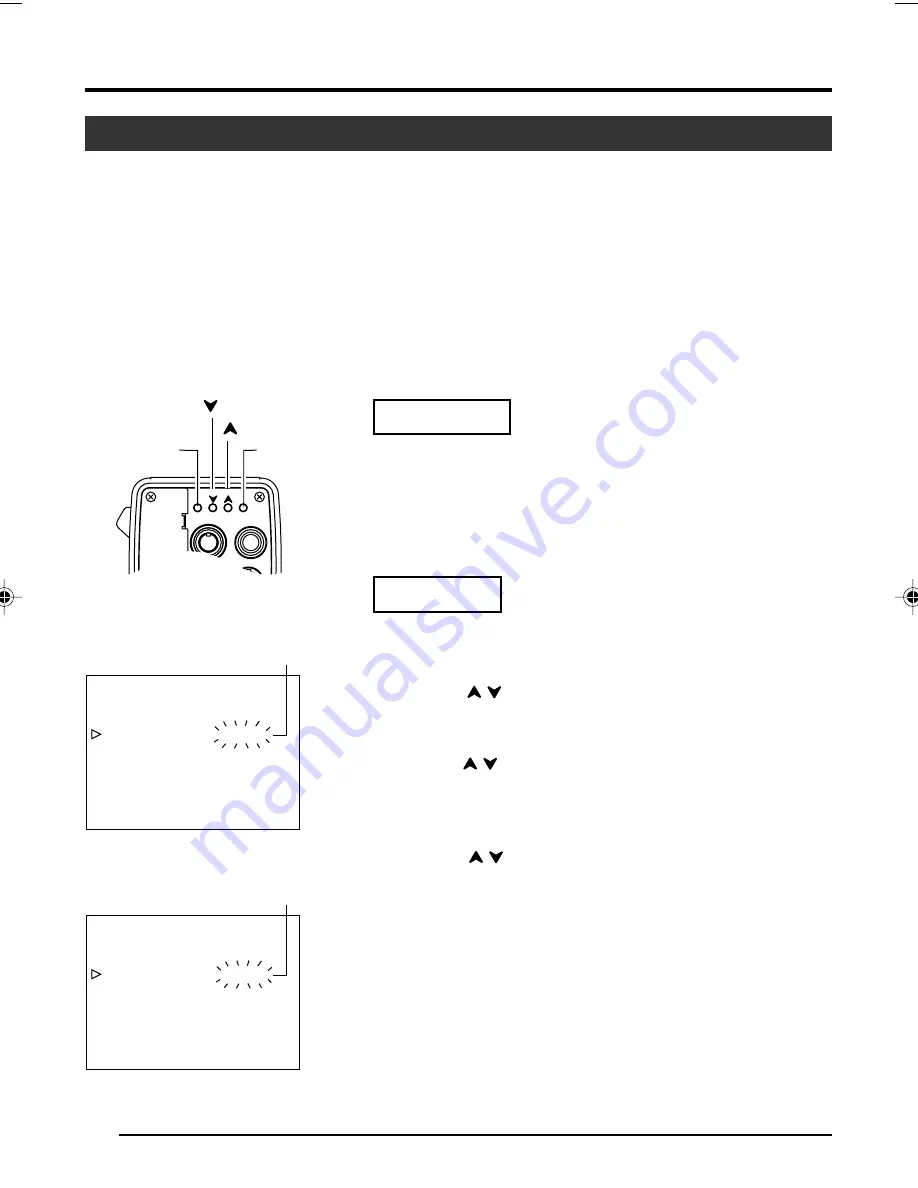
White Spot Correction
As a peculiar common characteristic of CCD, white spots may appear on the screen when operated under
high temperature.
This unit comes with a white spot correction feature to reduce this phenomenon.
How To Use
Detection of White Spots
The quantity and size of white spots differ with the temperature and shutter speed during use. Before
using the white spot correction feature, it will thus be necessary to detect the position of the white spots
under the conditions of use.
“SYSTEM” Screen
4. Various Modes of Shooting (continued)
“SYSTEM” Screen
2. 3.
4. 5.
- - -
- - -
SYSTEM
ASPECT RA
NEG
T I O
A T I VE
CANCE L
0
4 : 3
0
ON
F
OF
SETUP
H PHA
0
SE
SC F I NE
SC COARSE
PAGE BACK
PEN
I
P XE L COM
- - -
- - -
SYSTEM
ASPECT RA
NEG
T I O
A T I VE
EXECUTE
0
4 : 3
0
ON
F
OF
SETUP
H PHA
0
SE
SC F I NE
SC COARSE
PAGE BACK
PEN
I
P XE L COM
Blinking
Blinking
MENU
AW BARS
SET
LENS
REMOTE
GENLOCK IN
VIDEO OUT
[MENU]
[SET]
[
]
[
]
•
Set the conditions of use (ambient temperature, shutter speed,
etc.) in this unit.
•
Turn on the power of the camera and leave it on for at least 2
hours.
•
Close the lens iris to ensure that no light enters the CCD.
Operation
1.
Press the [MENU] button for 1-2 seconds.
The “MENU” screen will be displayed.
2.
Use the [
/
] buttons to select “SYSTEM..”, then press the
[SET] button.
The “SYSTEM” screen will be displayed.
3.
Use the [
/
] buttons to select “PIXEL COMPEN”, then press
the [SET] button.
The “CANCEL” value starts blinking and adjustment is pos-
sible.
4.
Use the [
/
] buttons to select “EXECUTE” and press the
[SET] button to start the white spot detection.
Detection process may take a few minutes to complete.
5.
Upon completing detection,“Detection Completed” screen will
be displayed.
6.
Turn on the power again.
Allow a 10 seconds interval after switching off the power be-
fore turning on again.
When power is turned on, white spots will be corrected.


