
– 63 –
8
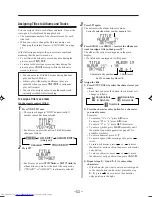
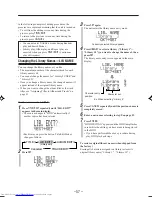
If necessary, press
SELECT
¢
or
SELECT
4
to
precisely adjust the end point.
The unit repeats the newly selected end point.
• You can shift the end point up to ±128. This range
(±128) corresponds to about ±12 seconds from the
original point (ADJUST 0).
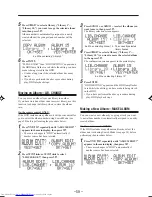
9
Press
SET
.
Playback stops, and the library selection screen
appears.
10
Press
LIBRARY
to select a library (“Library 1”—
“Library 10”) you want to copy the selected album
into, then press
SET
.
Album number is automatically assigned to a newly
created album (the youngest unused number will be
selected).
The confirmation screen appears in the main display.
11
Press
ENTER
.
The HDD lamp flashes in red.
“PLEASE WAIT” then “HDD WRITING” appears
while the editing you have made is being stored in the
HDD.
• It takes a long time if you have copied a long portion.
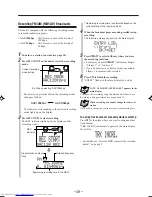
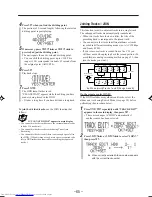
The currently selected library flashes.
Ex. When selecting “Library 9”
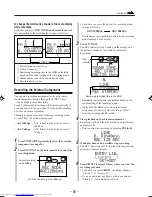
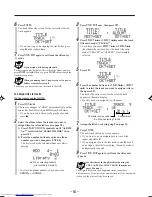
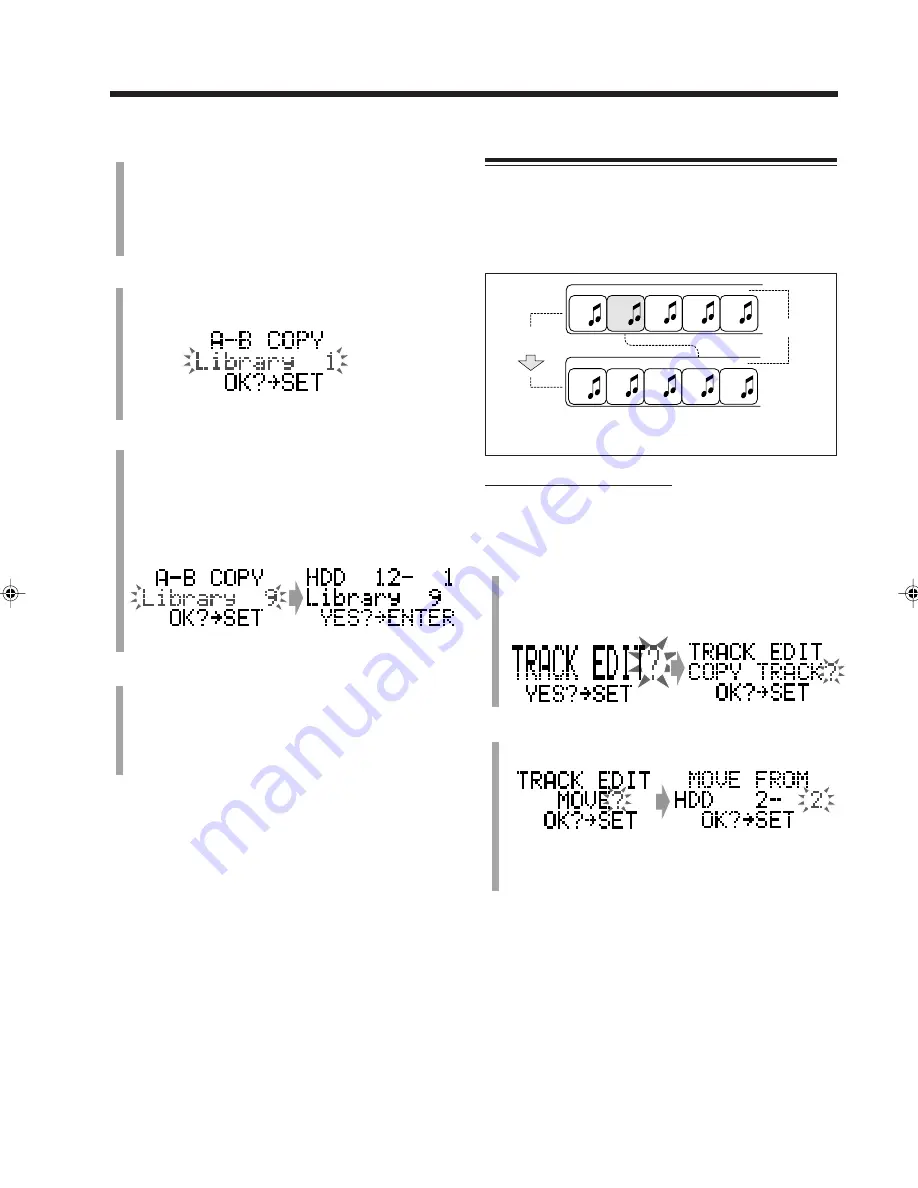
Moving a Track—MOVE
You can move a track either within the same album or into
a different album.
Tracks are automatically renumbered in both albums—
where a track has been moved from and where the track has
moved to.
On the remote control ONLY:
If the HDD includes many albums and tracks, select the
album and track using Search Mode (see page 38) before
performing the procedure below.
1
Press
TITLE/EDIT
repeatedly until “TRACK EDIT?”
appears in the main display, then press
SET
.
• The source changes to “HDD” automatically if
another source has been selected.
2
Press
SELECT
¢
or
SELECT
4
to select
“MOVE?,” then press
SET
.
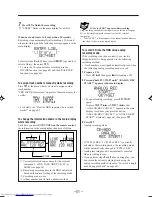
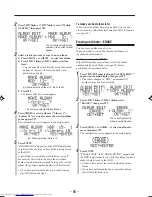
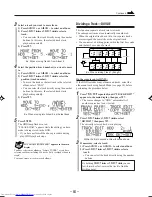
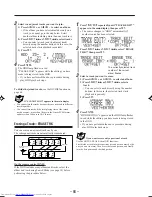
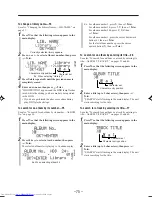
C
D
E
A
B
C
D
A
B
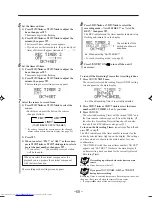
After moving
track 2
Track No.
1st
2nd
3rd
4th
5th
1st
2nd
3rd
4th
5th
E
Ex. When moving Track 2 (Song B) in front of Track 5 in
the same album
The currently selected track
number of the current album
flashes.
EN62-66_NXHD10R[B]f.pm6
02.6.24, 9:10 AM
63


