


12
Remote control buttons and functions
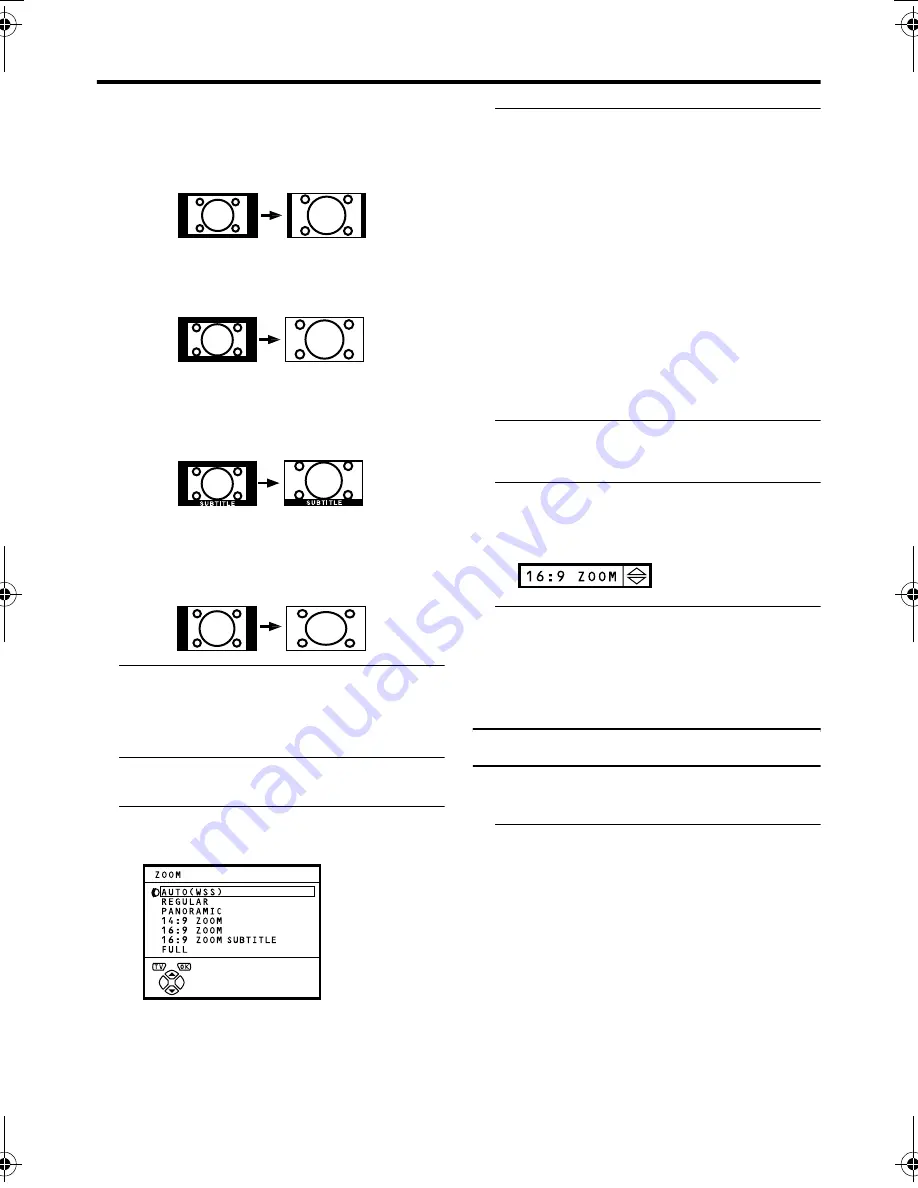
14:9 ZOOM:
This mode zooms up the Wide Picture (14:9
Aspect Ratio) to the upper and lower limits
of the screen.
16:9 ZOOM:
This mode zooms up the Wide Picture (16:9
Aspect Ratio) to the full screen.
16:9 ZOOM SUBTITLE:
This mode zooms up the Wide Picture (16:9
Aspect Ratio) with subtitles to the full
screen.
FULL:
This mode uniformly stretches the left and
right sides of a normal picture (4:3 aspect
ratio) to fill the wide TV screen.
Use for pictures with a 16:9 aspect ratio that
have been squeezed into a normal picture
(4:3 aspect ratio), you can restore their
original dimensions.
Choose the ZOOM mode
1 Press the
c
c
c
c
button to display
the ZOOM menu
2 Press the
6
6
6
6
buttons to choose a
ZOOM mode. Then press the
a
a
a
a
button
The picture expands and the chosen
ZOOM mode is displayed in about 5
seconds.
• You can pre-set a ZOOM mode for the
normal picture. See “4:3 AUTO
ASPECT” on page 20.
Adjusting the visible area of the
picture
If subtitles or the top (or bottom) of the
picture are cut off, adjust the visible area of
the picture manually.
1 Press the
c
c
c
c
button
The ZOOM menu appears.
2 Press the
a
a
a
a
button to display the
ZOOM mode indication
Indicator is displayed.
3 While it is displayed, press the
6
6
6
6
buttons to adjust the visible area
vertically
• You cannot adjust the visible area in
REGULAR or FULL mode.
HYPER SOUND function
You can enjoy sounds with a wider
ambience.
Press the
/
/
/
/
(HYPER SOUND) button
to turn the HYPER SOUND function on
or off
• The HYPER SOUND function does not
work properly with mono sound.
• The HYPER SOUND function can be
also turned on or off by using the SOUND
SETTING menu. For details, see
“HYPER SOUND” on page 21.
AV-32&28T35SPE_Eng.fm Page 12 Thursday, February 6, 2003 2:29 PM


