background image

14

Using the TV’s menus

MANUAL CH PRESET

You can manually preset desired TV
channels to desired channels.

1 Press MENU 

T

 to display the

“MENU 3” menu, then select
“MANUAL CH PRESET”.

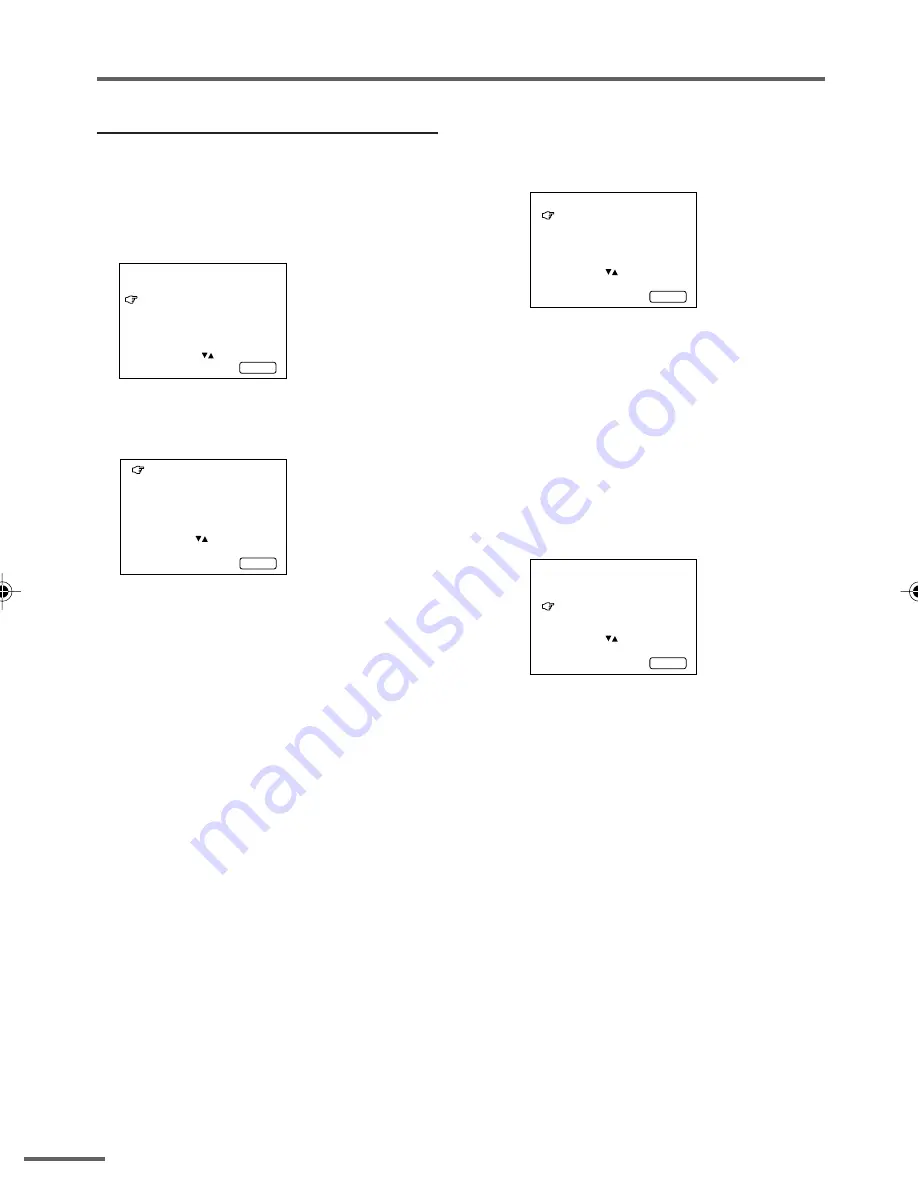
          MENU        3
  AUTO CH PRESET        
  MANUAL CH PRESET
  SETUP TOUR
  LANGUAGE       ENGLISH
 

 SELECT  BY      EXIT BY
 OPERATE BY -+    


DISPLAY

2 Press MENU 

M

.

The sub-menu is displayed.

   MANUAL
   FINE
   SKIP              NO
   SOUND SYSTEM     B/G
   EXIT

SELECT  BY       PR 1 VL
PROGRAM BY -+    EXIT BY
SEARCH  BY VOL-+  


DISPLAY

• The channel number is displayed as a PR

number. For example, channel 1 will be
displayed as PR 1. However, the AV
channel will be displayed as AV.

3 Press MENU 

M

 to select the

channel number.

4 Press VOLUME 

M

 to start

searching for the TV channel.

“>>>” or “<<<” is displayed on the
screen.

When the TV finds a TV channel, the
“>>>” or “<<<” display goes out,
and the TV channel is preset to the
currently selected channel number.

• If the TV channel you want to preset is not

displayed, repeat step 4 until the TV finds
the TV channel you want to preset.

• To stop the MANUAL CH PRESET function,

press any button other than the VOLUME

m

 button.

If the picture is not clear:

Fine-tune the TV channel.

1

Press MENU 

t

 to select “FINE”.

   MANUAL
   FINE
   SKIP              NO
   SOUND SYSTEM     B/G
   EXIT

SELECT  BY       PR 3 VL
PROGRAM BY -+    EXIT BY
FINE    BY VOL-+  


DISPLAY

2

Hold VOLUME 

m

 down to fine-tune

the TV channel so that the best image
is displayed on screen.

“>” or “<” indicates that the TV is fine-
tuning the TV channel.

If the sound is not clear:

1

Press MENU 

t

 to select “SOUND

SYSTEM”.

   MANUAL
   FINE
   SKIP              NO
   SOUND SYSTEM     B/G
   EXIT

SELECT  BY       PR 3 VL
PROGRAM BY -+    EXIT BY
CHANGE  BY VOL-+  


DISPLAY

2

Press VOLUME 

m

 to select the

appropriate sound system.

5 Press MENU 

T

 to select

“MANUAL”.

6 Repeat steps 3 to 5 if you want to

preset another TV channel to a
channel.

 GGT0111-001A-H_P14-17

18/4/06, 5:42 PM

14

Summary of Contents for AV-14F116

Page 1: ...eries 3 3 Connecting the aerial and external devices 4 4 Connecting the power cord 6 5 SETUP TOUR 6 Basic operation 7 Remote control buttons and functions 8 PICTURE MODE button 8 COLOUR SYSTEM button 8 SOUND SYSTEM button 8 I II button 8 DISPLAY button 9 RETURN button 9 CHANNEL SCAN button 9 MUTING button 9 OFF TIMER button 9 Using the TV s menus 10 Basic operation 10 ON TIMER 11 INPUT 11 VNR 12 A...

Page 2: ...n the minimum distances shown in the diagram Do not allow objects or liquid into the cabinet openings In the event of a fault unplug the TV and call a service technician Do not attempt to repair it by yourself or remove the rear cover The surface of the TV screen is easily damaged Be very careful with it when handling the TV Should the TV screen become soiled wipe it with a soft dry cloth Never ru...

Page 3: ...ectly insert two batteries observing the and polarities and inserting the end first CAUTION Follow the cautions printed on the batteries Notes Use AA R6 UM 3 dry cell batteries If the remote control does not work properly fit new batteries The supplied batteries are for testing not regular use ...

Page 4: ...ither jack is output through both You cannot provide input to both the front and rear jacks at the same time Disconnect one input or use one of the jacks as an output jack only for monitoring or recording Connecting the aerial and VCR Connecting the aerial Illustration of AV 14F116 Illustration of AV 14F116 Connecting the aerial and VCR VIDEO AUDIO IN OUT To RF output To video output To aerial inp...

Page 5: ...hen you connect the headphones the TV speakers go off Illustration of AV 14F116 Illustration of AV 14F116 VIDEO AUDIO IN OUT VCR for recording VCR for playing To audio output To video output To audio input To video input VIDEO AUDIO MENU CHANNEL IN To audio output To video output Headphones Camcorder or TV game ...

Page 6: ...POWER lamp or POWER ON TIMER lamp lights After the JVC logo has been displayed the TV automatically switches to the language setting mode 2 Press the MENU M buttons to select the on screen language 3 Press the MENU y button The AUTO PROGRAMMING function will start and the indicator blinks To stop the AUTO PROGRAMMING function press the MENU m buttons When you press stop it will display SETUP TOUR ...

Page 7: ...t number press the button to select the two digit mode then enter the channel number 3 Press the VOLUME M button to adjust the sound 4 To turn your TV off press the POWER button We recommend that you press the Main power button on the TV to turn the main power off if you do not plan to use your TV for a long time or if you wish to save energy If the picture is not clear Press the COLOUR SYSTEM but...

Page 8: ...e to another colour system SOUND SYSTEM button If the sound is not clear even when the picture appears normal change the current sound system to another sound system Press this button to select the sound system B G I D K You cannot select any sound system when in a VIDEO mode I II button You can select one of the two bilingual sounds in an A2 stereo programme s bilingual programme Press the A2 Bil...

Page 9: ... no channel is set to the Return Channel You can view the channel selected right before the current channel by pressing this button CHANNEL SCAN button You can quickly view all TV channels programmes that you can view on your TV and search for the programme you want to view 1 Press this button to start scanning TV channels The TV channel programmes are each displayed for several seconds The progra...

Page 10: ...IT BY OPERATE BY D I SPLA Y With some functions the operation method may differ 5 Press the DISPLAY button to turn the display off To operate a menu using the buttons on the front panel of the TV refer to Operating menus on page 17 Using the TV s menus This TV has a number of functions you can operate using the menus To use all your TV s functions fully you need to understand how to use the menus ...

Page 11: ... power by pressing the Main power button the ON TIMER function is canceled If you do not turn off the TV after starting the ON TIMER function the channel will automatically switch to the channel set for the ON TIMER function When the time set for the ON TIMER function is reached The TV automatically turns on and the channel set for the ON TIMER function is displayed For safety reasons the TV will ...

Page 12: ...ns of the TV When this function is set to ON the TV can be operated using only the remote control Use this function to prevent children from operating the TV without parental consent 1 Press MENU T to display the MENU 2 menu then select CHILD LOCK MENU 2 AUTO SHUTOFF ON CHILD LOCK ON BLUE BACK ON SELECT BY EXIT BY OPERATE BY D I SPLA Y 2 Press MENU M to select ON To cancel the CHILD LOCK function ...

Page 13: ...play indications are in the selected language AUTO CH PRESET You can automatically preset all TV channels that can be received by your TV to channels 1 Press MENU T to display the MENU 3 menu then select AUTO CH PRESET MENU 3 AUTO CH PRESET MANUAL CH PRESET SETUP TOUR LANGUAGE ENGLISH SELECT BY EXIT BY OPERATE BY D I SPLA Y 2 Press MENU M to start the AUTO CH PRESET function ON SEARCH is displayed...

Page 14: ...s out and the TV channel is preset to the currently selected channel number If the TV channel you want to preset is not displayed repeat step 4 until the TV finds the TV channel you want to preset To stop the MANUAL CH PRESET function press any button other than the VOLUME m button If the picture is not clear Fine tune the TV channel 1 Press MENU t to select FINE MANUAL FINE SKIP NO SOUND SYSTEM B...

Page 15: ...YES NO BY VOL D I SPLA Y 4 Press MENU M to select the channel you want to skip 5 Press VOLUME M to select YES The channel is set to be skipped To cancel the SKIP function select NO 6 Repeat steps 4 and 5 if you want to set another channel to skip Picture Adjustments You can adjust the picture as you like 1 Press MENU T to display the MENU 4 menu MENU 4 TINT COLOUR BRIGHT CONT SHARP SELECT BY EXIT ...

Page 16: ... POWER ON TIMER lamp When the Main power is on the light is green When ON TIMER function is on it is red 8 Main power button 9 Not application MENU CHANNEL VOLUME EXIT ON TIMER POWER 1 2 3 6 5 8 4 MENU CHANNEL VOLUME EXIT ON TIMER POWER 1 2 3 6 5 8 4 MENU CHANNEL VOLUME EXIT POWER ON TIMER 1 2 3 7 8 4 9 AV 21D116 AV 21V116 AV 21B116 AV 14F116 The following illustrations are of only some models are...

Page 17: ...o the VIDEO mode Select the VIDEO mode with the INPUT function in MENU 1 Operating menus You can operate functions in menus using the front control buttons on the TV 1 Press MENU y to display a menu 2 Press MENU y repeatedly to display the menu you want to use 3 Press MENU y to select the desired function or item 4 Press MENU M or VOLUME M to carry out the desired operation For details see the des...

Page 18: ... dress is displayed on the screen the white part may look as if it is coloured When the image disappears from the screen the unnatural colours will also disappear The TV turns on suddenly Is the ON TIMER function set to operate see page 11 The TV channel changes suddenly Is the ON TIMER function set to operate see page 11 Cannot turn the TV on Press the Main power button on the TV Connect the powe...

Page 19: ...hone jack stereo mini jack 3 5 mm diameter sound is monaural 462 x 340 5 x 375 mm 598 x 476 x476 7 mm 502 x 476 5 x 471 6 mm 598 x 468 x 478 mm 649 x 465 5 x 473 5 mm 10 kg 21 kg 22 kg Remote control unit RM C1121 x 1 AA R6 UW 3 dry cell battery x 2 Matching aerial adapter x 1 Rod aerial x 1 Remote control unit RM C1121 x 1 AA R6 UW 3 dry cell battery x 2 Matching aerial adapter x 1 Remote control...

Page 20: ...20 ...

Reviews: