


For Customer Use:
Enter below the Model No. and Serial
No. which are located either on the rear,
bottom or side of the cabinet. Retain this
information for future reference.
Model No.
Serial No.
LET0021-001A
[EF, G]
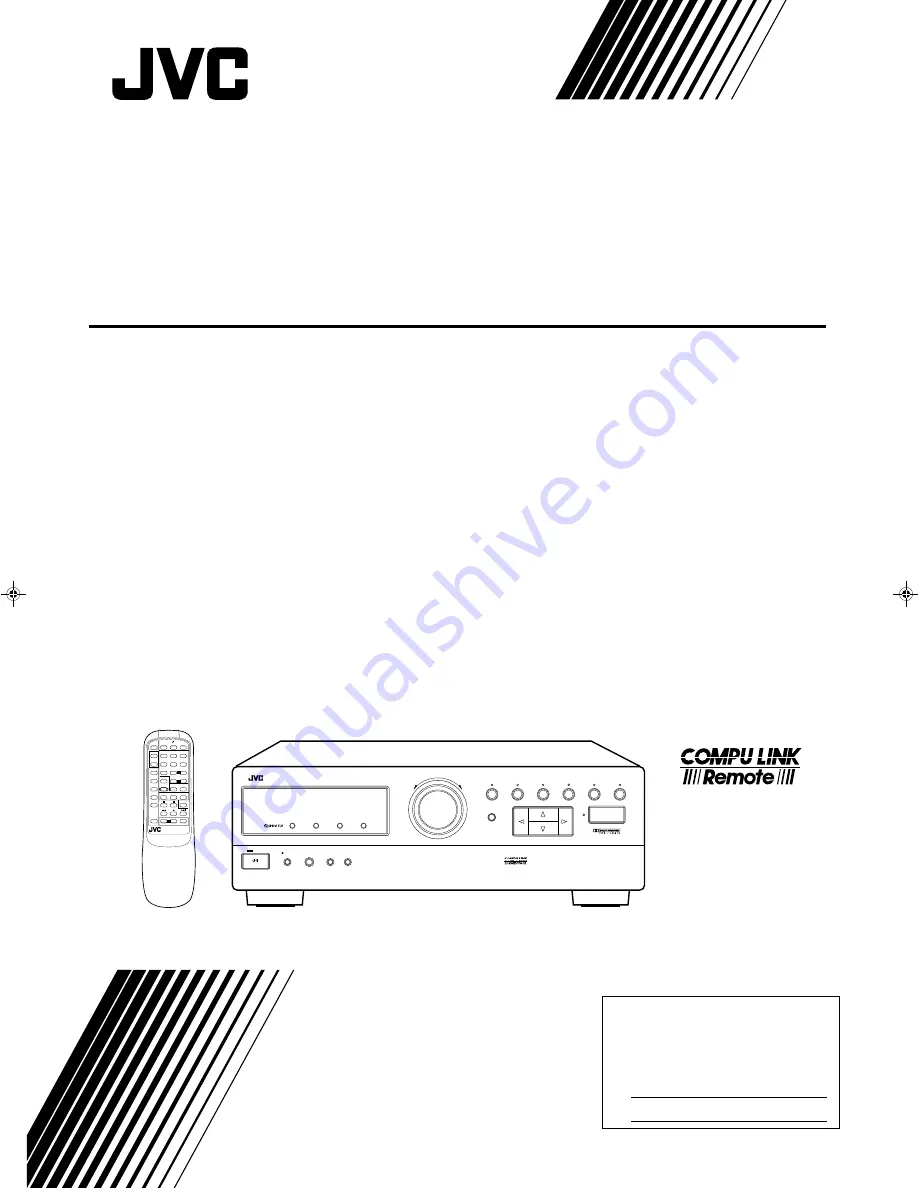
RX-530RBK
AUDIO/VIDEO CONTROL RECEIVER
AUDIO/VIDEO-RECEIVER MIT STEUEREINHEIT
AMPLI/TUNER DE COMMANDE AUDIO/VIDEO
GEINTEGREERDE AUDIO/VIDEO-VERSTERKER
RECEPTOR DE CONTROL DE AUDIO/VÍDEO
RICEVITORE DI CONTROLLO AUDIO/VIDEO
INSTRUCTIONS
BEDIENUNGSANLEITUNG
MANUEL D’INSTRUCTIONS
GEBRUIKSAANWIJZING
MANUAL DE INSTRUCCIONES
ISTRUZIONI
RX-530R AUDIO/VIDEO CONTROL RECEIVER
DISPLAY MODE
STANDBY
STANDBY/ON
POWER
PHONES
SPEAKERS
MASTER VOLUME
–
+
TUNER/BAND
PRESET SEA
SOURCE
SURROUND
ADJUST
ONE TOUCH OPERATION
SETTING
MEMORY
1
2
_
ON
—
OFF
TA/ NEWS /INFO
EON
PTY SEARCH
_
ON
—
OFF
ENHANCED COMPULINK CONTROL SYSTEM
TV
/VIDEO
CH
+
CH
–
4
5
6
1
2
3
TV
VCR
AUDIO
TEST
DELAY
PRESET SEA MODE
SURR MODE
CD
7/P
8
9
10
+10
TAPE
FM/AM
SEA
ON/OFF
SURROUND
ON/OFF
VCR
TV
TV CONTROL
RM-SR530RU REMOTE CONTROL
–
+
VIDEO
ONE TOUCH
OPERATION
VOLUME
–
+
CENTER
–
+
REAR
CD-DISC
AUDIO
CONTROL
/I
PTY SEARCH
DISPLAY
–
+
PTY SELECT
VOLUME
PHONO
–
+
MUTE
RX-530RBK(EF)_0021-001A_Cover
97.4.24, 0:15 PM
1


