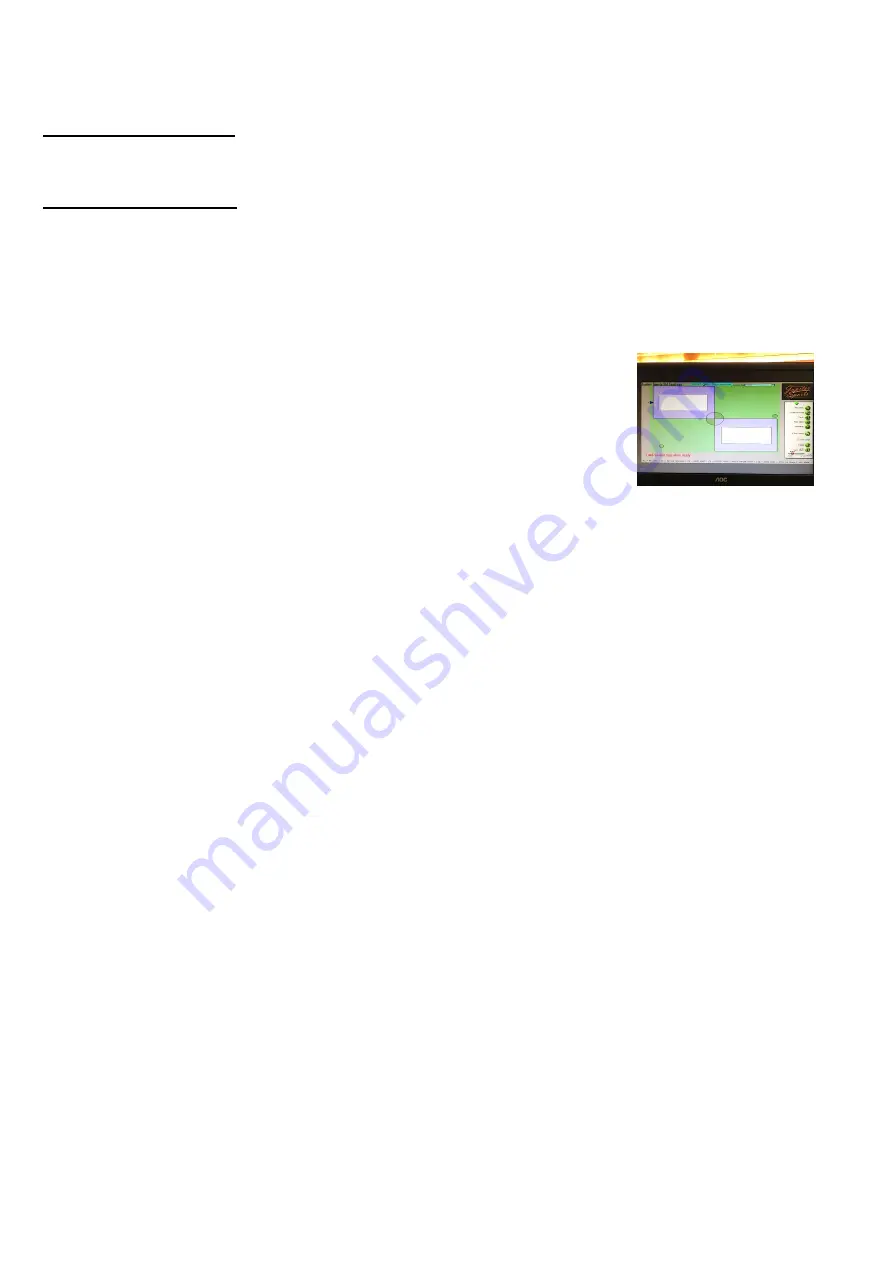
THE HOME SCREEN
All of the operations of this system are controlled through this one screen
TERMS AND TRICKS
Text boxes
- Each product has 1 text box
- You are 3 lines per product available
-
Hitting RETURN will bring you to the next line below
- Clicking the cursor on the top of the text box will bring you to line 1
- The numbers on the left side of the selected text box will tell you what line you are working on
- Resize Text Box
-
select F2 and click and drag. (Click CTRL to get back to regular cursor)
-
Moving the text box - Click and drag
Size of Text -
F11- Shrink Font F12 - Grow Font
Font Changes
- Click the FONT pull down bar to see your font options and to change fonts
Template Library
- Click to open and see all Template options in your engraver
- Click again to close the Template Library
Changing the physical template
-
Place the template on the peg holes
- If you need to move the head of the engraver to put the template on hit the TOP or BOTTOM
ARROW KEYS on the keyboard to move the head so there is extra room to put the template on the
pegs
Restart
- Click this to stop a job or to clear the memory from the engraver
Load/Unload
- This will bring the template table forward so you can LOAD/UNLOAD products
ENGRAVE
- Once you are set and ready to engrave click this to begin the engraving. There may be a
slight delay for processing.
Find Home
- This will bring the head of the engraver to the HOME position
Use Logo
- Select the square to make a check mark and use a logo
Save Settings
- Saves the last position of the text box and fonts. Your template will be permanently
changed to this save so make sure this is what you want.
Cut Depth
- Brings the engraving bit higher or lower for engraver deeper or lighter
0.00 LIGHTER
.10 DEEPER
SHORTCUTS - These are on the bottom of your home screen to reference
RESTART: F1
RESIZE TEXT BOX: F2
MOVE LOGO: F3
RESIZE LOGO: F4
SMALLER FONT: F11
LARGER FONT: F12
REGULAR CURSOR: CTRL
RAISE ENGRAVER HEAD: ARROW KEYS
(when putting new templates on base)
JS Engraver Manual 2013


