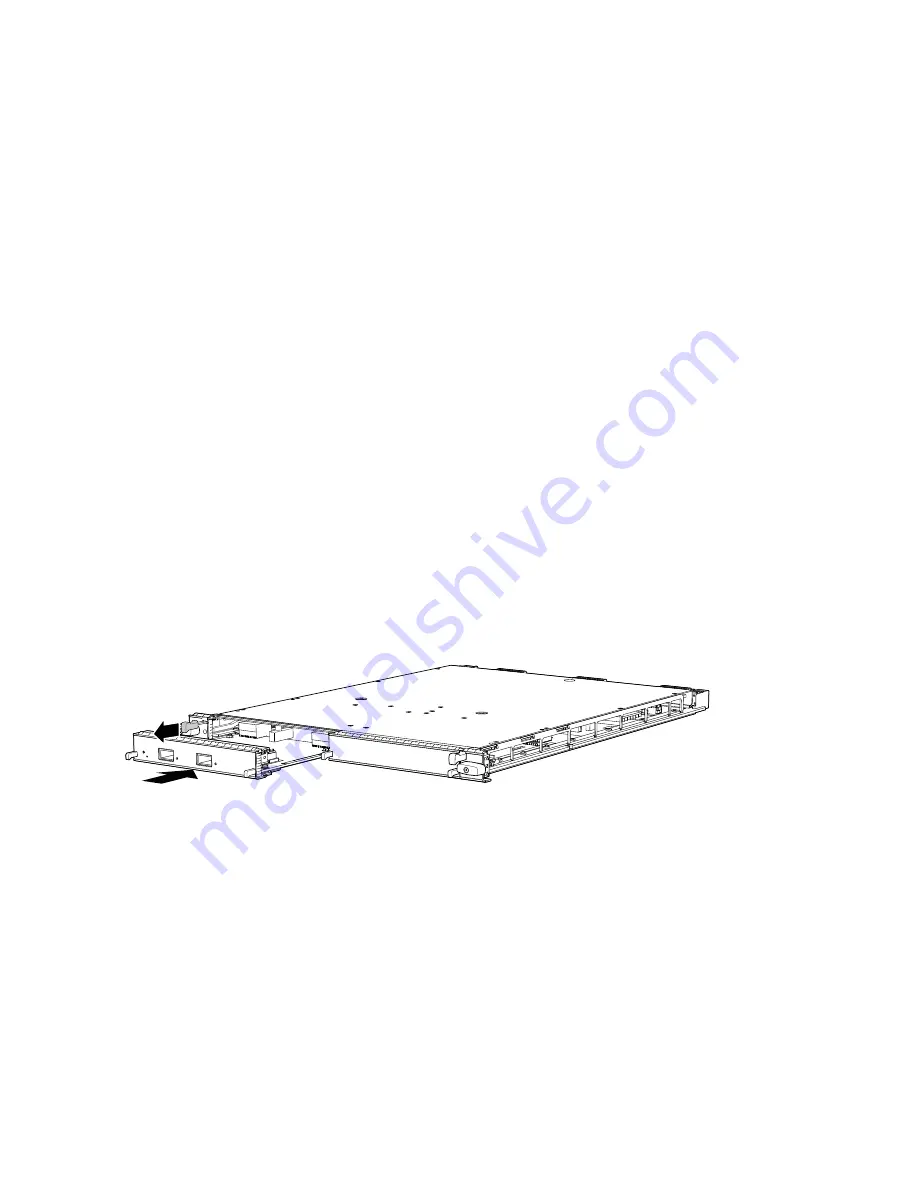
8. Grasp the handles on the MIC faceplate, and slide the MIC out of the MPC card carrier. Place it in the
electrostatic bag or on the antistatic mat.
9. If you are not reinstalling a MIC into the emptied MIC slot within a short time, install a blank MIC panel
over the slot to maintain proper airflow in the MPC card cage.
Installing an SRX5600 Services Gateway MIC
To install a MIC:
1. Wrap and fasten one end of the ESD grounding strap around your bare wrist, and connect the other
end of the strap to the ESD point on the chassis.
2. If you have not already done so, power off the services gateway.
3. If the MIC uses fiber-optic cable, verify that a rubber safety cap is over each transceiver on the faceplate.
Install a cap if necessary.
4. On the MPC, pull the ejector knob that is adjacent to the MIC you are installing away from the MPC
faceplate. The ejector knob is located between the MIC and the rotational knob that retains the MPC
in the services gateway card cage. See
Figure 136: Installing a MIC
g030316
1
2
5. Align the rear of the MIC with the guides located at the corners of the MIC slot.
6. Slide the MIC into the MPC until it is firmly seated in the MPC. The ejector knob will automatically
move in towards the faceplate to lock the MIC in position as it seats.
If the MIC does not seat properly in the slot, pull the ejector knob all the way out and try again to seat
the MIC. The MIC will not seat properly unless the ejector knob is all the way when you start to insert
the MIC.
331
Summary of Contents for SRX5600
Page 1: ...SRX5600 Services Gateway Hardware Guide Published 2020 02 14 ...
Page 23: ......
Page 105: ...LEDs 106 ...
Page 114: ...Figure 51 SRX5K MPC g030309 MPC empty 115 ...
Page 124: ...Port and Interface Numbering 125 ...
Page 130: ...Port and Interface Numbering 131 ...
Page 156: ......
Page 185: ......
Page 193: ...Figure 84 Installing the Front Mounting Hardware for a Four Post Rack or Cabinet 196 ...
Page 239: ......
Page 285: ...c Upload the configuration to RE2 from the USB device 288 ...
Page 372: ...5 CHAPTER Troubleshooting Hardware Troubleshooting the SRX5600 377 ...
Page 373: ......
Page 407: ......
Page 420: ...423 ...
Page 423: ...Restricted Access Area Warning 426 ...
Page 430: ...433 ...
Page 443: ...Jewelry Removal Warning 446 ...
Page 446: ...Operating Temperature Warning 449 ...
Page 456: ...DC Power Disconnection Warning 459 ...
Page 460: ...DC Power Wiring Sequence Warning 463 ...
Page 463: ...DC Power Wiring Terminations Warning 466 ...
Page 466: ...DC Power Disconnection Warning 469 ...
Page 470: ...DC Power Wiring Sequence Warning 473 ...


