Page 3
Task 4: Access the J-Web Interface
1.
Launch a Web browser from the management device.
NOTE:
The wizard works best with Mozilla Firefox version 15.x or later.
2.
Type
http://192.168.1.1
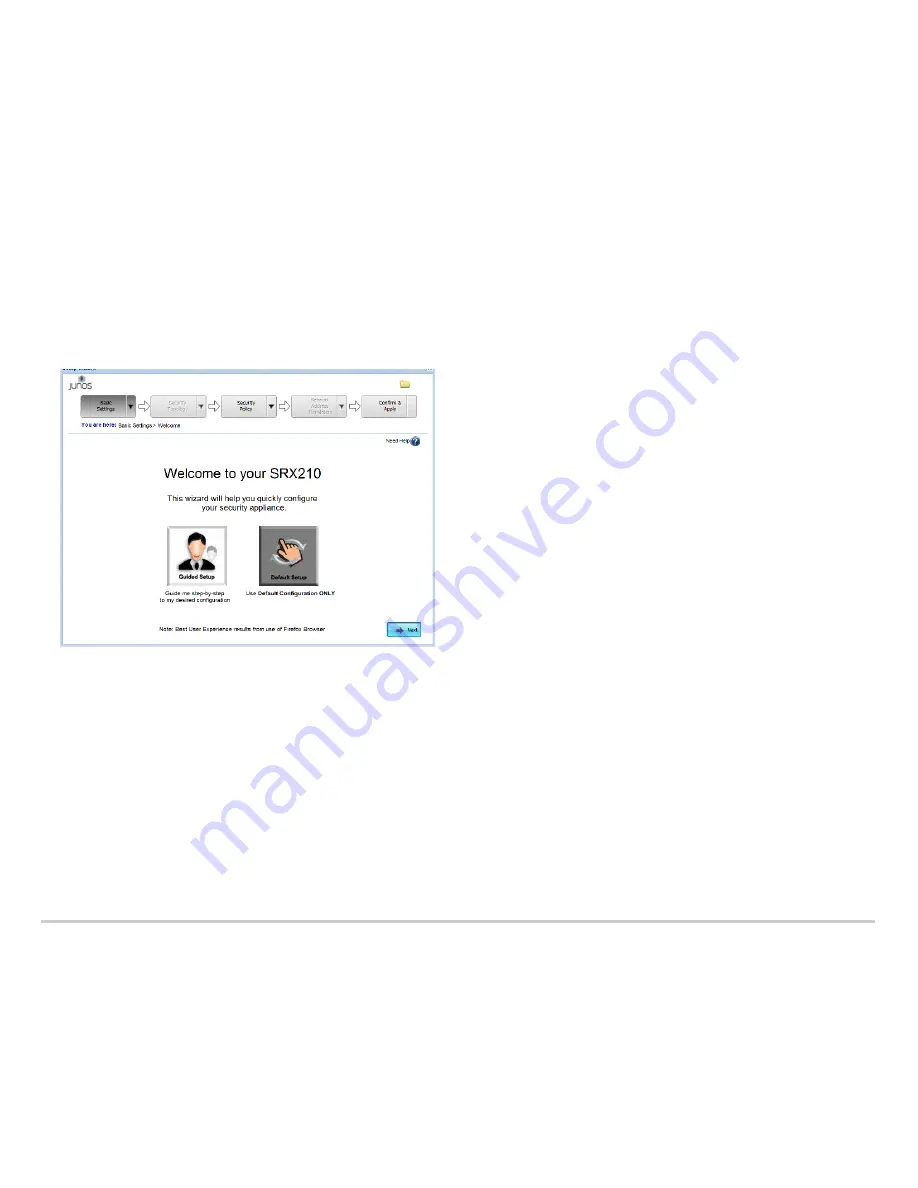
in the URL address field. The Welcome page appears.
Task 5: Select the Setup Mode
Use one of the following setup modes to configure the services gateway:
Guided Setup
- Allows you to set up the services gateway in a custom security
configuration. In this mode, you can select either the Basic
or the Expert option. If
you choose this mode, proceed to Task 7.
Default Setup
- Allows you to quickly set up the services gateway in the default
configuration. In this mode, you can configure basic system settings, such as the
administrator password, and download purchased licenses. Any additional
configuration can be carried out after completing the wizard setup. If you choose this
mode, proceed to Task 6.
Task 6: Configure the Basic Settings in Default Setup Mode (Method 1)
Before you begin the configuration process, obtain a dynamic IP address. Use the port
labeled
0/0
(interface ge-0/0/0) to connect to your Internet service provider (ISP). Your
ISP will assign an IP address using the DHCP process.
NOTE:
It is mandatory to configure only the device name and root password. You can
skip all the other steps by clicking
Next
to go directly to the Confirm & Apply
page to
apply the configuration (Task 8).
1.
From the Welcome page, click
Default Setup
. A warning message appears.
2.
Click
Yes
to accept the default configuration mode.
3.
From the Device Information page of the wizard, type the following information:
Device name of the services gateway; for example, SRX210.
Enter and confirm the root password.
NOTE:
As you type in the password, the password evaluator indicates the
password strength. We recommend that you use a strong password, which
should contain 12 or more characters and include uppercase and lowercase
letters, numbers, and symbols.
To add users, click
Add
. Enter the username, password, and role. Click
Done
.
The username appears in the Administrative Accounts
list box.
4.
Click
Next
. The Device Time page appears.
5.
Configure the system time by using one of the following options:
Time Server
- Enter the NTP server name or IP address.
Manual
- Enter the date and time.
6.
Click
Next
. The Summary page appears.
7.
Click
Next
. The Licenses page appears.
8.
If you have purchased licenses, type your authorization code and click
Download
to
automatically retrieve the license. The Sign-in to License Management System page
appears.
9.
If you have an existing support account, enter your e-mail address and password.
Click
Next
. The Licenses page appears. Select
I Agree
to accept the license and
click
Done
.
NOTE:
If you do not have a support account, you can create a new account:
Enter your e-mail address and select
Create New Account
. Click
Next
.
From the Create Account page, enter your account information. Click
Next
. The
End User License page appears.
Select
I AGREE
to accept the license, and click
Next
.
Make a note of the new username and password. Click
OK
. You can change
the password by logging in to http://juniper.net/support.
After you submit an access authorization request, if your access is approved, you
will receive an e-mail in less than 24 hours. You can download the license only after
your access is approved.


