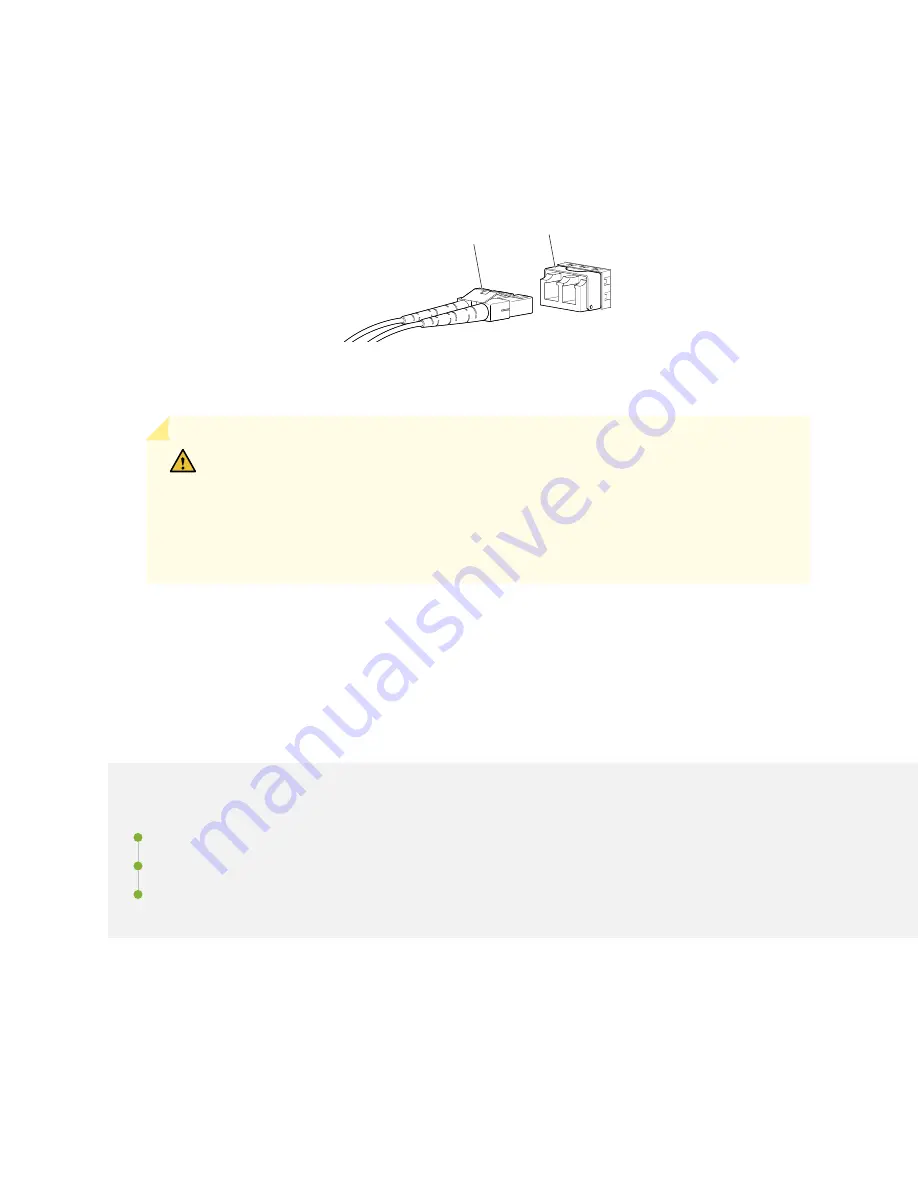
3. Insert the cable connector into the optical transceiver (see
).
Figure 98: Connect a Fiber-Optic Cable to an Optical Transceiver Installed in a Device
g000704
Transceiver
Fiber-optic
cable
4. Secure the cables so that they do not support their own weight. Place excess cable out of the way in
a neatly coiled loop. Placing fasteners on a loop helps cables maintain their shape.
CAUTION: Do not bend fiber-optic cables beyond their minimum bend radius. An arc
smaller than a few inches in diameter can damage the cables and cause problems that
are difficult to diagnose.
Do not let fiber-optic cables hang free from the connector. Do not allow fastened
loops of cables to dangle, which stresses the cables at the fastening point.
Configure Junos OS on an EX4100 and EX4100-F
Switch
IN THIS SECTION
EX4100 and EX4100-F Default Configuration | 154
Connect and Configure an EX4100 and EX4100-F Switch | 170
Revert to the Default Factory Configuration on an EX Series Switch | 175
153
Summary of Contents for EX4100
Page 1: ...EX4100 and EX4100 F Switch Hardware Guide Published 2022 11 08 ...
Page 68: ...Figure 45 Front to Back Airflow Through the EX4100 48P or EX4100 48T Switch Chassis 59 ...
Page 69: ...Figure 46 Front to Back Airflow Through the EX4100 24MP or EX4100 48MP Switch Chassis 60 ...
Page 70: ...Figure 47 Front to Back Airflow Through the EX4100 F 24P Switch Chassis 61 ...
Page 71: ...Figure 48 Front to Back Airflow Through the EX4100 F 24T Switch Chassis 62 ...
Page 72: ...Figure 49 Front to Back Airflow Through the EX4100 F 48P Switch Chassis 63 ...
Page 209: ...5 CHAPTER Troubleshoot Hardware Troubleshoot the EX4100 and EX4100 F Components 201 ...


