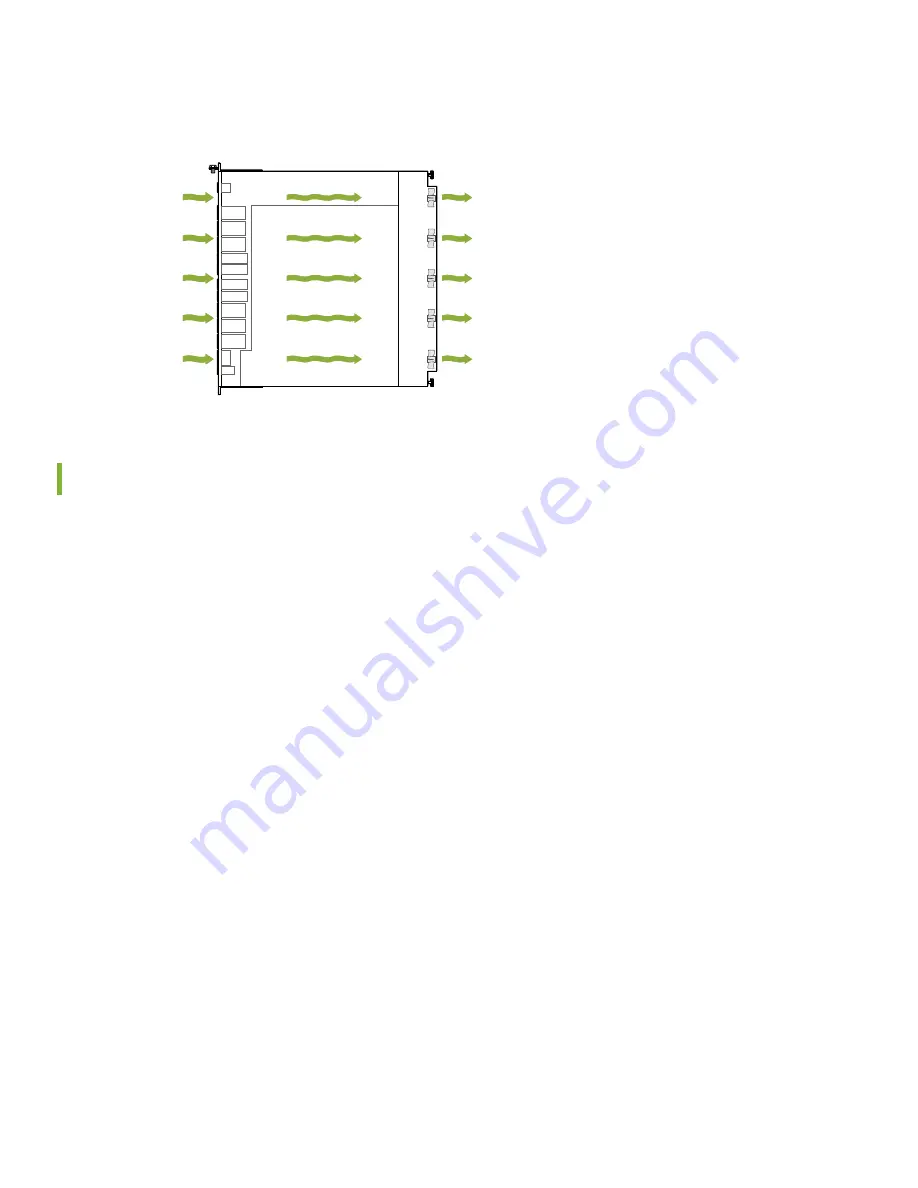
Figure 4: Airflow Through the ACX710 Chassis
Front
Rear
g100883
Tools and Parts Required to Prepare the ACX710 Router for Installation
•
19-in. four-post rack with fasteners (provided)
•
ESD grounding strap (not provided).
•
One pair of front-mounting rails (provided)
•
Screws to secure the chassis to the rack (not provided).
•
Appropriate screwdriver for the mounting screws (not provided).
•
Two DC power cords with plugs appropriate for your geographical location (provided).
•
One grounding cable (provided).
•
RJ-45 cable and RJ-45 to DB-9 serial port adapter (not provided).
•
Management host, such as a PC or laptop, with a serial port (not provided).
Step 2: Install the ACX710 Chassis in the Rack
To install the router in a four-post rack:
1. Position the router in front of the rack.
2. Wrap and fasten one end of the ESD grounding strap around your bare wrist, and connect the other end of the strap
to a site ESD point.
3. Align the holes in the front-mounting rails with the holes on the side of the chassis (see
).
5


