29
30
Booster Assembly
Assemble Head Support
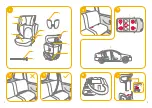
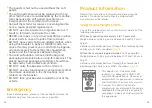
1. Booster taken from the carton as
Fig.6
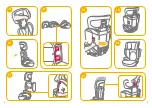
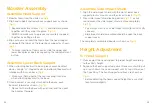
2. Flip head support and lower back support over as shown.
(Fig.7)
!
Squeeze adjustment lever
(Fig.7.1)
and slide two pieces
together until they snap into place.
(Fig.7.2)
!
CHECK to make sure two pieces are securely snapped
together by pulling on them.
3. Flip seat over and insert the fabric from the head support
underneath the fabric on the lower back support as shown.
(Fig.8)
!
To make insertion of fabric easier, slide the upper and
lower back pieces apart by squeezing the red adjustment
button.
Assemble Lower Back Support
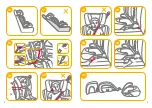
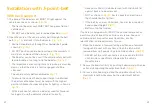
1. When attaching backrest to base, please press backrest
down strongly.“U”-shaped hooks on bottom of backrest will
interlock with bars on base.
(Fig.9)
!
Make sure that no part of the seat covering interferes
when attaching backrest to the base.
2. Once backrest is securely attached to the base, push
backrest forward as shown.
(Fig.10)
!
Please first hold the base with one hand, and then push
the backrest forward.
Assemble Side Impact Shield
1. Align the side impact shield with the slot of lower back
support plastics mounts, and then insert to lock.
(Fig.11)
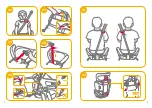
2. Press side impact shield locking button
(Fig.12)
,
a click
sound means the side impact shield is close completely.
(Fig.13)
!
You always must to use side impact shield for child’s safty
concern.
!
Side impact shield assembled should be upon the back
support cover.
The completely assembled booster is shown as
Fig.14
Height Adjustment
for Head Support
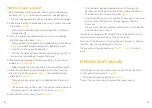
1. Please adjust the head support to proper height according
to the child's height.
2. Squeeze the head support adjustment lever, meanwhile pull
up or push down the head support until it snaps into one of
the 7 positions. The head support positions are shown as
Fig. 15
!
Before adjusting the head support height have you child
lean forward slightly.

