

BLACK
BOX DANTE
RECORDER – BBR-DANTE
- Quick Start Guide
Page | 2
Adjusting Settings
All user definable settings are
adjusted using the MENU and
BACK buttons and the data
wheel. Parameters are
displayed on a RED
background whilst being
adjusted. The MENU button
takes you deeper into the
MENU structure or selects
the currently highlighted item
for adjustment. The BACK
button takes you out of the
MENU structure.
The MENU button also
doubles as a CONFIRM button
and the BACK button doubles
as CANCEL
When recording digital signals it is essential to synchronise all the audio clocks on all the equipment. This is explained in
greater detail in the user manual but if in doubt set the BBR’s reference clock to Dante to extract the clock signal from
the incoming Dante data stream, and set the console to be the clock master. Clock signals may also be derived from
Word Clock or AES/SPDIF (bit) clocks.
Basic Set-up
You will probably need a computer to initially configure the Dante network
components and set up the routing table. However, once you have set up your
routing table using the Dante Controller application, you can power off any Dante
enabled device and it will remember its routing when it’s reconnected to the
network.
Plug the Ethernet cable into the console or Ethernet hub.
Plug a fast USB2 drive (7200rpm recommended) into the USB2 socket on the rear of
the BBR. Note that the disk drive MUST be formatted to the FAT32 standard – this
allows both Mac and PC workstations to use the recordings. The BBR can reformat
the drive if required (MENU; DISK MANAGE…).
Plug the power adapter into the BBR and turn the power on. As soon as the boot up
sequence has finished and the BBR has found and logged the disk drive, you are
ready to finish setting up the BBR.
Set the sample rate to be the same as your console: MENU; SETUP; SAMPLE RATE
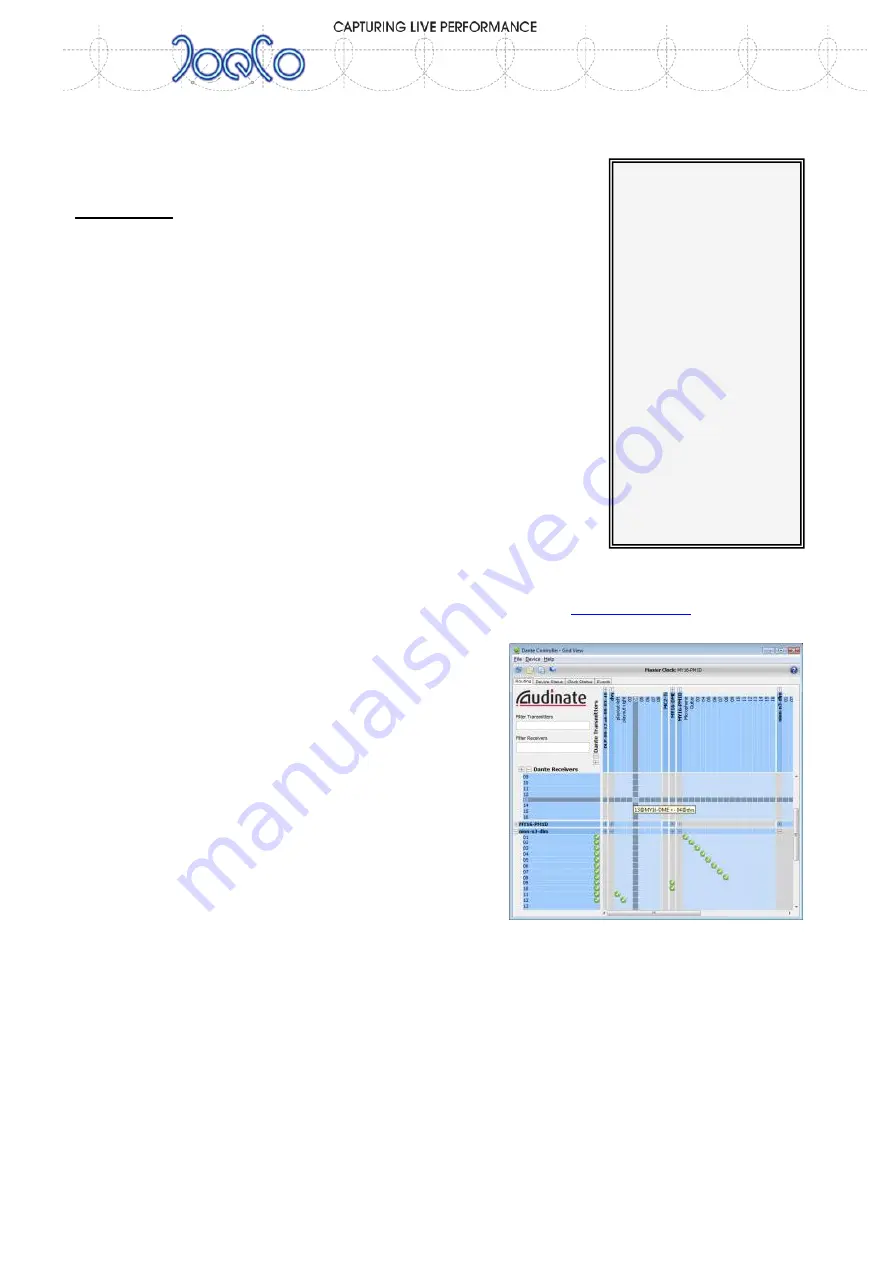
Use the Dante Controller software (free download for Mac and PC available from
) to set up your
routing matrix table. Typically you will want the console or the Stage box to be the source of audio for the BBR-Dante.
However, if there are many devices connected to the network you
should probably set up multicast flows which broadcast the audio
sources to multiple destinations simultaneously without eating up
excessive network bandwidth.
Set the Reference audio clock: MENU; INPUT/OUTPUT; REF CLOCK:
(set this to Dante normally). The input status bar at the bottom on
the Input Setup Screen should now be green to show a good Dante
signal.
Set the time in MENU; SETUP; DATE/TIME. Now you’re ready to
press record.
Other aspects of the Dante interface are adjustable under MENU;
INPUT/OUTPUT
Linear Time Code (LTC) or MIDI Time Code (MTC) can be used to provide a timestamp for the audio files you record.
(MENU; SETUP; TIMELINE) or you can just use the real time clock
The Track Arm MENU allows individual tracks to be disarmed for record if required.
You may want to name the songs and the tracks that you record in which case you will require a keyboard with a PS2
connector. Ctrl+S allows you to rename Songs; Ctrl-T allows you to name tracks.
MENU; SETUP; RESET will return the BBR to its factory settings in case you get in a muddle. Other operational matters
are explained in greater detail in the user manual.
(c) JoeCo Limited 2009, 2010, 2011. E&OE. All rights reserved


