Box 1:
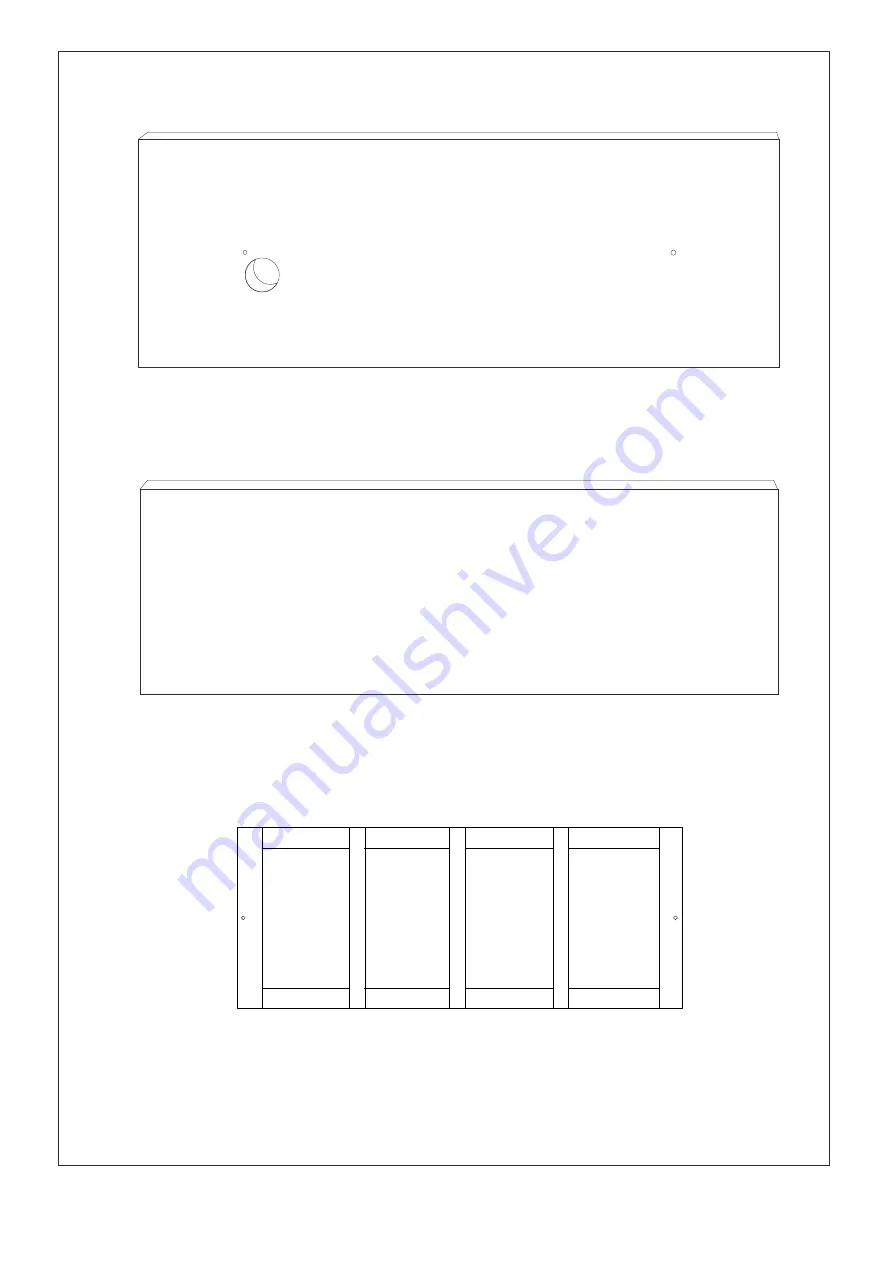
BENCH SUPPORT PANEL
BENCH PANEL
HEATER
Copyright © 2018 JNH Lifestyles
All Rights Reserved
7
Version 3.12.18
Page 1: ...re assembling your infrared sauna for the first time We recommend keeping this instruction manual for future A STEP BY STEP GUIDE reference TO ASSEMBLE YOUR INFRARED SAUNA Copyright 2018 JNH Lifestyles All Rights Reserved Version 3 12 18 ...
Page 2: ...Assembly Instructions MODEL NUMBER MG417HB MG417RB Copyright 2018 JNH Lifestyles All Rights Reserved 2 Version 3 12 18 ...
Page 3: ... 24 14 28 28 32 7 8 16 27 27 25 9 OVERVIEW DRAWING 26 29 29 29 29 29 29 29 29 35 29 29 29 29 26 6 28 28 9 28 28 9 28 28 9 28 28 9 12 31 30 13 11 11 32 26 26 3 32 32 34 34 34 32 32 28 32 32 32 28 9 9 28 28 34 34 34 32 32 32 32 4 28 28 28 28 32 32 32 9 9 Copyright 2018 JNH Lifestyles All Rights Reserved 3 Version 3 12 18 ...
Page 4: ...zer Right Panel Front Panel Speaker Top Panel Fixed Part Bench Support Panel 3 x 16 Screw 4 x 16 Screw 4 x 40 Screw 4 x 40 Screw 6 x 35 Screw 6 x 15 Screw Bench Panel Power Cord Cover Heater Vent Glass Door Glass Window Door Handle Round Handle Door Hinge Magnet Latch Power Supply Control Panel Control Panel Wood Frame Cable for Mp3 Player 4 x 10 Internal Rope Thread 1 1 1 1 1 1 1 1 2 1 2 1 4 1 1 ...
Page 5: ...RPOSE KA4 40 For Roof Panel KA3 16 For Seat Bench TM4 40 For Heater PMW4 16 For Power Box For Seat Bench 2 27 28 24 23 29 4 2 12 18 Questions on Installation Contact 800 528 3110 Copyright 2018 JNH Lifestyles All Rights Reserved 5 Version 3 12 18 ...
Page 6: ...ch box OVERVIEW Your Sauna will arrive in 3 boxes Box 1 BOTTOM PANEL TOP PANEL Bird s eye View 1 2 3 POWER BOX Power Box Hardware Packs USE Copper Wrie Only Copyright 2018 JNH Lifestyles All Rights Reserved 6 Version 3 12 18 ...
Page 7: ...Box 1 BENCH SUPPORT PANEL BENCH PANEL HEATER Copyright 2018 JNH Lifestyles All Rights Reserved 7 Version 3 12 18 ...
Page 8: ...Box 2 REAR PANEL Interior View FRONT PANEL Exterior View Copyright 2018 JNH Lifestyles All Rights Reserved 8 Version 3 12 18 ...
Page 9: ...Box 3 LEFT PANEL Interior View RIGHT PANEL Interior View Copyright 2018 JNH Lifestyles All Rights Reserved 9 Version 3 12 18 ...
Page 10: ...n dry and level ground Attach the rear panel to the bottom panel using the tongue and groove Confirm there are no gap prior to latching REAR PANEL In Box 2 Latches BOTTOM PANEL In Box 1 BOTTOM PANEL Exterior View Copyright 2018 JNH Lifestyles All Rights Reserved 10 Version 3 12 18 ...
Page 11: ...l to the rear and bottom panels using the tongue and groove Confirm there is no gap prior to latching RIGHT VIEW RIGHT PANEL In Box 3 LEFT VIEW LEFT PANEL In Box 3 Left Panel Left Panel Left P anel RIGHT PANEL R IG H T PA N E L BOTTOM PANEL BOTTOM PANEL REAR PANEL REAR PANEL Copyright 2018 JNH Lifestyles All Rights Reserved 11 Version 3 12 18 ...
Page 12: ...ce and tighten in place using two 2 PMW4 16 screws PMW4 16 POWER SUPPLY In Box 1 HEATER In Box 1 USE Copper Wrie Only Interior View Exterior View TM4 40 BOTTOM PANEL BOTTOM PANEL REAR PANEL REAR PANEL USE Copper Wrie Only Left P anel Left P anel R IG H T PA N E L R IG H T PA N E L 1 2 3 Rotate cover to minimize opening Copyright 2018 JNH Lifestyles All Rights Reserved 12 Version 3 12 18 ...
Page 13: ...ng TM4 40 screws Connect heater cords to power box TM4 40 HEATER In Box 1 BENCH SUPPORT PANEL In Box 1 BENCH SUPPORT PANEL Short Cord USE Copper Wrie Only Feed the power cord as shown HEATER In Box 1 Align groove BOTTOM PANEL REAR PANEL Left Panel R IG H T PA N E L Copyright 2018 JNH Lifestyles All Rights Reserved 13 Version 3 12 18 ...
Page 14: ...heater cords to power box KA3 16 Rear Panel Right Panel Bench Support Panel Bench Panel In Box 1 2 1 3 Left View The left panel is hidden screw brackets to the front of the USE Copper Wrie Only Bench Support Panel Bench Panel BOTTOM PANEL REAR PANEL Left P anel R IG H T PA N E L Copyright 2018 JNH Lifestyles All Rights Reserved 14 Version 3 12 18 ...
Page 15: ...o the unit and secure with latches Rear Panel Front Panel In Box 2 Left View Left Panel Use the screwdriver to remove the glass protectors on the glass panel Copyright 2018 JNH Lifestyles All Rights Reserved 15 Version 3 12 18 ...
Page 16: ...una TOP PANEL REAR PANEL Please ensure the top panel is placed in the center The clearance distance of L1 L2 L3 and L4 should all be the same L4 L3 TOP PANEL FRONT PANEL LEFT PANEL L2 L1 TOP PANEL REAR PANEL RIGHT PANEL TOP PANEL In Box 1 Copyright 2018 JNH Lifestyles All Rights Reserved 16 Version 3 12 18 ...
Page 17: ...e in the front of the unit Install door knob place inside of the sauna tighten with LONG SCREW and door handle place outside of sauna tighten with SHORT SCREW LONG SCREW SHORT SCREW Oblique View Inside Outside Copyright 2018 JNH Lifestyles All Rights Reserved 17 Version 3 12 18 ...
Page 18: ...Your sauna is ready to use Please read the user manual for instructions on operating your sauna Copyright 2018 JNH Lifestyles All Rights Reserved 18 Version 3 12 18 ...