


8
Helpline No UK. 0871 2000 463 ROI. 01443 3940
Web Support: www.skymediauk.co.uk
Please save your packaging as you will need this in the event of warranty/service repair or support. We
are unable to carry out warranty/service if you are unable to package it correctly. The safest way to
package your item in the event of warranty/service repair is in it’s original box/packaging.
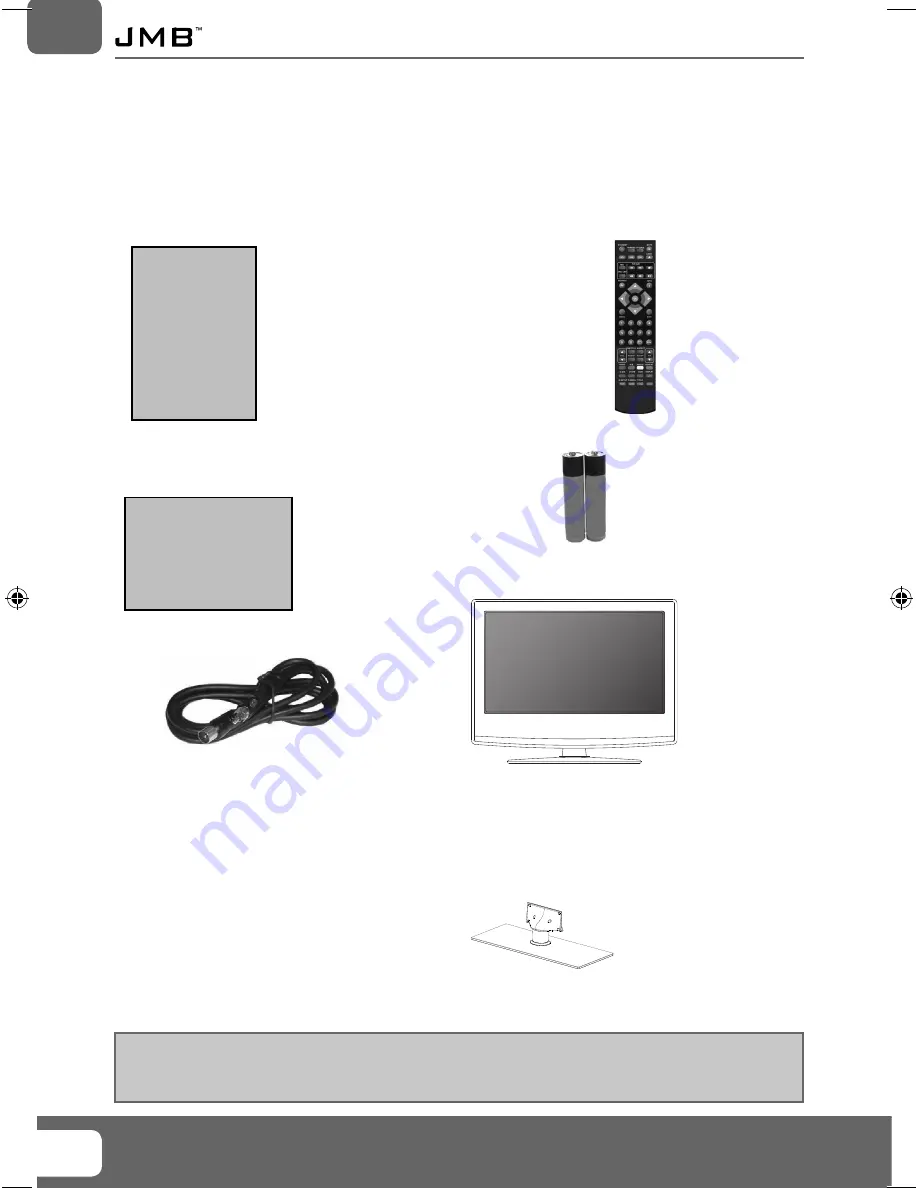
WHAT IS INCLUDED IN THE BOX
Accessories
Included with this TV are the following accessories:
1 x User Guide
1 x Quick Start Guide
2 x AAA Batteries
1 x TV
1 x RF Cable
1 x Remote Control
What is included in the box
User Guide
Quick Start
Guide
1 x Stand plus screws
User Guide -JMB 46-188G-GB-5B-FTCU-UK.indd Sec1:8
User Guide -JMB 46-188G-GB-5B-FTCU-UK.indd Sec1:8
14-Sep-12 3:58:55 PM
14-Sep-12 3:58:55 PM
Summary of Contents for 46/188G-GB-5B-FTCU-UK
Page 2: ...2 Helpline No UK 0871 2000 463 ROI 01443 3940 Web Support www skymediauk co uk ...
Page 6: ...6 Helpline No UK 0871 2000 463 ROI 01443 3940 Web Support www skymediauk co uk ...
Page 30: ...30 Helpline No UK 0871 2000 463 ROI 01443 3940 Web Support www skymediauk co uk ...
Page 31: ...Helpline No UK 0871 2000 463 ROI 01443 3940 Web Support www skymediauk co uk 31 31 ...
Page 32: ...JMB MAN 0001 ...


