background image

Hydraulic Torque Wrench Operation and Maintenance Manual

9

5. Continue this cycling operation of advance and retract until the nut is no longer turning and the pump

gauge reaches the preset pressure. The piston rod will retract when the retract button is pressed and under

normal conditions, an audible “click” will be heard as the tool resets itself.

6. Continue to cycle the tool until it “stalls” and the preset psi/torque has been attained.

7. Once the nut stops rotating, cycle the tool one last time to achieve total torque

CAUTION

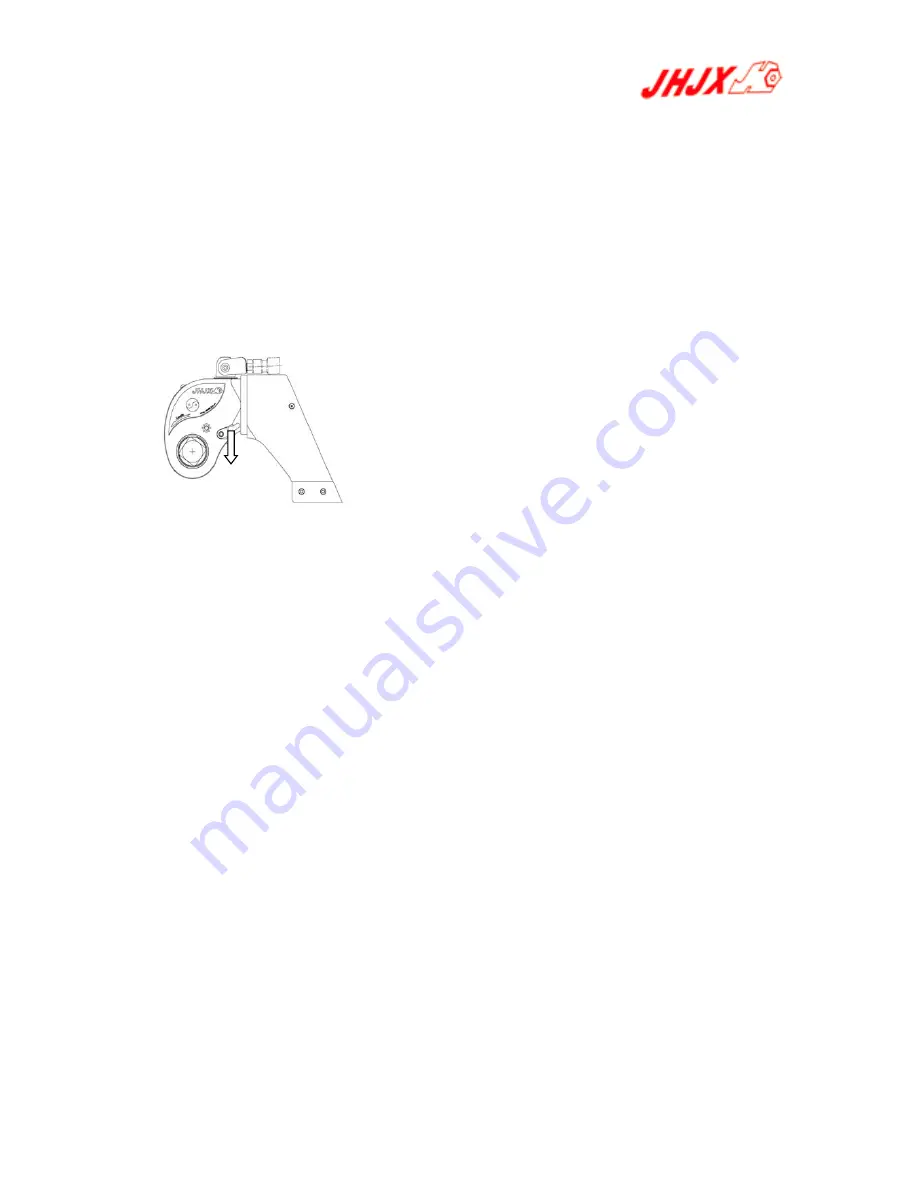
During the operation, if the tool locks on to the nut, press advance button on remote and build pressure-continue

to press down on remote while pushing down on the reaction pawl-release remote while continuing to push

down on reaction pawl, then the tool will the released from the nut.

FIG 7

Pulling

down

Summary of Contents for JHM series

Page 1: ...AFETY INSTRUCTIONS AND MAINTENANCE MANUAL FOR JHM05 HYDRAULIC TORQUE WRENCES It is operating manual of JHM05 wrenches please read carefully follow instructions Warnings and cautions before using the tools ...

Page 2: ...the environment in the workplace air explosion could have any potential you may not use electric pumps pneumatic pumps should be used If metal crash sparks should take preventive measures Reaction arm Hydraulic wrench operation requires proper reaction fulcrum according to the site need to adjust the reaction arm or the appropriate reaction arm position If still not working please consult the JHJX...

Page 3: ...tective clothing Safety glasses Mobile Devices Do not drag through the hydraulic tubing rotary joints hydraulic power cord or external cables etc to move the unit Hydraulic wrench comes with handles can be used to move equipment High pressure tubing Do not bend fold tubing always check the tubing if damaged should be replaced Dust cover and side cover All tools have dust cover and side cover so th...

Page 4: ...eating or shaking stop and then re adjust the reaction arm and the anchor to make it more solid and safe Note The operation reaction arm should be kept clean and the role of anti surface between the arms cannot have a foreign body Please stick with quality accessories Use high strength sleeve because the sleeve has the exact size of high quality and nuts are a good match Hidden crack has the poten...

Page 5: ...s warnings and precautions comply with safety measures to avoid when operating the equipment or personal injury or equipment damage JHJX for operation and error operation because of insecurity due to equipment damage and personal injury irresponsible Ⅱ OPERATING DIRECTIONS FOR USE One DESCRIPTION The material of JHM05 Hydraulic Torque Wrenches are Aluminium Titanium alloy and super high strength a...

Page 6: ...s The force of escaping hydraulic fluid could cause serious injury Do not let the hose kink twist curl or bend so tightly that oil flow within the hose is blocked or reduced Do not use the hose to move attached equipment Stress can damage the hose causing personal injury WARNING To avoid personal injuries and equipment damages do not remove the shroud of the wrench Do not modify any component of t...

Page 7: ...0 36 55 100 980 150 1470 180 1764 250 2453 300 2940 39 60 120 1176 180 1764 220 2156 300 2943 370 3626 42 65 155 1519 240 2352 280 2744 390 3826 470 4606 45 70 180 1764 280 2744 320 3136 450 4415 550 5390 48 75 230 2254 350 3430 400 3920 570 5592 680 6664 52 80 280 2744 420 4116 480 4704 670 6573 850 8330 56 85 360 3528 530 5149 610 5978 860 8437 1050 10290 60 90 410 4018 610 5978 790 7742 1100 10...

Page 8: ...engage the drive retainer assembly by depressing the center round button and gently pulling on the square end of the square drive The square drive will slide easily out To insert the drive in the tool place the drive in the desired direction engage drive and bushing splines then twist drive and bushing until ratchet spline can be engaged Push drive through ratchet Depress drive retainer button eng...

Page 9: ...eve that torque 1 Connect the tool to the power supply and turn the pump on 2 Depress the advance remote control button causing the pressure to be shown on the gauge 3 Adjust the pressure by first loosing the nut that locks the pressure adjustment handle and then rotate the handle clockwise to increase the pressure and counter clockwise to decrease the pressure When decreasing pressure always lowe...

Page 10: ... heard as the tool resets itself 6 Continue to cycle the tool until it stalls and the preset psi torque has been attained 7 Once the nut stops rotating cycle the tool one last time to achieve total torque CAUTION During the operation if the tool locks on to the nut press advance button on remote and build pressure continue to press down on remote while pushing down on the reaction pawl release rem...

Page 11: ...ion and Maintenance Manual 10 Five Date of JHM05 Hydraulic torque wrench Date Model JHM05 Min torque N m 447 Max torque N m 4466 Square drive 1 L1 mm 170 L2 mm 140 L3 mm 249 H1 mm 70 H2 mm 98 H3 mm 130 H4 mm 168 R mm 37 Weight Kg 4 ...

Page 12: ...330 2106 340 2169 350 2233 360 2297 370 2361 380 2425 390 2488 400 2552 410 2616 420 2680 430 2744 440 2808 450 2871 460 2935 470 2999 480 3063 490 3127 500 3190 510 3254 520 3318 530 3382 540 3446 550 3509 560 3573 570 3637 580 3701 590 3765 600 3828 610 3892 620 3956 630 4020 640 4084 650 4147 660 4211 670 4275 680 4339 690 4403 700 4466 TROUBLE SHOOTING GUIDE TROUBLE PROBABLE CAUSE SOLUTION Pis...

Page 13: ...ston seal and or end plug seal leaking Replace any defective o ring Coupler is defective Replace Square Drive will not turn Grease or dirt build up in the teeth of the ratchet and segment pawl Disassemble the Ratchet and clean the grease or dirt out of the teeth Worn or broken teeth on ratchet and or Segment Pawl Replace any worn or damaged parts Pump will not build up pressure Defective relief va...

Reviews: