17
12.0
Troubleshooting
Symptom
Possible Cause
Correction *
Lathe will not start.
Lathe unplugged from wall, or motor.
Check all plug connections.
Fuse blown, or circuit breaker tripped.
Replace fuse, or reset circuit breaker.
Cord damaged.
Replace cord.
Chuck guard not closed.
Close chuck guard.
Pulley cover removed
Install pulley cover
Lathe does not come up to
speed.
Extension cord too light or too long.
Replace with adequate size and length cord.
Low current.
Contact a qualified electrician.
Lathe vibrates excessively.
Base on uneven surface.
Locate lathe on even floor.
Lathe not bolted to the floor
Bolt machine to the floor
Unbalanced workpiece
Reduce speed
Workpiece deflection
Improve chucking length or diameter, support
on tailstock end
Tool deflection
Reduce tool length
Slide backlash
Adjust slides
Slides running dry
Lubricate with oil
Dull tool tip
Re-sharpen or change tool
Chip load too high
Reduce depth of cut or feed
Noisy operation
Dry change gear hubs.
Lubricate with oil.
Dry change gears
Lubricate with grease.
Tool tip burns
Cutting speed too high
Reduce spindle speed
Dull tool tip.
Re-sharpen or change tool
Dry cutting.
Use coolant.
Feeding too slowly.
Increase feed rate.
Machine turns a taper.
Tailstock alignment is offset.
Align tailstock position.
Machine bed is twisted.
Stand supporting surface must be flat. Shim if
needed
Workpiece deflection.
Reduce depth of cut or feed
Drill chuck or arbor does not
stay in place.
Dirt, grease, etc. on arbor, chuck, or
tailstock quill
Clean all mating surfaces thoroughly with a
cleaner-degreaser.
*
WARNING:
Some corrections may require a qualified electrician.
Table 1
13.0
Environmental Protection
Protect the environment.
Dispose all packaging material in an environmental friendly manner.
Dispose coolant in an environmentally friendly manner.
Your appliance contains valuable materials which can be recovered or recycled. Please leave it at a specialized institution.
14.0
Available Accessories
Refer to the JET price list.
Summary of Contents for BD-7VS
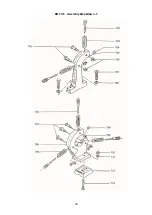
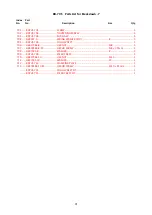
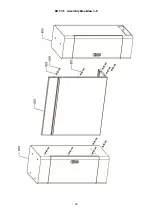
Page 18: ...18 15 0 Replacement Parts BD 7VS Assembly Breakdown 1 ...
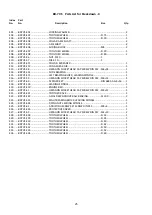
Page 20: ...20 BD 7VS Assembly Breakdown 2 ...
Page 22: ...22 BD 7VS Assembly Breakdown 3 ...
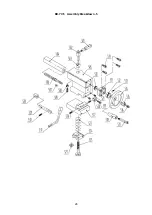
Page 24: ...24 BD 7VS Assembly Breakdown 4 ...
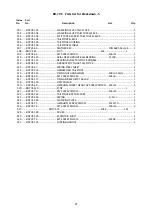
Page 26: ...26 BD 7VS Assembly Breakdown 5 ...
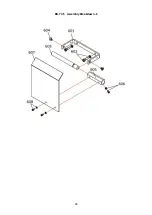
Page 28: ...28 BD 7VS Assembly Breakdown 6 ...
Page 30: ...30 BD 7VS Assembly Breakdown 7 ...
Page 32: ...32 BD 7VS Assembly Breakdown 8 ...
Page 34: ...34 BD 7VS Assembly Breakdown 9 ...
Page 36: ...36 16 0 Wiring Diagrams BD 7VS 1 230V PE 50Hz ...
Page 38: ...38 ...


