5. To return to normal playback, press
STOP
button to stop the programmed playback.
12
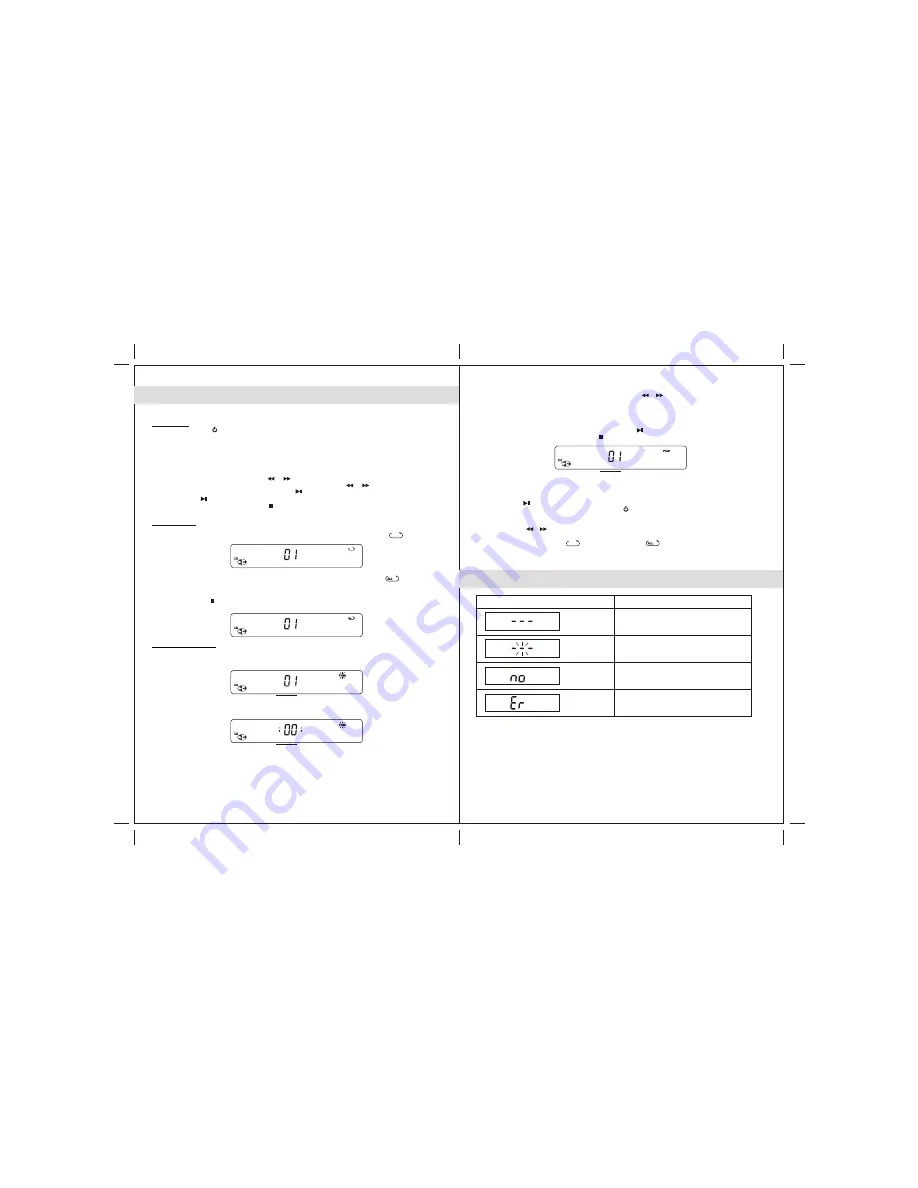
DISPLAY MESSAGE AT CD MODE
Multi-Function Display
Meaning
CD door opened
Reading inserted CD
No Disc
Inserted Disc cannot be recognized
2. To select a track number for the programming track, press or button.
3. When desired track number displayed, press the
PGM
button to confirm entry.
The program number advances by one .
Then both "track number" and "PGM" indicators flash on display.
4. To program up to 20 tracks, repeat steps 2 and 3 until all desired tracks are entered.
Or, to begin programmed playback, press
PLAY/PAUSE
button; "PGM" indicator stays on.
Notes:
• If you press the or button during programmed playback, the unit will skip backward/forward to the
next track in the program, but not the next track in sequence of the disc which is being played.
• The CD play modes function, “ ” repeat one track and “ ” repeat all programmed tracks, work
in the same manner as during normal CD playback (see CD Play Modes above).
Track Number
6. To playback the programmed tracks again, press the
PGM
button once and then press the
PLAY/PAUSE
button to start.
7. To clear the programmed tracks, press the
POWER
button to turn off the unit and turn on again.
NOTE:
If the disc is dirty, damaged or unreadable, the "no" or "Er" will appear in the display.
If this occurs, clean the disc, insert the disc correctly or try another disc.
Notes on CD-R/RW Disc
1. Because of non-standardized format definitions / production of CD-R/RW, playback quality
and performance are not guaranteed.
2. Manufacturer is not responsible for playability of CD-R/RW due to recording conditions
such as PC performance, writing software, media ability, etc.
3. Do not attach a label or seal to either side of CD-R/RW. It may cause a malfunction.
11
The CD player can playback CD/CD-R/CD-RW discs with Audio CD format.
CD Playback
1. Press the
POWER
button to turn the unit on.
2. Press the
FUNCTION
button to select CD mode.
3. Press the
PUSH
OPEN
location of CD cover to open the cover.
4. Press a
CD
onto spindle with printed side facing up.
5. Slightly press the
PUSH
OPEN
location to close and lock the CD cover.
6. The player starts music playback automatically. The current playback tack number shows on display.
7. Adjust the sound level by pressing
/ -
buttons.
8. To skip to a desired
CD
track, press the or button.
9. To fast-rewind or forward within the track playing, press and hold the or button.
10. To pause
CD
playback, press the
PLAY/PAUSE
button. To resume playback, press the
PLAY/PAUSE
button again.
11. To stop
CD
playback, press the
STOP
button.
CD OPERATIONS
CD Program Playback
This feature allows you to program up to 20 tracks to play in a desired order.
1. With CD playback stopped, press
PGM
button once. The "program number" shows on display :
then both "track number" and "PGM" indicators flash on display :
CD Play Modes
•
Repeat Playback
1. To repeat playback of one track, press the
P-MODE
button once. A repeat one icon “ ”
appears on the LCD.
2. To repeat playback of an entire
CD
, press
P-MODE
button twice. A repeat all icon “ ”
appears on the LCD.
To cancel a CD
play mode. Press the
P-MODE
button repeatly until repeat icon disappeared
or press the
STOP
at any time.
Program Number
Track Number


