


6
Momentarily press to turn the unit on. Press and hold to turn the
unit off.
Rotate the volume knob to increase or decrease the volume level.
Momentarily press
MUTE
to silence the audio. Momentarily press
MUTE
again to return to the previously selected volume.
Rotating
the
volume knob
while the volume is muted will also cancel the
mute function.
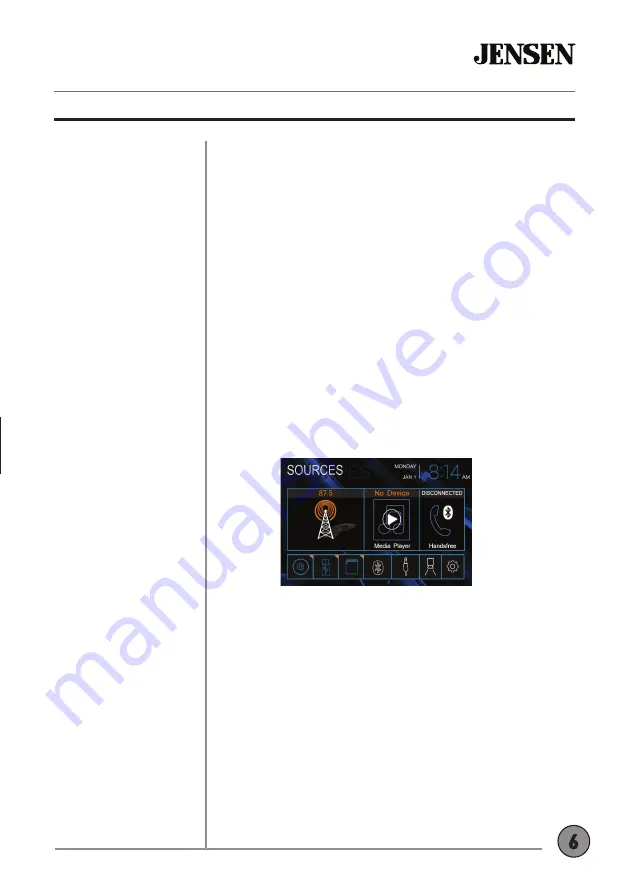
Press
MODE
to step through all available input modes: Radio, Disc,
microSD, USB, Bluetooth Phone, Bluetooth Music, Auxiliary Input,
Rear Camera and Settings. Modes of operation are indicated on the
display and/or the monitor. Optional USB device and microSD card
must be connected/inserted to appear in the mode selection string.
Connect external audio/video devices to the 3.5mm auxiliary input
on the front panel.
Insert a USB device to play MP3 or FLAC audio files.
Insert a microSD card into the microSD card slot to play MP3 or
FLAC audio files.
Press the house icon in the top left corner to access the Main Menu
screen.
To resolve abnormal operation or if the unit is inoperable, use the
tip of a pen to press the reset button. The unit will reset the main
processor to the default settings.
CDR6221
OPERATION
Power On/Off
Volume
Mute
Mode
Auxiliary Input
USB Input
microSD Card
Main Menu
Reset
General Operation


