background image

Summary of Contents for CCGP2420P

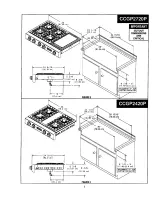
Page 1: ...or use of appliance can result in serious injury or property damage CCGP2820P _446 13 16 IMPORTAN1 CUTOUT DIMENSIONS ARE 23 1 16 CRITICAL 58 8 cm 4 5 3 4 22 _1S 2 cm 55 88 cm 46 13 1 6 118 9 cm FIGUR...

Page 2: ...MENSIONS 34 15 16 ARE 55 88 68 74 CRITICAL 91 44 cm _ 24 9 1 6 62 35 cm 1 i i s _ a 13 67 _m 8 3 8 I 21 59 _ 6 7 8 9 1 I 17 46 22 6 cml RECOMMEND8 FOR 10 _ CUSTOM CABINETRY 26 4 _ FIGURE2 30 23 1 16 2...

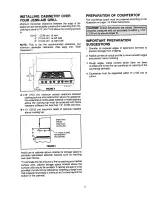
Page 3: ...nd forced fits can contribute to cracking of the countertop laminate 5 _m cutout _ _ e_cm_ FIGURE 4 A 30 76 2 cm minimum vertical clearance between cookingsurfaceand constructionabove the appliance th...

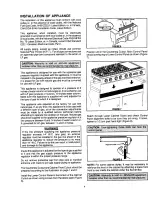
Page 4: ...adjusted at the factory for use with _ _ _ natural gas If at any time this appliance is to be used with a different type of gas all of the conversion adjustments FIGURE 7 must be made by a qualified s...

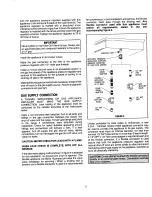
Page 5: ...NED SERVICEMAN OR GAS APPLIANCE GAS SHUT__ _ _ _u_ N _ _ I12 NPT INSTALLER MUST MAKE THE GAS SUPPLY VALVE _ _RPE CONNECTION Leak testing of the applianceshall be conducted by the installer accordingto...

Page 6: ...ceisequippedwithagroundedtypepowercord This appliance was adjusted at the factory for use with A grounded outletmustbe provided naturalgas To convert it for use with LP gas propane or butane each of t...

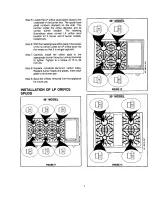
Page 7: ...ththemasking tapestillinplaceintherecess of the nutdriver pressan LPorificespudinto the recesssothat it is snuglycaptured Step7 Carefully install the orifice spud in the appropriateburnerthroatbyturni...

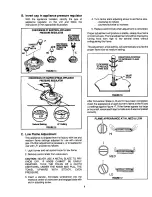
Page 8: ...ting L _ TOINCREASE FLAME SIZE _F _MAN APPLIA _ _ j _ VALVE PRESSURE REGULATOR _M FIGURE 16 After ConversionSteps A B and C have been completed check the appearance of each burner sflame at the Hi and...

Page 9: ...Replace all orifice spuds of applianceregulatorand followthe instructions inthe Perform Steps 1 through4 on page5 appropriateillustration ForStep 5 Locatethe coloredbrass naturalgas orifice spuds tha...

Page 10: ...INSTALLATION OF NATURAL GAS ORIFICE SPUDS 48 MODEL 30 MODEL FIGURE 18 36 MODEL FIGURE 20 FIGURE 19 10...

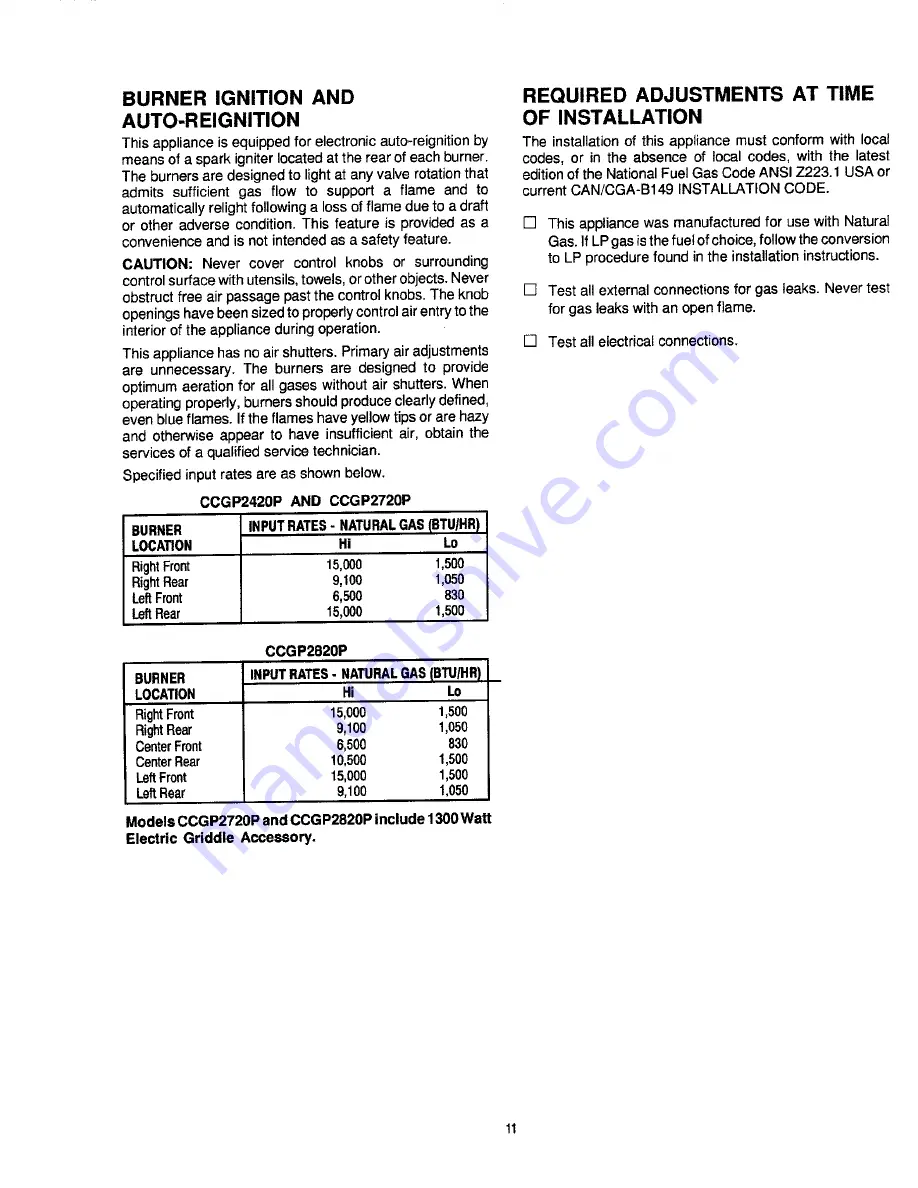
Page 11: ...s Never obstruct free air passage past the control knobs The knob Test all external connections for gas leaks Never test openings have been sizedto properly control air entry to the for gas leaks with...

Reviews: