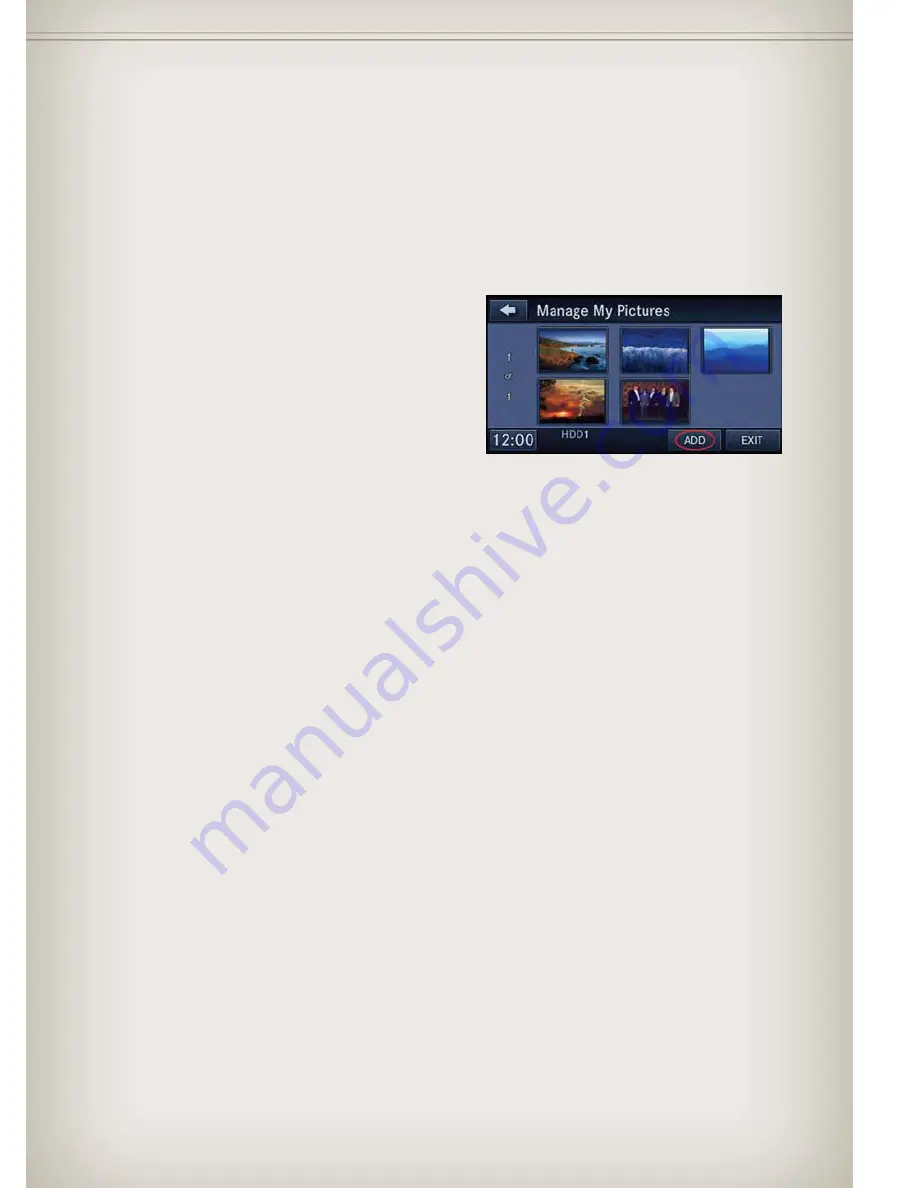
Copying Pictures To The HDD
• Insert either a CD or a USB device containing your pictures in JPEG format.
• Press the “MENU” hard-key to access the Settings Menu, then touch the “My Files”
soft-key.
• Touch the “My Pictures” soft-key to get an overview of the currently stored images,
then touch the “Add” soft-key.
• Touch the “From Disc” or “From USB”
soft-key, then select the folders or pic-
tures you wish to copy to the HDD. Use
the “PAGE” soft-keys to page through
the list of pictures.
• Touch the desired pictures or press the
“All” soft-key for all pictures. Confirm
your selections by touching the “SAVE”
soft key.
NOTE:
The copy progress is shown in the lower left corner of the screen.
Display A Picture On The Radio Screen
• Once the import is complete, the pictures will then be available in the “MY
PICTURES” screen.
• Press the “MENU” hard-key to access the Settings Menu, then touch the “My Files”
soft-key and then touch the “My Pictures” soft-key. Touch the desired picture, then
touch the “Set as Picture View” soft-key and then touch the “Exit” soft-key. Lastly
press the “MENU” hard-key and then touch the “Picture View” soft-key to display the
chosen picture on the radio screen.
NOTE:
• A check mark in the My Pictures screen indicates the currently used picture.
• You can also delete pictures by touching the “Delete” soft-key.
ELECTRONICS
65
Summary of Contents for Grand Cherokee
Page 1: ...Includes SRT8 2013 Grand Cherokee User Guide...
Page 8: ...DRIVER COCKPIT CONTROLS AT A GLANCE 6...
Page 44: ...YOUR VEHICLE S SOUND SYSTEM ELECTRONICS 42...
Page 45: ...ELECTRONICS 43...
Page 122: ...ENGINE COMPARTMENT 3 6L Engine MAINTAINING YOUR VEHICLE 120...
Page 123: ...5 7L Engine MAINTAINING YOUR VEHICLE 121...
Page 124: ...6 4L SRT Engine MAINTAINING YOUR VEHICLE 122...


