9
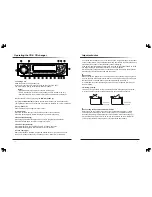
c. Area Selection
By pressing SEL(2) button again, the unit will be in Area Selection mode, then turn the
knob right or left to choose USA or EUR. Press and hold BD/FN for 2 seconds to confirm
selection.
d. DSP
Choose from flat, classic, pop or rock by pressing the SEL(2) button again. Adjust with
spindle knob.
e. CODE
See page 14 section 8 “To Change the Password”.
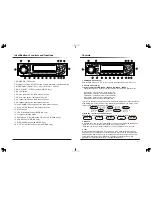
3.Volume control
Turn the spindle knob (2) left or right to decrease or increase the volume level.
The radio will automatically default to volume mode when powered on.
-
Bass control
Turn left to decrease the bass.
Turn right to increase the bass.
-
Treble control
Turn left to decrease the treble.
Turn right to increase the treble.
-
Balance control
Turn left to decrease the right speaker volume.
Turn right to decrease the left speaker volume.
-
Fader control
Turn left to decrease the volume level of any speakers connected to the front channel.
Turn right to decrease the volume level of any speakers connected to the rear channel.
4."MODE" button (3)
Press this button to select Radio, CD, CDC, SIRIUS or AUX-IN.
5. BD/FN button (5)
Press the BD/FN(5) button shortly to select the desired band:FM1,FM2,FM3, AM1
and AM2.
6. SHIFT / SCROLL button (4)
SIRIUS function button only.
7. How to adjust the clock / time (17)
Press DIS(17) button once to display the time.
a.
Press and hold the DIS (17) button until the time flashes on the display.
b.
Turn spindle knob(2) clockwise to set hour.
c.
Turn spindle knob(2) counter clockwise to set minutes.
d.
Press the DIS button again quickly to accept the adjusted time.
If no button is pressed within 5 seconds, then it automatically accepts the adjusted
time without further intervention from the user.
8. Loudness function (13)
In order to emphasize the bass and the treble at low volume, press the LD (13) button.
To turn off loudness, press the LD button again.
Controls
6
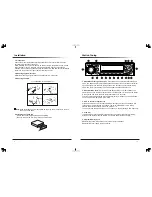
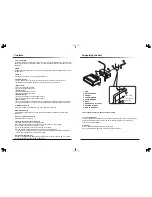
1. UNIT
2. RELEASE CASE
3. HEX NUT
4. LOCK WASHER
5. PLAIN WASHER
6. BODY
7. REAR SUPPORT STRAP
8. TAPPING SCREW
9. M5 X 20 HEX BOLT
3
5
2
1
4
6
8
HEX
Lock Washer
Plain Washer
7
Accessories subject to change without notice.
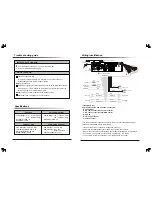
1. Fuse replacement
If the fuse blows, check the power connection and replace the fuse. If the fuse blows
again after the replacement, there may be an internal malfunction. In this case,
consult your nearest dealer.
2. Warning
Use the specified amperage fuse for each lead.
Use of a higher amperage fuse may cause serious damage.
Supporting the unit
3
9
7


