background image

-6-

Press and hold the 

 button to return to the main menu from any mode. 

CHARGING THE UNIT

Use the USB cable to conect the unit to the computer. 

We recommend to allow the unit to fully discharge before charging it for the first time.

This will help condition the battery for optimal performance.

LOADING FILES

Use USB cable to connect to computer.

At this time, you can download or upload data files and music from the computer. 

Don’t take off the USB cable when your player is connected to the computer and

transmitting data.

IMPORTANT: 

When removing the player from the computer, first close all the

windows that belong to your player. Click the icon on the bottom right corner

of the windows desktop & safely detach your player from USB cable.

TURNING THE UNIT ON

1. Press the 

ON/OFF 

button. The welcome screen will display. 

2. Use the            buttons to scroll trough the MP3 Player modes.

3. Press 

M

 to enter the desired mode.

To turn your MP3 Player off, press and hold the ON/OFF button.

MUSIC MODE

Allows you to play the songs

stored on your MP3 Player.

RECORD MODE

Allows you to record voice

notes and save them on your

MP3 Player.

VOICE MODE

Allows you to play back the

voice notes recorded on the unit.

SYSTEM MODE

Allows you to adjust the

settings of the unit.

Start Using Your MP3 Player:

MP3 Player Modes:

Record

Voice

System

Music

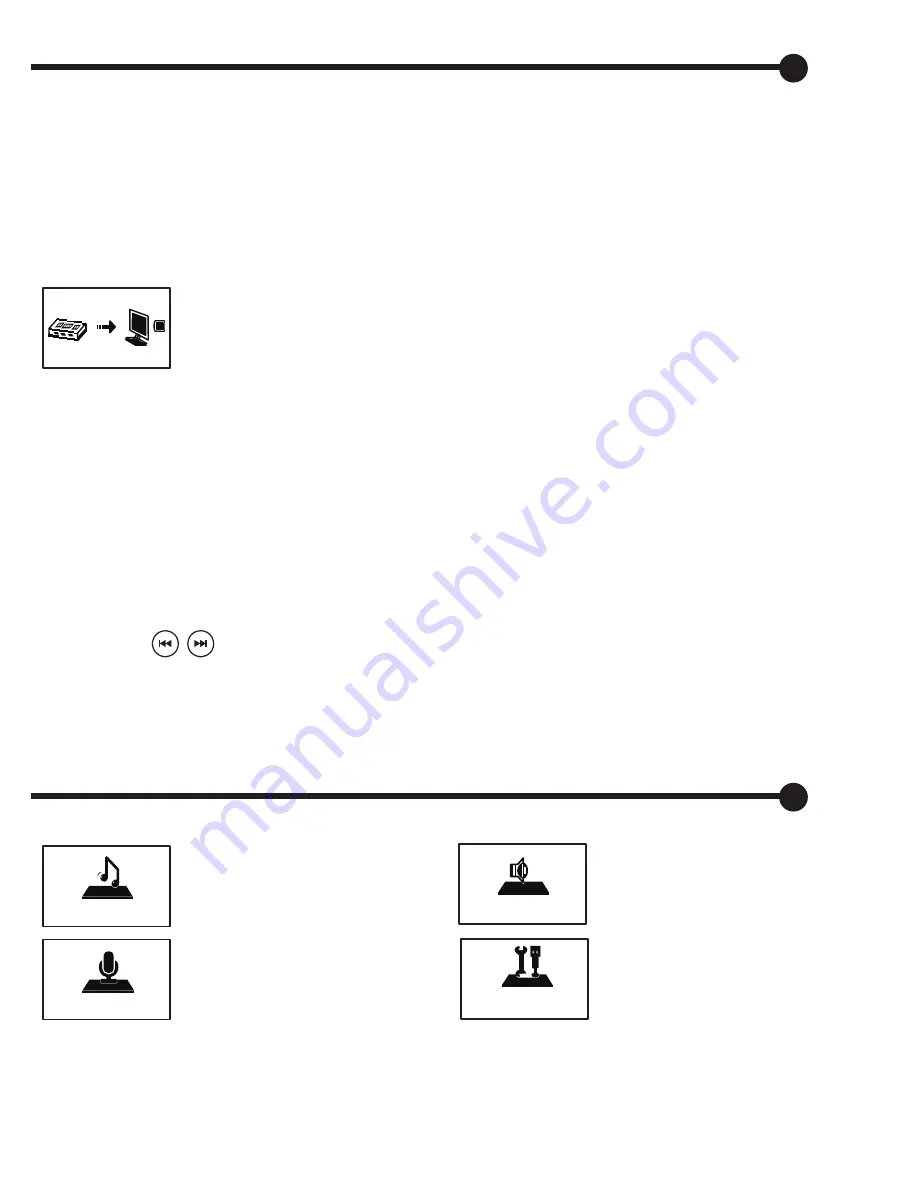
After connected correctly, the screen will display connecting icon.

Summary of Contents for 2GB MP3 Player

Page 1: ...USER GUIDE 2GB MP3 Player Jazwares Inc 2010 DO NOT FORMAT UNIT under FAT ...

Page 2: ...tart Using Your MP3 Player MP3 Player Modes Music Mode Record Mode Voice Mode System Mode 7 8 9 9 10 11 16 17 6 6 12 Knowing You MP3 Player Troubleshooting 12 Warranty Frequently asked questions 14 15 Notes 13 4 5 WELCOME Safety Tips 3 Included in box MP3 Player Earphones USB Cable Specifically to download pictures to the computer User Guide and Warranty 2 ...

Page 3: ...oading process Unexpected disconnection may cause data loss or damage to the player Avoid using headphones earphones at high volume Hearing experts advise against continuous loud and extended music play Keep the volume at a moderate level The quieter the sound the longer you can listen to it safely SAFETY TIPS This product is intended to be used for recording and playback for your home e enjoyment...

Page 4: ...Knowing Your MP3 Player 4 VOLUME ON OFF PLAY PAUSE MENU PREVIOUS REWIND NEXT FAST FORWARD DISPLAY V O L ...

Page 5: ...Knowing Your MP3 Player 5 USB PORT EARBUDS JACK RESET MICROPHONE SPEAKER RESET MIC V O L ...

Page 6: ...l the windows that belong to your player Click the icon on the bottom right corner of the windows desktop safely detach your player from USB cable TURNING THE UNIT ON 1 Press the ON OFF button The welcome screen will display 2 Use the buttons to scroll trough the MP3 Player modes 3 Press M to enter the desired mode To turn your MP3 Player off press and hold the ON OFF button MUSIC MODE Allows you ...

Page 7: ...the display 2 Use the buttons to adjust volume To switch to speaker press and hold the VOLUME button CHANGING EQUALIZER MODE 1 Press M while playing music Equalizer folder will appear 2 Press M again to enter into the folder 3 Use the buttons to scroll trough the equalizer options 4 Press M to select 7 20 SONG NAME MP3 128 A 032 236 NOR 02 32 06 36 Battery Song length Playing Mode Current song pla...

Page 8: ...layer will start continuously playing the fraction of song selected 6 Press button to exit replay mode Player will go back to normal playing mode BROWSING FOR MUSIC 1 Press M while music is on pause Local folder will appear 2 Press M again to enter into the folder 3 Use the buttons to scroll trough the songs 4 Press M to select a song DELETING A FILE 1 Press M while music is on pause 2 Press butto...

Page 9: ...button to rewind 4 Press the buttons to go to the next or previous voice ADJUSTING THE VOLUME 1 Press the VOLUME button The volume bar will appear on the display 2 Use the buttons to adjust volume To switch to speaker press and hold the VOLUME button CHANGING EQUALIZER MODE 1 Press M while playing a voice Equalizer folder will appear 2 Press M again to enter into the folder 3 Use the buttons to sc...

Page 10: ...o back to normal voice playback mode BROWSING FOR VOICE NOTES 1 Press M while voice play back is on pause Local folder will appear 2 Press M again to enter into the folder 3 Use the buttons to scroll trough the songs 4 Press M to select a song DELETING A FILE 1 Press M while voice play back is on pause 2 Press button to scroll to Delete file 3 Press M to enter Delete file 4 Use the buttons to sele...

Page 11: ... Use button to scroll to language while on system mod e 2 Press M to enter the language menu 3 Use the buttons to scroll trough the different languages 4 Press M to select desired language AUTOMATIC POWER OFF SETTING To adjust the time of automatic power off 1 Use button to scroll to power off while on system mode 2 Press M to enter to select 3 Use the buttons to adjust the seconds 4 Press M to ac...

Page 12: ...LOAD MUSIC PROPERLY NO SOUND IN EARPHONE Please make sure your player is charged Check earphone connection Please make sure earphone is clean Make sure your MP3 file is not damaged Please make sure you have selected the proper language Check USB cable connection Check whether USB cable is damaged Check installation of drive program Check whether there is free memory space ...

Page 13: ...and the window of your MP3 Player drive click the song you want to upload and drag it to your MP3 Player It will start copying the music file You can upload several songs at the same time by selecting the files while holding CTRL and then dragging them onto your MP3 Player 2 Then click on MY COMPUTER under the START menu to look for your MP3 Player It is named MY_AUDIO Click to open IMPORTANT Only...

Page 14: ...wever there is no guarantee that interference will not occur in a particular installation If this equipment does cause harmful interference to radio or television reception which can be determined by switching the equipment off and on the user is encouraged to try to correct the interference by one or more of the following measures Reorient or relocate the receiving antenna Increase the separation...

Page 15: ... COVERED Jazwares Inc warranty covers new products if a mechanical defect arises a valid claim is received within the Ninety 90 Day Warranty Period At its option Jazwares Inc will either 1 repair the product at no charge using new or refurbished replacement parts or 2 exchange the product with a product that is new or which has been manufactured from new or serviceable used parts is at least funct...

Page 16: ...to operate per Owner s Manual RMA REQUIREMENT BEFORE RETURNING ANY PRODUCT CONTACT JAZWARES INC CUSTOMER SERVICE Customer service is available 9 6 EST at 1 800 370 1877 REPAIR OR REPLACEMENT AS PROVIDED UNDER THIS WARRANTY IS THE EXCLUSIVE REMEDY FOR THE CONSUMER JAZWARES INC SHALL NOT BE LIABLE FOR ANY INCIDENTAL OR CONSEQUENTIAL DAMAGES FOR BREACH OF ANY EXPRESS OR IMPLIED WARRANTY ON THIS PRODU...

Page 17: ...h Music Format MP3 WMA WAV Recording Format WAV Preset Equalizer Modes Rock Pop Classic and More Voice Record Function Multi languages Plug Play Windows Windows Media Internal Rechargeable Battery SPECIFICATIONS Song capacity is dependent upon the size of each song file 500 songs is based upon the assumption that each song file will be 3 8 Mega Bytes Other brand names mentioned herein are for iden...

Reviews: