37
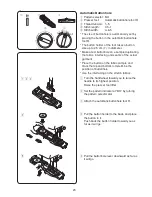
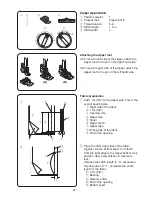
Replace the needle with the twin needle supplied
with the standard accessories.
Insert the extra spool pin into the hole in the foot
storage compartment.
Place a spool of thread on the extra spool pin
and fix the spool with the spool holder.
q
Extra spool pin
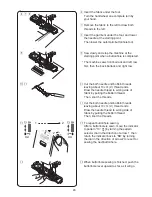
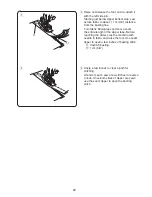
Draw both threads from the spools and pass
them through the threading points from points
z
to
c
.
Make sure that the two strands of thread from
the spools do not get tangled.
NOTE:
Threading from points
z
to
c
is the same
as for a single needle (refer to page 12).
v
Slip one of the threads through the needle
bar thread guide on the left, and the other
one on the right.
b
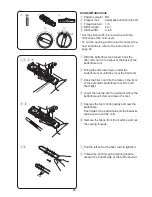
Thread the needles from front to back.
NOTE:
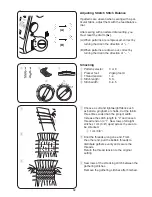
The needle threader cannot be used with the
twin needle.
CAUTION:
Turn the power switch off before changing
the needle.
Do not use twin needles other than one
included in the standard accessories,
otherwise the needle may hit the needle
plate, foot or hook and break.
z
x
c
v
q
b
Twin Needle
w
e
q
r
3
5
4
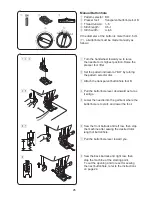
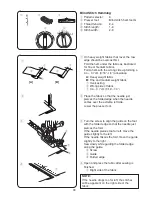
Adjust the stitch length as indicated on the guide
message window (refer to page 16).
q
Pattern selector: 1, 2, 4, 9, 10, 11, 12 or 13
w
Presser foot: Zigzag foot A
(patterns 1 and 2) or
Satin stitch foot F
(patterns 4, 9, 10, 12 and 13)
e
Thread tension: 2–6
r
Stitch width: 0–2.5
Summary of Contents for HD2200
Page 1: ...INSTRUCTION BOOK...
Page 2: ......
Page 45: ......
Page 46: ......
Page 47: ......
Page 48: ...753 800 520q EN...

