
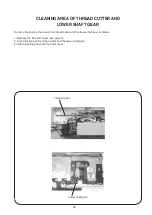
36
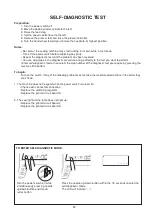
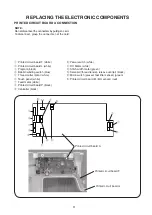
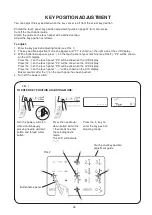
KEY POSITION ADJUSTMENT
To adjust:
1. Enter the key position adjusting mode (see FIG. 1).
2. The key position adjustment screen appears and “P1” is shown on the right side of the LCD display.
3. With a buttonhole opener, press
q
on the touch panel of your machine (see FIG. 2). “P2” will be shown
on the LCD display.
Press the
w
on the touch panel. “P3” will be shown on the LCD display.
Press the
e
on the touch panel. “P4” will be shown on the LCD display.
Press the
r
on the touch panel. “P5” will be shown on the LCD display.
Press the
t
on the touch panel. “----“ will be shown on the LCD display.
Buzzer sounds after the
t
on the touch panel has been pushed.
4. Turn off the power switch.
You can adjust the key position when the key sensor is off from the actual key position.
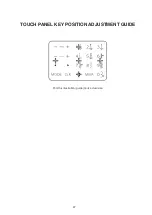
Printed the touch panel key position adjustment guide on page 37 to its actual size.
Cut off the touch panel guide.
Attach the guide on the touch panel with a adhesive tape.
Adjust the key position as follows:
q
t
w
r
e
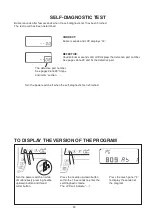
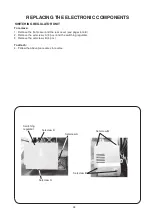
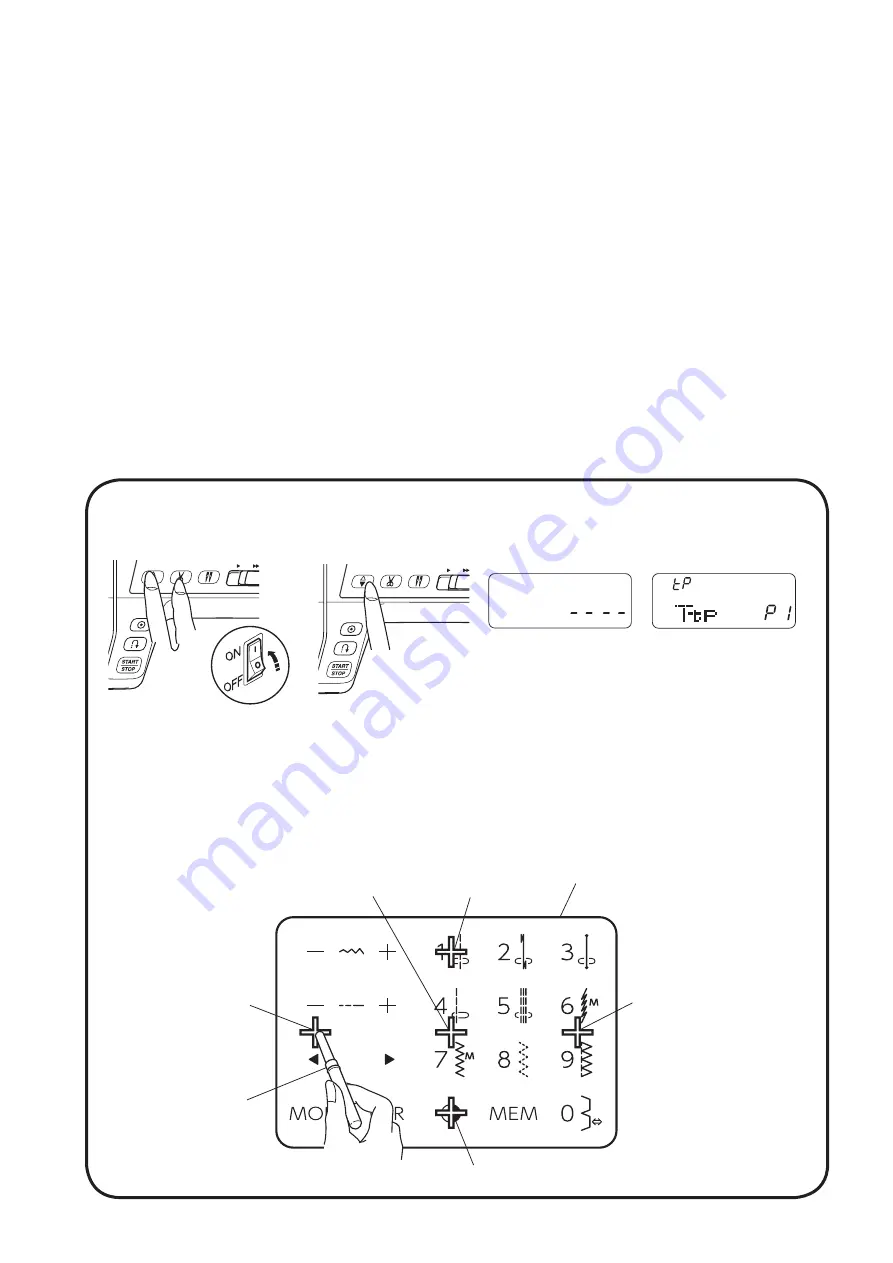
TO ENTER KEY POSITION ADJUSTING MODE:
Turn the power switch on
while simultaneously
pressing needle up/down
button and thread cutter
button.
Press the needle up/
down button within the
1.5 seconds to enter
the self-diagnostic
mode.
The LCD will indicate
"----".
Press the “4” key to
enter the key position
adjusting mode.
FIG. 1
FIG. 2
Buttonhole opener
Touch panel key position
adjustment guide


