___________________________________________________________
4
QUICK INSTALLATION INSTRUCTIONS
1.
Your interSeptor Pro-XP is provided with a default IP address of
192.168.1.200
.
DHCP is disabled.
2.
Power up the interSeptor Pro-XP using the power adaptor provided and use a
cross-over ethernet cable to connect a laptop/PC (with web browser) using a
192.168.1.xxx address.
3.
Browse to the interSeptor Pro-XP user interface by typing the default IP
(192.168.1.200) of the interSeptor Pro-XP into the browser address bar.
4.
When the browser UI opens, click on the
Login
menu option. Login by entering
the following default credentials:
Username: iSPro
Password: admin
5.
Select the
General Settings
menu option and then select
Network Settings
.
From here, you can change and save the IP address of the interSeptor Pro-XP as
required for your network. Remove the cross-over cable and connect the
interSeptor Pro-XP to your network switch/router.
6.
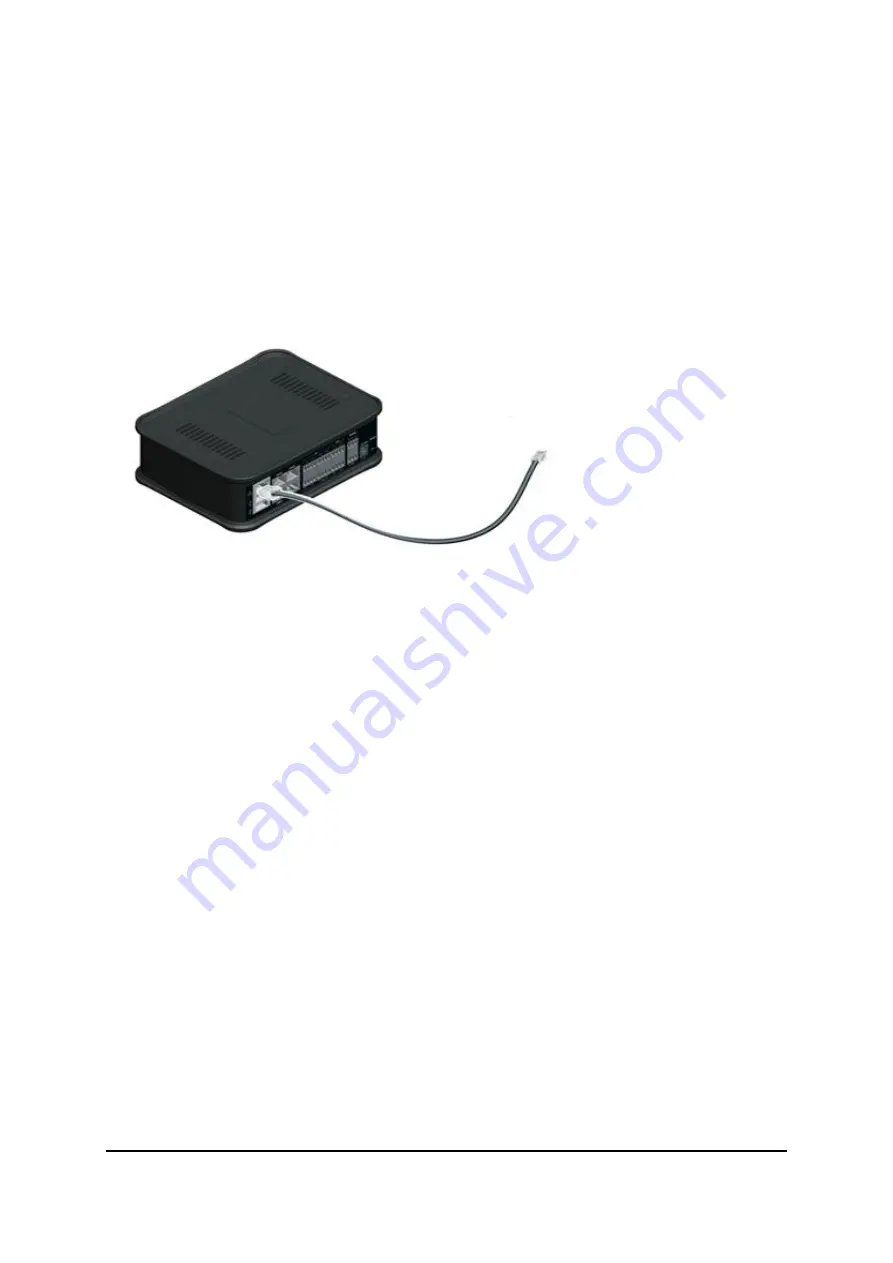
Connect either of the RJ45 ports on the Temperature/Humidity sensor to any of
the EMD ports on the front of the unit using Cat5e straight-through patch cable (2
x T/H sensors and cables are supplied with your interSeptor Pro-XP). The first dip
switch on the bottom of the sensor should be in the ‘On’ (up) position on the T/H
sensor that is going to be connected directly to an EMD port on the Pro-XP.


