5
determine the type of interface.
Note
: If more than 15 seconds elapses without pressing the or volume – buttons, the last
selected interface will be activated.
5. To exit the interface switching mode, press the and volume – buttons simultaneously for 6
seconds.
6. Only with the GN1000: Complete the setting up procedure according to its Quick Guide.
4. Audio and visual indicators
The GN9120/GN9125’s headset and base have audio and visual indicators, which represent various
actions and aspects associated with setting up and operating the product. The headset gives audio and
visual indications. The base gives various visual indications via its online, link and general indicators.
Familiarize yourself with these indicators to fully benefit from your GN9120/GN9125.
The headset’s audio indicators:
Headset action
Audio indication
Out of range
Beep every 10 sec.
Mute ON
Beep every 15 sec.
Low Battery Charge
Beep every 20 sec.
Adjusting Volume
Low single tone per press
Maximum Volume reached
Short beep
Minimum Volume reached
Short beep
Tone control adjustment
Beep (indicating 6 sec. has passed)
Adding a headset at conference call
Beep in master headset
Incoming call
Beep (only if using GN1000)
The headset’s visual indicators:
Headset mode
Headset indicator
Low Power mode
Flashes rapidly when switching
between modes
Transmit volume adjustment
Flashes rapidly when switching
between modes
The base’s visual indicators:
Base’s on-line indicator
On-line indicator
Charging in Process
Battery charging indicator flashes
Charging completed
Battery charging indicator ON
Mute
Mute indicator ON
Low Power Mode
Link-up indicator flashes every 10 sec.
Adding a headset to conference call
All lights are flashing, followed by battery indicator ON
Link between headset and base
Link-up indicator ON
EHS (Electronic Hook Switch) setting
Please refer to separate section
Pairing of Headset and Base
All lights are flashing for approx.
sec., followed by battery indicator
ON
On a call
On-line indictor flashes
3. Remote handset lifting functionality
Answering and making telephone calls with GN1000
You may purchase a GN1000 as an accessory, which lets you answer
and end telephone calls while away from your desk. Please contact
your vendor or visit www.jabra.com for further information.
To answer a call using the GN1000 or electronic hook switch
functionality:
1. Remove the headset from the base unit when you receive a call.
The link will be established and the on-line indicator on the front
of the base unit will begin to flash.
Note
:
If you are already wearing the headset, simply press the multifunction button on the headset
momentarily to answer the incoming call.
To end the call, press the multifunction button momentarily or place the headset in the base unit.
Making telephone calls using the GN1000 or electronic hook switch functionality:
To make a telephone call using the GN1000:
1. Remove the headset from the base unit. The link will be established and the on-line indicator on the
front of the base unit will begin to flash.
2. Dial the desired number. To end the call, press the multifunction button momentarily or place the head-
set in the base unit.
Note
: The connection cord must be connected to your telephone’s handset port (not the headset port)
in order for the GN1000 to function.
GN9120/GN9125 with Electronic Hook Switch (EHS)
The GN9120/GN9125 comes in versions which enables you to answer and end calls while away from your
desk – without using the GN1000. This is, however, only possible on certain telephone systems.
In order to determine which telephones have the EHS feature enabled, please refer to our website
www.jabra.com. Please also refer to your telephone’s user manual for clarification.
3 modes are available:
• The RHL interface (non-EHS; works with the GN1000)
• The DHSG interface (for example, with Siemens and Elmeg desk telephones)
• The AEI interface (for example, with Tenovis desk telephones)
Note
: By default, the EHS-version of the GN9120/GN9125 is set to the DHSG interface.
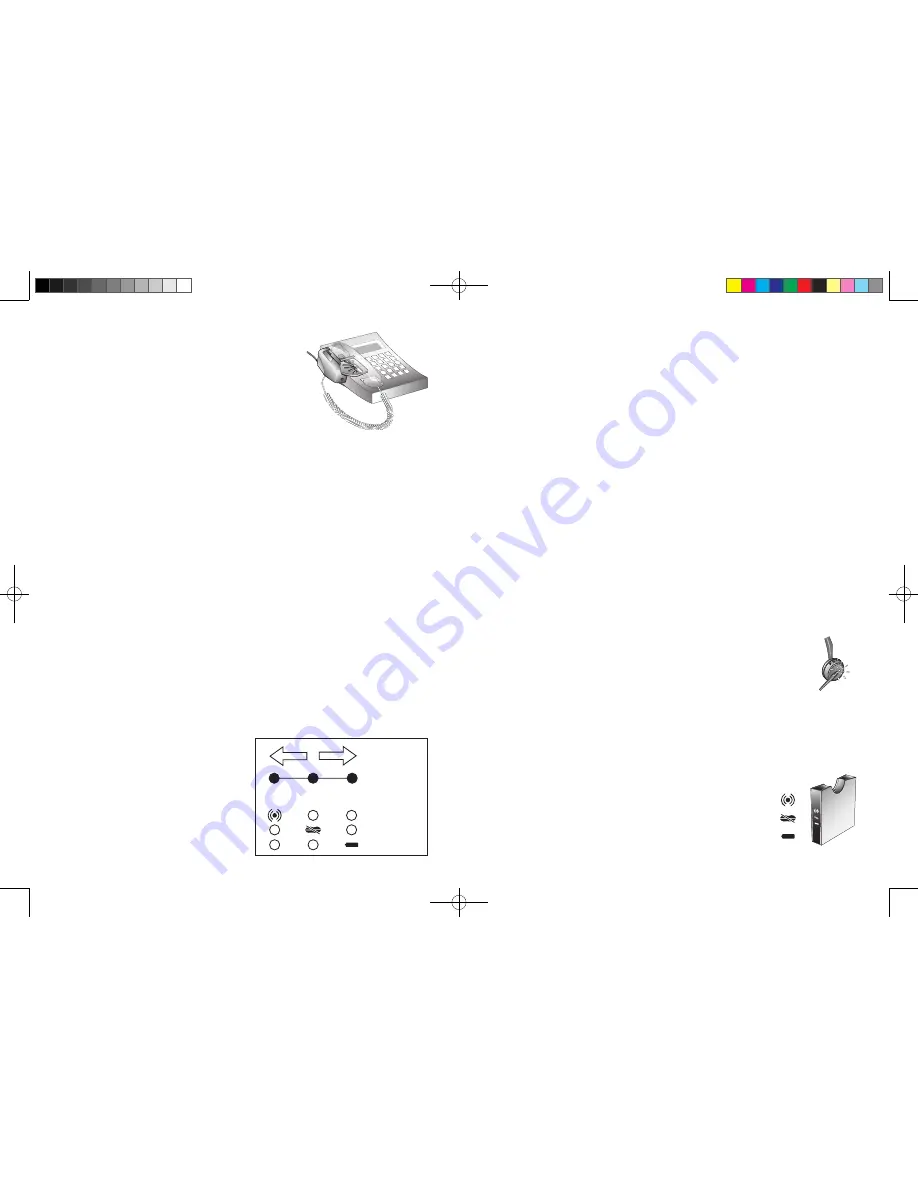
To toggle between DHSG, AEI and RHL interface, complete the following:
1. Place the headset in the base with its on-line indicator facing you.
2. Press the and volume – buttons on the
headset simultaneously for 6 seconds while the
headset is in the base, until the headset’s on-line
indicator flashes rapidly.
3. You are now in interface switching mode, and can
set the GN9120/GN9125 to work with your tel-
ephone’s interface.
. Using the button to move right and the
volume – button to move left, select the required
EHS interface.
The base unit’s 3 indicators show which interface
the GN9120/GN9125 is in. See the illustration to
RHL
DSHG
AEI
Link icon
Mute icon
Charge icon
Volume button
–
+


