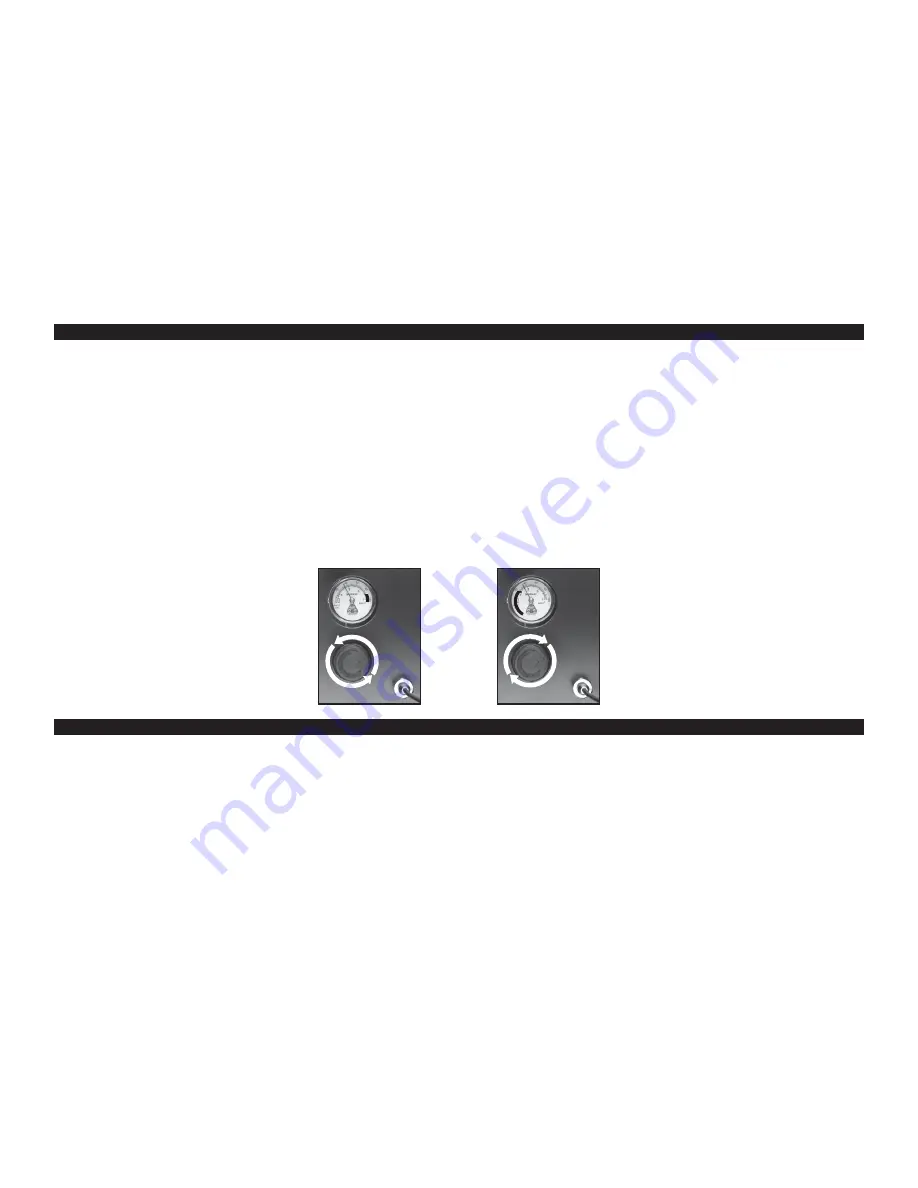
1. When you first hook up your airbrush to your compressor and depress the trigger of your airbrush, the pressure that registers on your gauge
is called your “working pressure.” Your working pressure can vary depending on the size of your airbrush’s nozzle. The smaller the nozzle
size, the higher your working pressure. An average nozzle size of 0.3 mm will expend a working pressure of approximately 25-28 psi with
the Smart Jet Pro. NOTE: When working at very low air pressures (below 10–12 psi), the motor will intermittently turn on and off
as needed to maintain constant air pressure while in use. This is a normal part of the motor function.
2. To adjust the regulator knob, pull up on the knob to unlock it, then turn the knob counter-clockwise (when looking from the top) to
decrease the air pressure or turn the knob clockwise to increase the pressure.
3. Once the air pressure is adjusted, then push down on the regulator knob to lock it in place.
4. Activate the airflow by depressing the trigger button on the airbrush. Once activated, the compressor will turn itself on. It will continue
to run for as long as the airbrush is being used and then will automatically shut-off when the airbrush is not being used.
REGULATING THE PRESSURE
1. Release any built-up moisture by following the maintenance instructions below.
2. Turn off the compressor. NOTE: The light will go off when the switch is turned OFF. Even though the unit is equipped with an automatic
shut-off, the power switch should be turned off when not in use.
3. Release any leftover air by pressing down on your airbrush trigger (being careful of any excess paint) or unscrewing your airbrush
from the air hose.
ENDING A SESSION
7


