


NP-5xxxA SERIES User Manual
75
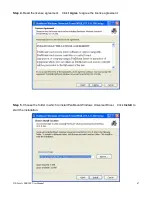
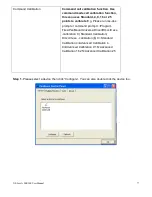
Step 12. Wait for installation.
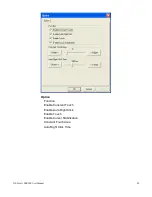
Step 13. Click Yes to do 4 point calibration.
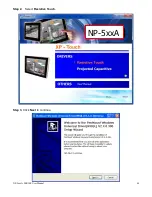
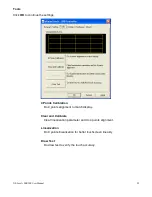
5.2.1 Software Functions(Resistive Touch)
Upon rebooting, the computer automatically finds the new 6000 controller board. The touch screen is
connected but not calibrated. Follow the procedures below to carry out calibration.
1. After installation, click the PenMount Monitor icon “PM” in the menu bar.
2. When the PenMount Control Panel appears, select a device to “Calibrate.”
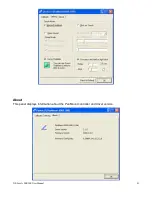
PenMount Control Panel(Resistive Touch)
The functions of the PenMount Control Panel are Device, Multiple Monitors ,Tools and About,
which are explained in the following sections.
Summary of Contents for NP-5**A Series
Page 8: ...NP 5xxxA SERIES User Manual 8 Figure 1 1 Dimensions of NP 507A ...
Page 18: ...NP 5xxxA SERIES User Manual 18 units mm Figure 2 1 Mainboard Dimensions ...
Page 28: ...NP 5xxxA SERIES User Manual 28 3P3V_S5 57 58 3P3V_S5 12V 12V_S0 59 60 12V_S0 12V ...
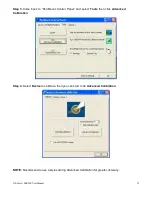
Page 69: ...NP 5xxxA SERIES User Manual 69 Step 8 Click Finish to complete installation ...
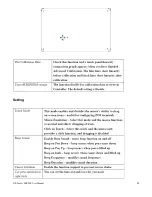
Page 80: ...NP 5xxxA SERIES User Manual 80 Setting ...
Page 92: ...NP 5xxxA SERIES User Manual 92 Hardware Saturn Hardware Configuration ...
Page 93: ...NP 5xxxA SERIES User Manual 93 About To display information about eGalaxTouch and its version ...