background image

ITW Food Equipment Group, LLC 
3600 North Point Blvd. 
Baltimore, MD 21222 

RETAIN THIS MANUAL FOR FUTURE USE


FORM  F-38305 (rev. 4-10) 


INSTALLATION & OPERATION MANUAL  

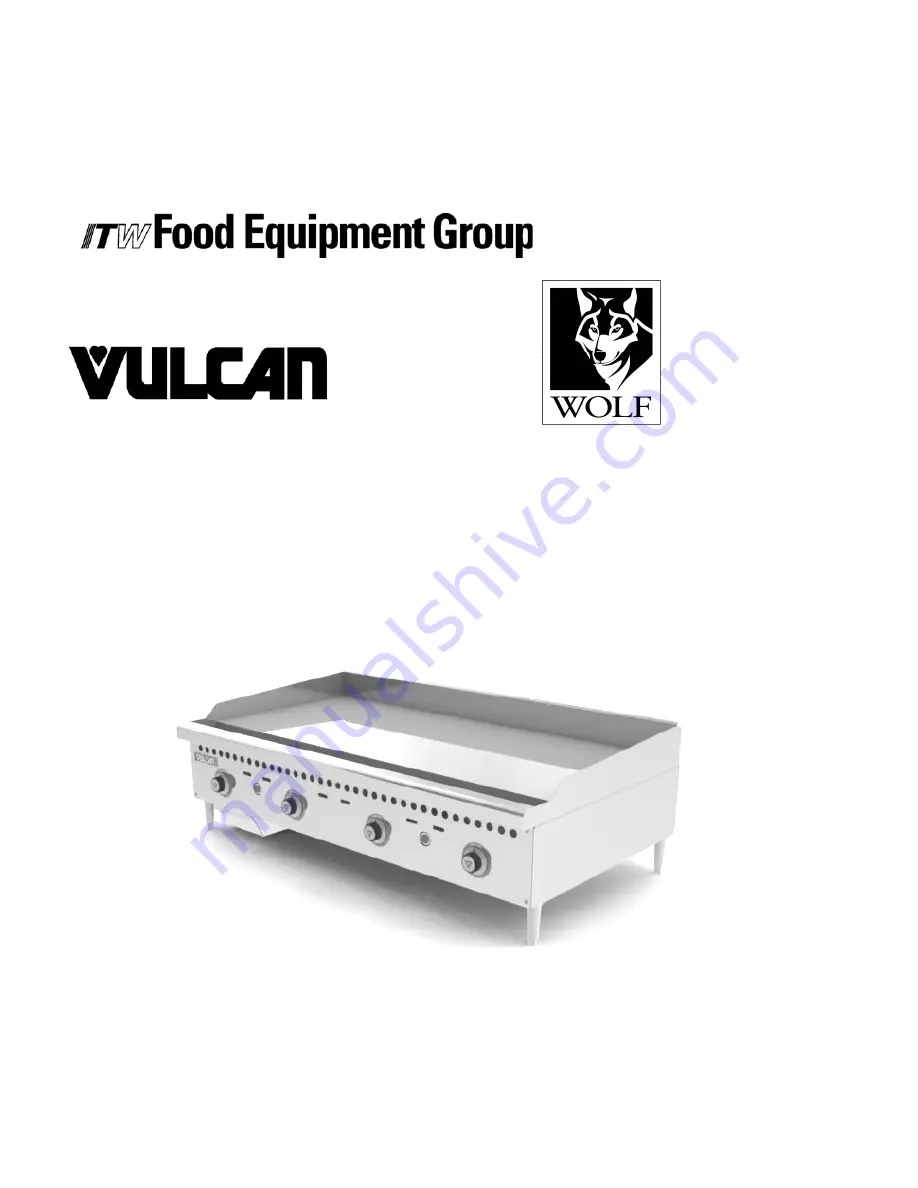
Medium Duty Gas Griddles 


MODELS 


WCRG24-T 


WCRG36-T 


WCRG48-T 


MODELS 


VCRG24-T 


VCRG36-T 


VCRG48-T 


VCRG48-T 

Summary of Contents for Vulcan VCRG24-T

Page 1: ... 3600 North Point Blvd Baltimore MD 21222 RETAIN THIS MANUAL FOR FUTURE USE FORM F 38305 rev 4 10 INSTALLATION OPERATION MANUAL Medium Duty Gas Griddles MODELS WCRG24 T WCRG36 T WCRG48 T MODELS VCRG24 T VCRG36 T VCRG48 T VCRG48 T ...

Page 2: ...R IMPORTANT IN THE EVENT A GAS ODOR IS DETECTED SHUT DOWN UNITS AT MAIN SHUTOFF VALVE AND CONTACT THE LOCAL GAS COMPANY OR GAS SUPPLIER FOR SERVICE FOR YOUR SAFETY DO NOT STORE OR USE GASOLINE OR OTHER FLAMMABLE VAPORS OR LIQUIDS IN THE VICINITY OF THIS OR ANY OTHER APPLIANCE IN THE EVENT OF A POWER FAILURE DO NOT ATTEMPT TO OPERATE THIS DEVICE Improper installation adjustment alteration service o...

Page 3: ...ery Carefully unpack your griddle and make sure that no parts are discarded with packaging material A pressure regulator designed to operate with the griddle has been supplied and must be installed before the griddle is placed into service Refer to GAS PRESSURE REGULATOR INSTALLATION in this manual LOCATION The installation location must be kept free and clear of combustibles When installing never...

Page 4: ...anada 1 Local codes 2 CAN CSA B149 1 Natural Gas Installation latest edition 3 CAN CSA B149 2 Propane Installation Code latest edition available from the Canadian Gas Association 178 Rexdale Blvd Etobicoke Ontario Canada M9W 1R3 GRIDDLES MOUNTED ON STANDS WITH CASTERS Griddles mounted on stands with casters must use a flexible connector not supplied that complies with the Standard for Connectors f...

Page 5: ...le Connector with the net inside diameter I D as large as or larger than the gas pipe inlet on this appliance Codes require that a gas shutoff valve must be installed in the gas line upstream of the griddle Prior to lighting check all joints in the gas supply line for leaks Use soap and water solution Do not use an open flame After checking for leaks all lines receiving gas should be fully purged ...

Page 6: ...ith the griddle in the shipping packaging It is recommended that a trained gas service technician with the necessary tools instruments and skills perform the conversion Prior to lighting check all joints in the gas supply line for leaks Use soap and water solution Do not use an open flame To convert to propane following steps must be completed 1 Remove all natural gas burner orifices and install t...

Page 7: ...face to create a thin film Wipe off any excess oil with a cloth Repeat the procedure until the griddle has a slick mirror like finish This will also help reduce the sticking of cooked food product CONTROLS This model features a standing pilot that must be manually lit The pilot is monitored by a thermocouple and pilot safety valve If the pilot goes out the safety valve will shut off the gas supply...

Page 8: ...ilot has been burning for about 45 seconds release the safety valve button If the pilot does not remain lit repeat the operation allowing more time before releasing the button The amount of time necessary to hold the safety valve button will increase at the initial installation of the unit and if the main gas supply has been turned off for a long period of time It may be necessary to adjust the pi...

Page 9: ... a wide variety of products over a single griddle plate The chart below is a suggested usage of zone cooking When zone cooking it is suggested that you start with your lowest temperature setting at either side of the griddle increasing the zone temperature as you move up the zone line These zone cooking guidelines will vary depending on product temperatures size and shape This guide should be adju...

Page 10: ...the griddle with a wire brush or flexible spatula ONCE PER DAY Thoroughly clean the griddle back splash sides and front Remove empty and wash the grease drawer in the same manner as an ordinary cooking utensil ONCE PER WEEK Clean the griddle surface thoroughly Use a griddle stone screen or Scotch Bright pad on the surface as necessary Rub with the grain of the metal while the griddle is still warm...

Page 11: ...e OFF then measure the temperature for that zone The temperature should be 350 F 15 F If not continue to Step 4 4 a Carefully loosen the knob set screw DO NOT allow the knob to turn Carefully remove the knob from the thermostat shaft exposing the temperature dial b Loosen screws on the temperature dial and adjust to that the temperature indicated by the knob arrow matches the griddle plate tempera...

Page 12: ...the griddle 2 Adjust legs by turning the bullet feet at the bottom of each leg Using pliers or a crescent wrench turn the feet counter clockwise to increase height and clockwise to decrease height until leveling is achieved Do not extend the legs more than 1 PILOT ADJUSTMENT Using a flathead screwdriver turn the slotted hex head pilot adjustment screw clockwise to decrease the flame and counterclo...

Page 13: ...e hot Use care when operating cleaning or servicing the griddle LUBRICATION There are no parts on this griddle that require lubrication VENT Daily when the griddle is cool check the flue and clear any obstructions SERVICE AND PARTS INFORMATION Contact the Service Agency in your area to obtain service and parts information For a complete listing of Service and Parts depots refer to or www vulcanhar...

Page 14: ...Air blowing pilot out Call for service 4 Low gas pressure Call for service Fat appears to smoke excessively 1 Temperature set too high 2 Moisture in food may be turning into steam Food sticks to griddle or burned around edges or contains dark specs 1 Temperature set too high 2 Griddle surface requires cleaning and or seasoning 3 Surface under food not covered with enough cooking oil Food under coo...

Page 15: ...d Baltimore MD 21222 GARDER CE MANUAL POUR UNE UTILISATION FUTURE FORMULAIRE F 38305 rev 4 10 MANUEL D INSTALLATION ET D EMPLOI Plaque chauffante au gaz à fonction moyenne MODÈLES WCRG24 T WCRG36 T WCRG48 T MODÈLES VCRG24 T VCRG36 T VCRG48 T VCRG48 T ...

Page 16: ...DÉTECTÉE FERMEZ LES UNITÉS DU ROBINET D ARRÊT PRINCIPAL ET CONTACTEZ VOTRE COMPAGNIE DE GAZ OU VOTRE FOURNISSEUR DE GAZ LOCAL AFIN D OBTENIR DU SERVICE POUR VOTRE SÉCURITÉ NE PAS ENTREPOSER OU UTILISER DE L ESSENCE OU AUTRES VAPEURS OU LIQUIDES INFLAMMABLES À PROXIMITÉ DE CET APPAREIL OU TOUT AUTRE APPAREIL EN CAS DE PANNE DE COURANT NE PAS TENTER DE FAIRE FONCTIONNER CET APPAREIL Une installation...

Page 17: ... vous qu aucune partie n a été jetée avec l emballage Un régulateur de pression conçu pour fonctionner avec la plaque chauffante a été fourni et doit être installé avant que la plaque chauffante soit mise en service Consultez INTALLATION DU RÉGULATEUR DE PRESSION DU GAZ dans ce manuel EMPLACEMENT Le lieu d installation doit être maintenu sans présence de combustibles Lors de l installation ne jama...

Page 18: ...tallation du gaz naturel CAN CSA B149 1 dernière édition 3 Code d installation du propane CAN CSA B149 2 dernière édition disponible auprès de l Association Canadienne du Gaz 178 boul Rexdale Etobicoke Ontario Canada M9W 1R3 PLAQUES CHAUFFANTES MONTÉES SUR SUPPORTS AVEC ROULETTES Les plaques chauffantes sur supports avec roulettes doivent employer un raccord flexible non fourni qui est conforme à ...

Page 19: ...z sur cet appareil Les codes exigent qu un robinet d arrêt du gaz soit installé dans la conduite de gaz en amont de la plaque chauffante Avant l allumage vérifiez tous les joints dans la conduite d alimentation en gaz pour les fuites Utilisez une solution d eau et savon Ne pas utiliser une flamme nue Après avoir vérifié s il y a des fuites toutes les conduites recevant du gaz devraient être entièr...

Page 20: ...emballage On recommande qu un technicien qualifié du service de gaz avec les outils les instruments et les compétences nécessaires effectue la conversion Avant l allumage vérifiez tous les joints dans la conduite d alimentation en gaz pour les fuites Utilisez une solution d eau et savon Ne pas utiliser une flamme nue Fig 4 PILOT ORIFICE ORIFICE DE COMBUSTION Pour convertir au propane les étapes su...

Page 21: ...suyez tout excès d huile avec un linge Répétez la procédure jusqu à ce que la plaque chauffante ait un fini lisse lustré Cela vous aidera aussi à réduire les aliments cuits qui collent COMMANDES Ce modèle a une veilleuse permanente qui doit être allumée manuellement La veilleuse est contrôlée par un thermocouple et par une soupape de sûreté Si la veilleuse s éteint la soupape de sûreté fermera l a...

Page 22: ...ûle pendant environ 45 seconds lâchez le bouton de la soupape de sûreté Si la veilleuse ne reste pas allumée répétez le processus en permettant plus de temps avant de lâcher le bouton La quantité de temps nécessaire pour appuyer le bouton de la soupape de sûreté à l installation initiale de l appareil et si l alimentation principale en gaz est fermé une longue quantité de temps Il peut être nécess...

Page 23: ...es de cuisson nous vous suggérons de commencer par celle qui a la plus basse température d un côté ou l autre de la plaque et d augmenter la température des zones au fur et à mesure que vous vous déplacez tout au long de celles ci Ces directives pour les zones de cuisson varieront selon les températures la taille et la forme du produit Ce guide devrait être réglé selon votre préférence de produits...

Page 24: ...auffante avec une brosse métallique ou une spatule flexible UNE FOIS PAR JOUR Nettoyez à fond le dos antiéclaboussement les côtés et le devant de la plaque chauffante Retirez videz et lavez le tiroir à graisse de la même façon qu un ustensile de cuisine ordinaire UNE FOIS PAR SEMAINE Nettoyez à fond la surface de la plaque chauffante Utilisez une pierre pour plaque chauffante une toile ou un tampo...

Page 25: ...re la température de cette zone The temperature devrait être de 350 F 15 F Si ce n est pas le cas continuez à l étape 4 4 a Dévissez soigneusement la vis de réglage du bouton NE PAS permettre au bouton de tourner Retirez soigneusement le bouton de l arbre du thermostat exposant le cadran des températures b Dévissez les vis du cadran des températures et réglez pour que la température indiquée par l...

Page 26: ...aque patte À l aide d une pince étau ou d une clé à molette tournez les pieds dans le sens contraire des aiguilles d une montre pour augmenter la hauteur et dans le sens des aiguilles d une montre pour diminuer la hauteur jusqu à ce que la mise à niveau soit effectuée Ne pas allonger les pattes plus de 4 cm RÉGLAGE DE LA VEILLEUSE D ALLUMAGE À l aide d un tournevis à tête plate tournez la vis à tê...

Page 27: ...ettoyez ou entretenez la plaque chauffante LUBRIFICATION Il n y a aucune pièce sur cette plaque chauffante qui a besoin d être lubrifiée VENTILATION Quotidiennement lorsque la plaque chauffante est refroidi vérifiez le conduit et retirez toute obstruction RENSEIGNEMENTS SUR L ENTRETIEN ET LES PIÈCES Contactez l agence de service de votre région pour obtenir des renseignements sur l entretien et le...

Page 28: ...e que l air soit évacué 3 Il y a de l air qui sort de la veilleuse Contactez le service à la clientèle 4 La pression du gaz est basse Contactez le service à la clientèle Le gras semble causer de la fumée de façon excessive 1 La température est trop haute 2 L humidité dans la nourriture peut se transformer en vapeur La nourriture colle sur la plaque ou brûle sur les bouts ou a des taches foncées 1 ...

Reviews: