11
MAINTENANCE
SCHEDULE:
Blow down control as follows when boiler is
in operation.
• Daily if operating pressure is above 15 psi.
• Weekly if operating pressure is below 15 psi.
• Remove head assembly and inspect water
side components annually.
Replace head
assembly if any of the internal components are
worn, corroded or damaged or if control no longer
operates properly.
• Inspect the float chamber and equalizing piping
annually.
Remove all sediment and debris.
Replace head mechanism every 5 years.
More frequent replacement may be required when
severe conditions exist.
Replacement parts are available from your local
authorized McDonnell & Miller Distributor.
The use of parts or components other than those
manufactured by McDonnell & Miller will void all
warranties and may affect the units compliance with
listings or regulating agencies.
BLOW DOWN PROCEDURE:
When blowing down a control at pressure, the blow
down valves should be opened slowly.The piping
needs to be warmed up and stagnant water in the
drain piping needs to be pushed out. Suddenly
opening a blow down valve causes steam to
condense, which can create water hammer.
Damage to components can occur when water
hammer occurs due to improper blow down piping.
For these reasons, McDonnell & Miller recommends
a dual valve blow-down system for each control.
Blow down the control when the water in the boiler
is at its normal level and the burner is on.
NOTE:
Refer to page 2 for switch operating points.
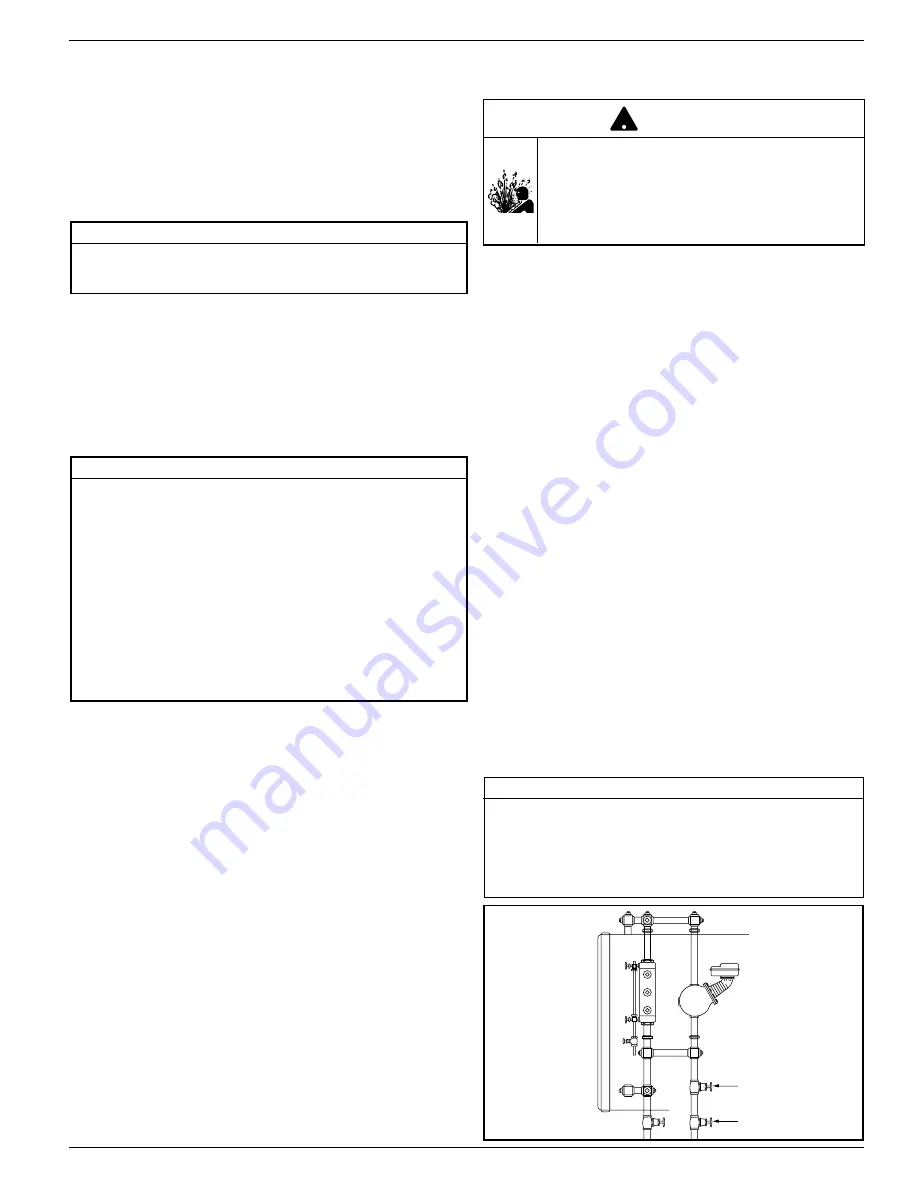
• Open upper valve (#1)
• Slowly open the lower valve (#2)
• Water in the sight glass should lower.
• As the water in the sight glass lowers, the
pump should turn on.
• As the water continues to lower in the sight
glass, the burner should turn off.
• Slowly close the lower valve (#2).
• Close the upper valve (#1)
• The water level in the sight glass should rise, first
turning on the burner and then turning off the pump.
NOTE:
On manual reset models, the reset button
will need to be pressed after the water level has
been restored before the burner will operate.
To prevent serious personal injury from steam
pipe blow down, connect a drain pipe to the
control opening to avoid exposure to steam
discharge.
Failure to follow this caution could cause
personal injury.
!
CAUTION
NOTE
More frequent blow-down may be necessary
due to dirty boiler water and/or local codes.
Valve #2
Valve #1
NOTE
The control may need to be inspected and
cleaned more frequently on systems where there
is the potential of excessive scale or sludge
build-up. This includes systems:
• With high raw water make-up
• With no condensate return
• With untreated boiler water
• Where significant changes have been
made to the boiler-water chemical
treatment process
• With oil in the boiler water
NOTE
If this sequence of operation does not occur as
described, immediately close all the valves, turn off the
boiler and correct the problem. Inspection/cleaning of
the float mechanism may be required to determine why
the control was not working properly. Retest the control
after the problem has been identified and corrected.


