


VIDEO DOORBELL SETUP
Step 3 Perform the in-app setup
• Log in to the iseeBell App.
• Select the plus sign to set up a new device. You will need
your Wi-Fi network name and password.
• As much as is possible, try to perform the setup near your
router.
• It may take a little while for iseeBell to upgrade to its latest
firmware version. Power cycle the device and try again if
setup fails multiple times.
Step 4 Run a test and set up the iseeBell Indoor Chime
VIDEO DOORBELL INSTALLATION
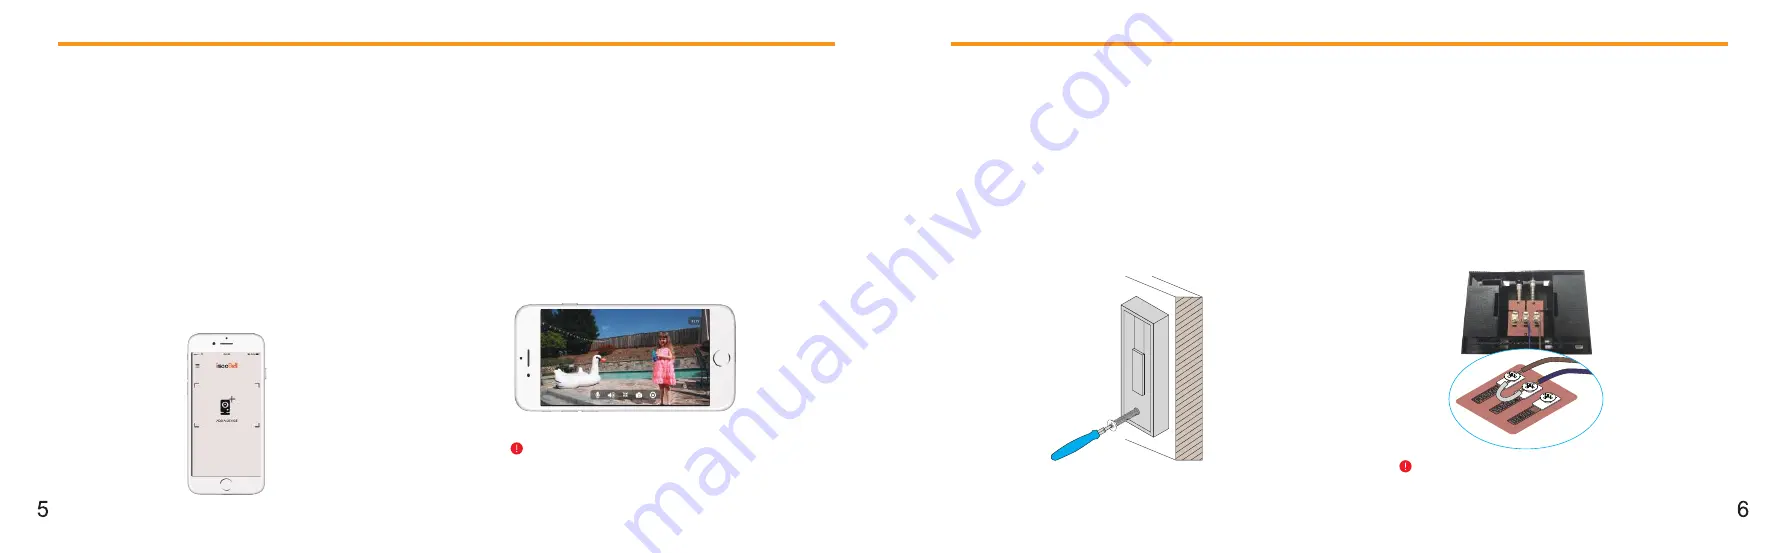
Step 5 Remove Your Existing Doorbell
• If you’re replacing a wired doorbell, turn off the power at the breaker first.
• Remove doorbell from the wall.
• Disconnect the wires.
• Plug in the Indoor Chime.
• After setup, run a test by touching the front button on your iseeBell
doorbell indoors near your router to view video.
• Then test the doorbell outside.
• If the outside doorbell video quality is not as good as the indoors, you
may need to move your router closer to the door, or buy a Wi-Fi extender.
It is a good time to pair the Indoor Chime with your
Video Doorbell while it is still indoors (refer to the
Indoor Chime Setup Guide).
Step 6 Jumper connect your mechanical chime
• Locate your old mechanical chime inside of your house.
Normally, it’s a white box on a wall.
• Take off the cover of your mechanical chime.
• Use the Jumper Wire provided to connect to “front” and ”trans” screws.
• Put the cover back.
This step is required if you have a mechanical chime.
For more info, go to
support.iseebell.com
and search “jumper”.


