background image


Quick User Guide 

 IRIScan

 Book 3 


3. Prepare the Scanner 

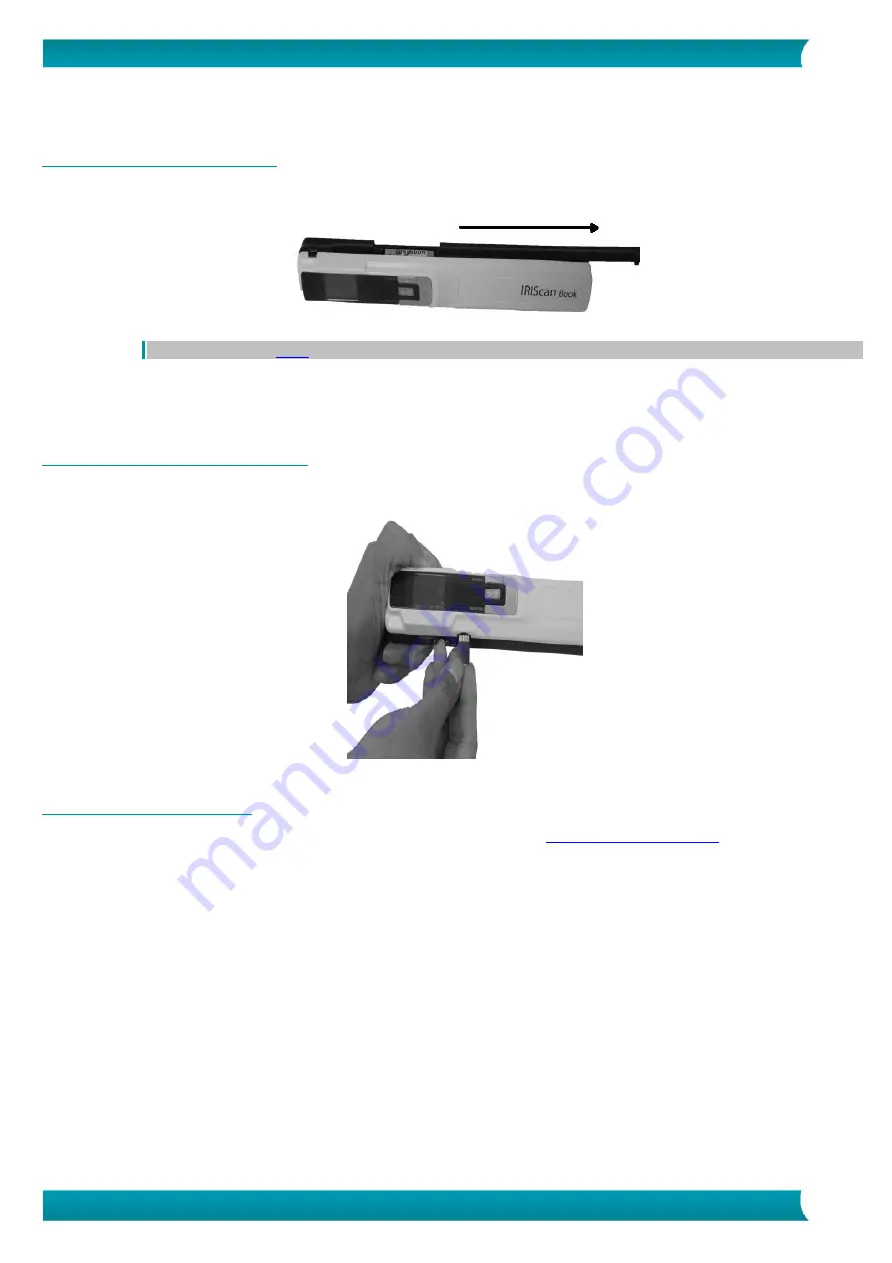
3.1 Insert the included batteries 

1.


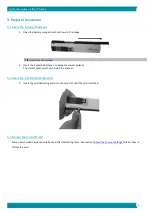
Open the battery compartment as shown in the image. 


TIP:

 watch our short 

video


2.


Insert the 3 alkaline batteries, minding the correct polarity. 
The correct polarity is shown inside the scanner. 


3.2 Insert the included microSD card 

1.


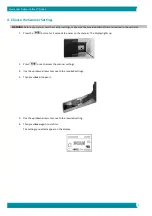
Insert the microSD card gently into the card slot until the card is latched. 


3.3 Format the microSD card 

Some new microSD cards can only be used after formatting them. See section 

Choose the Scanner Settings

 to learn how to 

format the card. 


Summary of Contents for IRIScan Book 3

Page 1: ...and installation 2 2 2 Software activation 3 3 Prepare the Scanner 4 3 1 Insert the included batteries 4 3 2 Insert the included microSD card 4 3 3 Format the microSD card 4 4 Choose the Scanner Settings 5 Overview of the Scanner Settings 6 5 Scan Documents 7 6 Transfer Scanned Documents to your Computer 9 6 1 Using the mini USB cable Windows and macOS 9 6 2 Using the microSD card adapter Windows ...

Page 2: ...an documents Instead think of it as an external storage device that is able to scan independently 2 Software installation 2 1 Registration and installation TIP Check the System Requirements to make sure your system is compatible 1 Go to http www irislink com start 2 Then click Start now 3 Complete the form and click Register now 4 Select the required Operating System 5 Click Download to download t...

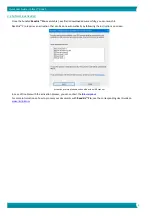
Page 3: ...ro requires an activation that can be done automatically by following the instructions on screen Activation process of a Readiris bundled with an IRIS scanner In case of troubles with the activation process you can contact the IRIS Helpdesk For more information on how to process your documents with Readiris Pro see the corresponding User Guide on www irislink com ...

Page 4: ...the 3 alkaline batteries minding the correct polarity The correct polarity is shown inside the scanner 3 2 Insert the included microSD card 1 Insert the microSD card gently into the card slot until the card is latched 3 3 Format the microSD card Some new microSD cards can only be used after formatting them See section Choose the Scanner Settings to learn how to format the card ...

Page 5: ...d in the card slot 1 Press the button for 2 seconds to power on the scanner The display lights up 2 Press once to access the scanner settings 3 Use the up down arrows to move to the required settings 4 Then press Scan to open it 5 Use the up down arrows to move to the required setting 6 Then press Scan again to confirm The settings you select appear on the display ...

Page 6: ...F image Encryption IRIScan Book can save images as encrypted files That way the files can only be read on a computer if you connect the scanner to it The files will not be readable directly on the microSD card By default files are not encrypted To encrypt file select and then Date and Time With this setting you can add date and time info to your scans The date and time are also shown on the displa...

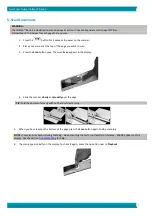
Page 7: ...3 Press the Scan button once The word Scan appears in the display 4 Slide the scanner slowly and steadily over the page TIP hold the document steady with one hand while scanning 5 When you have reached the bottom of the page press the Scan button again to stop scanning NOTE in case an error occurs during scanning when scanning too fast or not levelly for instance ERROR appears on the display See t...

Page 8: ...e PDF files 2 When you are scanning a small thick book it may occur that the margin is too narrow and you are not able to scan the entire text You can solve this problem by scanning the pages horizontally and rotating your images with Readiris Another solution is to place the scanner at the bottom of the page turn it upside down and scan upwards You will notice that the scanner s right margin is s...

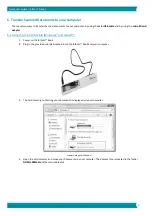
Page 9: ... adapter 6 1 Using the mini USB cable Windows and macOS 1 Power on the IRIScan Book 2 Plug in the provided mini USB cable in both the IRIScan Book and your computer 3 The card memory containing your documents is displayed on your computer Example image for Windows 4 Open the card memory and move your documents to your computer The documents are located in the folder DCIM 100Media of the removable ...

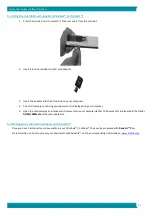
Page 10: ... memory containing your documents is displayed on your computer 5 Open the card memory and move your documents to your computer tablet The documents are located in the folder DCIM 100Media of the removable disk 6 3 Editing your scanned documents with Readiris Once you have transferred your documents to your Windows PC or Mac they can be processed with Readiris Pro For information on how to process...

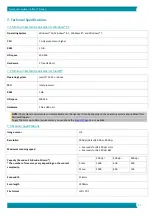
Page 11: ...The system requirements and compatibility can change over time depending on the operating system and updates from Microsoft Apple To get the most up to date requirements you can check the Support Page on our website 7 3 Scanner Specifications Image sensor CIS Resolution 300 dpi default 600 pi 900 dpi Maximum scanning speed 3 seconds for A4 300 dpi color 2 seconds for A4 300 dpi BW Capacity based o...

Page 12: ... User Guide IRIScan Book 3 Display panel 1 4 TFT LCD USB Port USB 2 0 high speed External memory MicroSD card TF Card up to 32 GB Supported batteries 3 AAA alkaline or NiMh rechargeable batteries Or USB powered ...

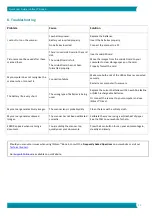
Page 13: ...urely Restart your computer if necessary The battery life is very short The wrong type of batteries is being used Replace the current batteries with 3 new AAA alkaline or NiMh rechargeable batteries Or connect the scanner to your computer and use IRIScan Direct My scanner generates blurry images The scanner lens is probably dirty Clean the lens with a soft dry cloth My scanner generates skewed ima...

Page 14: ... and or other countries Microsoft and Windows are registered trademarks of Microsoft Corporation All other products mentioned in this documentation are trademarks or registered trademarks of their respective owners Warranty I R I S makes no warranty of any kind with regard to this material including but not limited to the implied warranties of fitness for a particular purpose I R I S shall not be ...

Page 15: ...ay void the user s authority to operate this equipment This equipment has been tested and found to comply with the limits for a Class B digital device pursuant to Part 15 of the FCC Rules These limits are designed to provide reasonable protection against harmful interference in a residential installation This equipment generates uses and can radiate radio frequency energy and if not installed and ...

Page 16: ...n not be disposed of with your other household waste Instead it should be sent to appropriate facilities for recovery and recycling in an effort to protect human health and the environment Fore more information about where you can drop off your waste equipment for recycling please contact your local city office your household waste disposal service or the shop where you purchased the product ...

Reviews: