


22
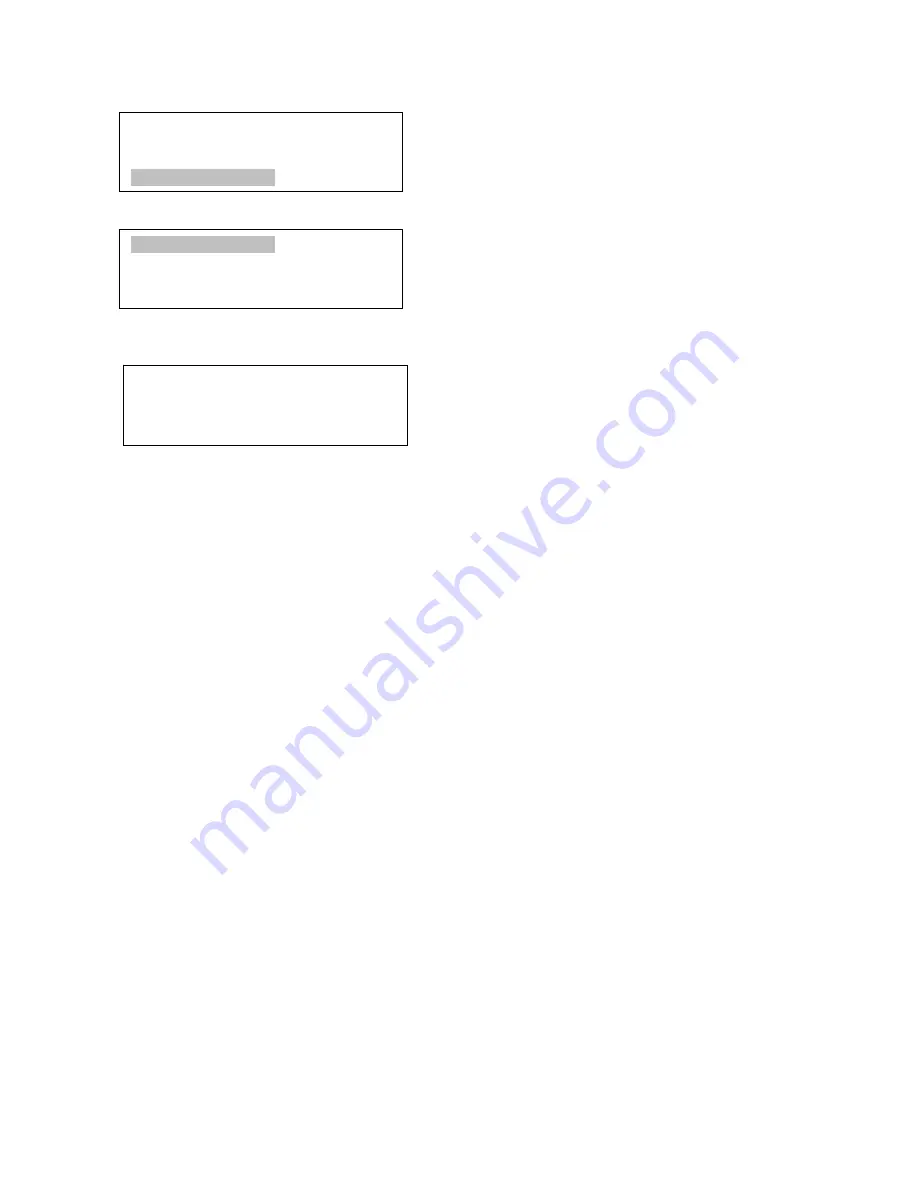
To set user objects, press MENU button, from the main menu, scroll down and select “
Set User
Objects
”
Press ENTER to bring up
Set User Objects
screen.
Select “
Add a New Record
” from Set User Objects screen. A screen will display asking to
Enter
R.A. DEC
:
You may enter the R.A. and DEC coordinates of the star you want to watch, and press ENTER. A
confirmation screen will show. Press ENTER to confirm storing your object under assigned user object
number, or press BACK button to cancel it.
A more useful application of this function is to store your favorite viewing objects before heading to
the filed. When “
Add a New Record
” screen shows, press the MENU button, it brings up the star catalogs
that you can select the star from. Follow the screen to add your favorite objects. Press BACK button to go
back one level.
Press BACK button few times to go back to
Set User Objects.
You may review the records or
delete the ones you don’t want it anymore. Press BACK button to finish the operation. Now you can slew to
your favorite stars from
User Objects
catalog using “
Select and Slew
.”
5.7. To Zero Position
This moves your telescope to its Zero Position (refer to
Figure 13
). When the power is turned on,
the mount assumes the Zero Position. This is its reference point for all other objects being tracked.
Electric Focuser
Set Up Controller
Align
Set User Objects
Add a New Record
Browse Records
Delete One Record
Delete All Records
Enter R.A. DEC
R.A.: 00h00m00s
DEC: +00d00m00s
Summary of Contents for SmartEQ
Page 33: ...33 3 Select Control panel in Telescope pull down manual ...
Page 35: ...35 ...


