21
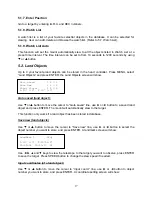
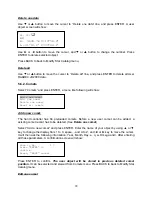
Add a new object:
Use
▼
or
▲
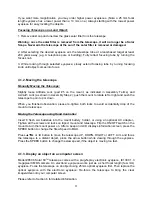
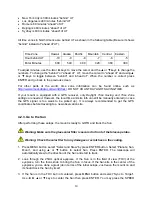
button to move the cursor to “Add a new object” line, and press ENTER. Enter the
name of your object by using
▲
or
▼
key to change the display from 1 to 9, space, - and A to
Z, and
◄
or
►
key to move the cursor. Press ENTER when you are done. A screen will display
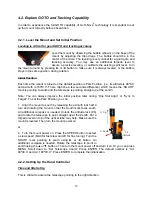
to ask you to enter R.A. and DEC. numbers:
Use
◄
or
►
key to move the cursor and
▲
or
▼
key to change the numbers of your object. RA
ranges from 0 hour to 24 hour and DEC from -90 degree to +90 degree. Press ENTER when it
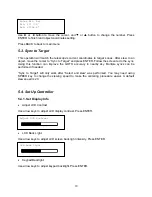
is done. A confirmation screen will show:
Press ENTER to confirm. The user object will be stored in the hand controller in sequence. Up
to 256 objects can be added. Press BACK to back to Modify Star Catalog menu.
Edit one data
Use
▼
or
▲
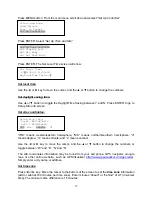
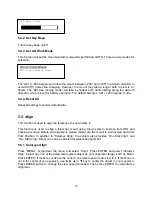
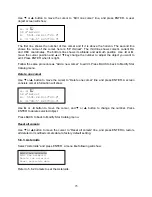
button to move the cursor to “Edit one data” line, and press ENTER. A user object
screen will show:
The first line shows the user object number and if it is above the horizon. The second line shows
the name of the user object, here is “BX”. The third line shows target’s current RA and DEC
coordinates. The bottom line shows object’s altitude and azimuth position. Use
◄
or
►
move
the cursor position and
▲
or
▼
key change the number to adjust the object you want to edit.
Press ENTER when it is right.
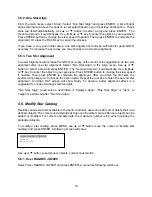
Follow the same procedure as “Add a new object” to edit it. Press BACK to back to Modify Star
Catalog menu.
Save to No.
1 ?
Press “ENTER” to
Confirm
Press, “BACK” cancel
Enetr R.A. DEC
RA:
00h00.0m
DEC: +00d00.0m
No. 001
BX
R: 4h38.7m D:19º56.8’
A -31º10.2’ Z303º44.1’
Add a new object
Edit one data
Delete one data
Delete all

