8
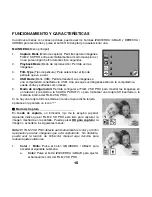
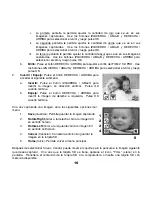
amount of red seen in your captured images. Use the LEFT / DOWN and
RIGHT / UP buttons to select the value, then press OK.
ii.
The second screen will let you adjust the amount of green seen in your
captured images. Use the LEFT / DOWN and RIGHT / UP buttons to
select the value, then press OK.
iii.
The third screen will let you adjust the amount of blue seen in your
captured images. Use the LEFT / DOWN and RIGHT / UP buttons to
select the value, then press OK.
b.
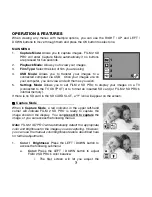
Brightness:
Press the RIGHT / UP button to adjust FILM 2 SD PRO's brightness.
Use the LEFT / DOWN and RIGHT / UP buttons to
select the value, then press OK.
2.
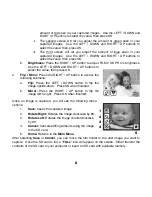
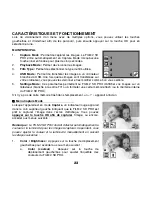
Flip / Mirror:
Press the RIGHT / UP button to access the
following submenu:
a.
Flip:
Press the LEFT / DOWN button to flip the
image upside-down. Press OK when finished.
b.
Mirror:
Press the RIGHT / UP button to flip the
image left-to-right. Press OK when finished.
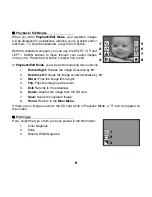
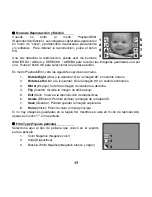
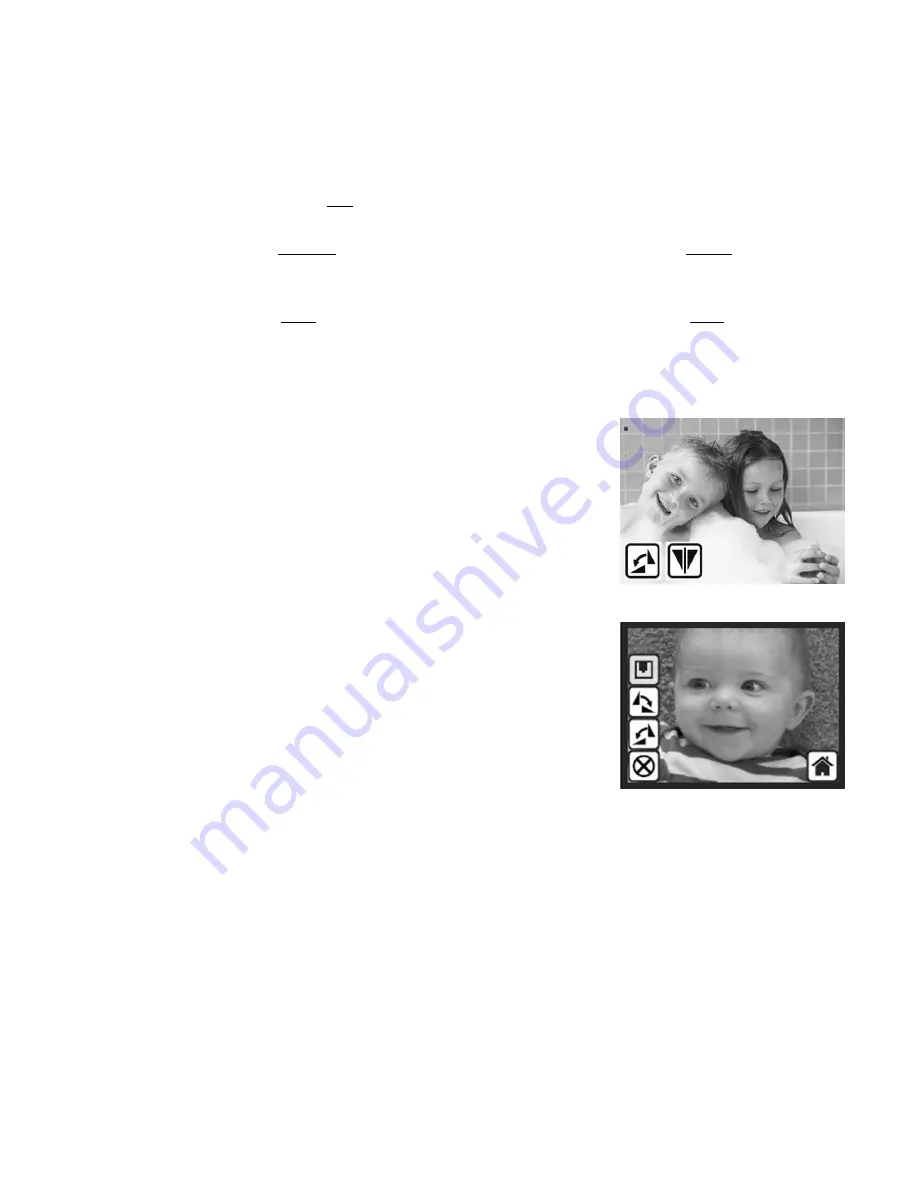
Once an image is captured, you will see the following menu
options:
1.
Save:
Saves the captured image.
2.
Rotate Right:
Rotates the image clockwise by 90
°
.
3.
Rotate Left:
Rotates the image counterclockwise
by 90
°
.
4.
Cancel:
Cancels editing without saving the image
to the SD card.
5.
Home:
Returns to the
Main Menu
.
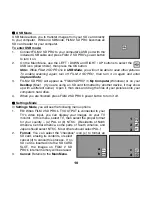
After selecting
Save
or
Cancel
, you can move the film holder to the next image you want to
capture. Once the SD card is full, a "
FULL
" icon will appear on the screen. Either transfer the
contents of the SD card to your computer or insert an SD card with available memory.
a
b
1
2
3
4
5
Summary of Contents for FILM 2 SD PRO
Page 2: ......


