background image

4

11. Menu Description

■ To use Virtual ODD, iso file must be located in the “_iso” folder of device.

■ Enter into or free from menu if Jog switch is pressed for 3seconds.

■ If 

Menu-Exit

 button is pressed on Menu, it moves to 1 upper layer.

   - Except 

on 

Menu, 

Press and hold for 3Sec and it will do safe removal

.

■ External HDD or CD-ROM may not be recognized according to current mode states.
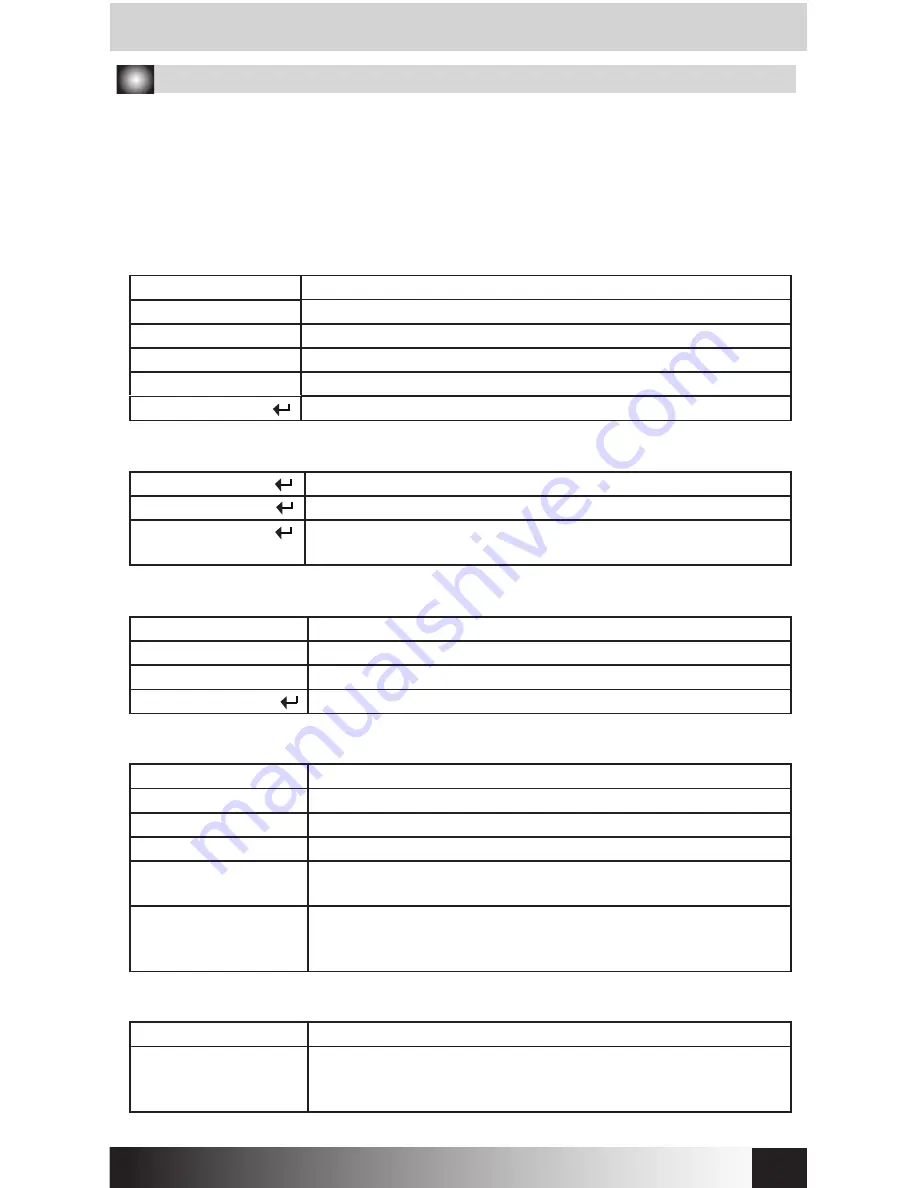
(1) Main Menu

Mode Select           >

Device Mode setting

Setting                    > Setting LCD brightness or Sleep Mode time
Information             > Check HDD information and firmware information
USB Connect         > Setting USB connection
Advanced               > Setting Virtual HDD mounting
Exit

Menu Exit

(2) Mode Select (“ν”is shown in selected mode)

Both of external HDD and CD-ROM are recognized

C

D Mode

External


CD-ROM is recognized. (Useful when OS installing)

HDD Mode

External HDD is recognized. 

(Useful when connecting other devices except PC)

(3) Setting

LCD Bright               > AdjustLCD backlight brightness
Idle Bright                > Adjust LCD backlight brightness in Sleep Mode

Standby time           >

Sleep Mode time setting

Load Default  

Return to default value

(4) Information

S.M.A.R.T               > Hard disk SMART information
HDD Model             > Display Hard disk model name
HDD Serial              > Display Hard disk serial number
Firmware Ver.          > Display device firmware version
USB Speed             > Display current PC connection 

(USB2.0: Hi-speed, USB3.0: Super-speed)

USB Input Volt         > Display the lowest 

VBUS Voltage

 (

V

) from USB port after 

connecting with PC

Display current 

VBUS Voltage

 (

V

)

(5) S.M.A.R.T

HDD Temp.             > Display HDD temperature
HDD Health             > Display HDD health info (Good, Warning, Bad)

- If Warning or Bad is shown, please check HDD carefully after 

backup dat

a

.

Dual Mode

iodd

.

co.kr

Summary of Contents for IODD2531

Page 1: ...Quick Guide IODD 2531 www iodd co kr Ver 1 2 Please read this Manual before use ...

Page 2: ...t It may not be covered by Warranty It may have problem if used near magnetic objects Exterior damage during use is not covered by Warranty Do not turn on off PC while device is connected to PC It may cause device disorder or error CPU Intel Pentium 350 MHz or above compatible CPU OS Windows 2000 XP vista 7 8 10 Linux 2 6 or later Mac OS X 10 0 or later Case Material Aluminum Alloy Acryl Poly Carb...

Page 3: ...2 iodd co kr 5 Mounting a 2 5 HDD 2 5 HDD 2 5 HDD 1 3 2 4 6 Names of Parts Access LED LCD Display Jog Switch USB3 0 Port Serial Number Menu Exit ...

Page 4: ...rite Protect is off D D 7 Connecting to PC Connect device to PC s USB3 0 port using enclosed USB3 0 cable When disconnecting please use Hardware Safety Removal on tray 8 Display and Icon List display Menu display Mode Select Setting Write Protected Read Write Enabled Sleep Mode Z Z 10 Using Jog Switch To previous file To next file PC connection status USB2 0 or USB3 0 iodd co kr ...

Page 5: ...ized CD Mode External CD ROM is recognized Useful when OS installing HDD Mode External HDD is recognized Useful when connecting other devices except PC 3 Setting LCD Bright AdjustLCD backlight brightness Idle Bright Adjust LCD backlight brightness in Sleep Mode Standby time Sleep Mode time setting Load Default Return to default value 4 Information S M A R T Hard disk SMART information HDD Model Di...

Page 6: ...AT32 and EXFAT 3 Make _iso folder in root dir on first partition 4 Copy iso or folder tree to the _iso folder 5 Do safely removal essential 6 Replug USB 13 Error Messages Err or gErr xxx or others Try in the following order require in every step 1 Press and hold the Jog Switch and connect USB 2 Check Drive 3 Make new _ISO folder after rename old _ISO to other 4 Format HDD 5 Retry Firmware Update D...

Reviews: