2
3) Press “SETUP” button to edit the static color when the display board shows
, then press “UP” or “DOWN”
button to select the fourteen built-in static colors (1.-r; 2.-rg; 3.-g; 4.-gb; 5.-b; 6.-rb; 7.rgb; 8.-w; 9.-FL; 10.rw;
11.gw; 12.bw; 13.yw; 14.uw), Press “SETUP” button to adjust the brightness of red, green, blue and white through
“UP” or “DOWN” button when it shows 9.-FL. Press “SETUP” button again could set up the strobe “FSxx” for the
color that is chose, and press “UP” or “DOWN” button to adjust the strobe speed from
~
.
4) When the display board shows
~
, the first time to press “SETUP” button, it will show “SP.XX”, the
program running speed could be adjusted through UP or DOWN button from
~
(SP100).The second time
to press SETUP button, it will show “FSxx”, the strobe speed could be adjusted through “UP” or “DOWN” button
from
~
.
2. Auto Running Mode
Press “MODE” button to enter into Auto Running mode “
”, the fixture will run the built-in program from
~
automatically. The running and strobe speed of each program from
~
could be set up, and
the preset effect will run sequentially under the mode of auto running.
3. DMX Mode
1)
Press “MODE” button to enter into the DMX Mode “d. ×××”.
2)
Press “UP” or “DOWN” button to set the DMX address
~
.
3)
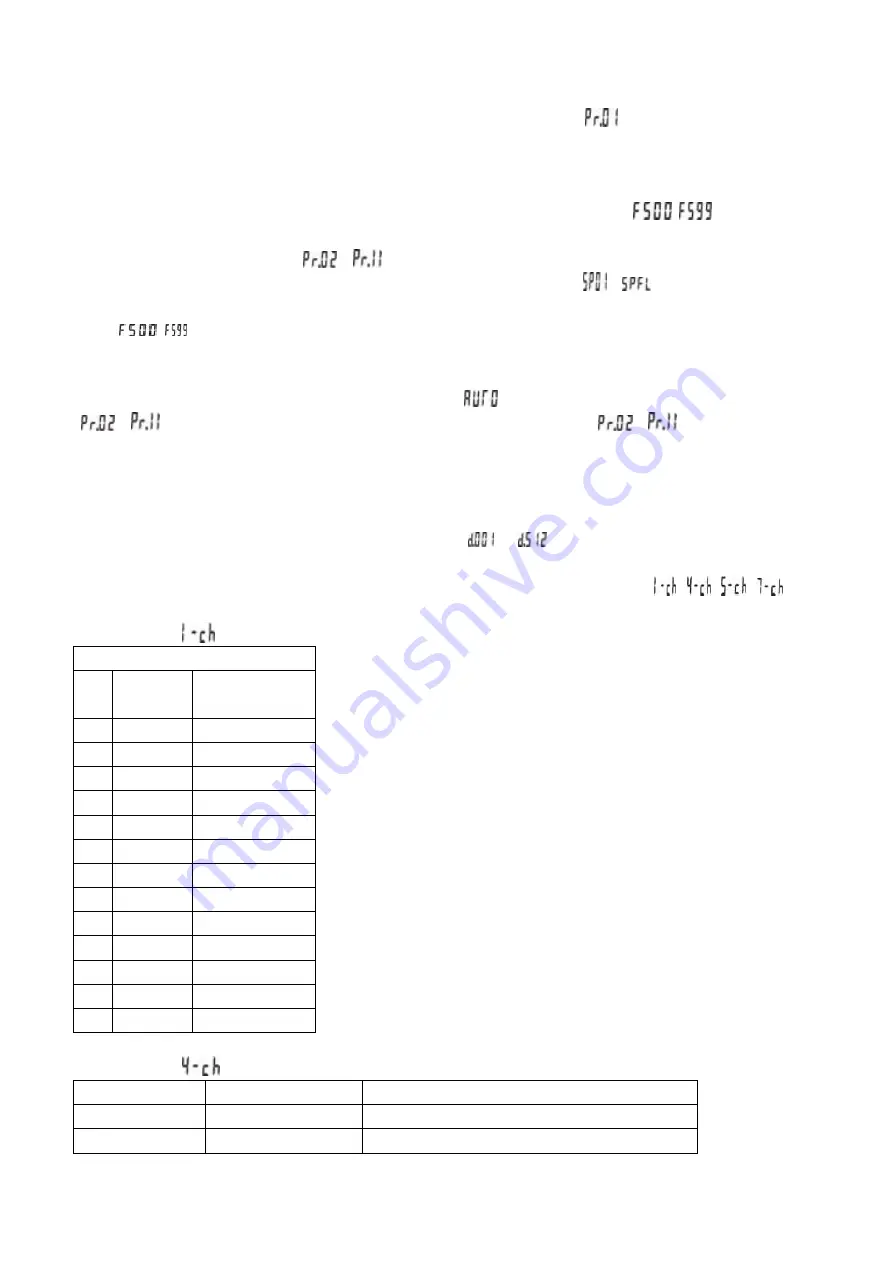
Press “SETUP” button to enter into DMX working mode menu X-ch.
4)
Press “UP” or “DOWN” button to set the DMX working mode, there are four modes:
,
,
,
DMX Mode 1:
CH1
NO
.
DMX
value
FUNCTION
1
0
No use
2
1-22
Red
3
23-45
Green
4
46-68
Blue
5
69-91
Cyan
6
92-114
Yellow
7
115-137
Orange
8
138-160
Pink
9
161-183
Purple
10
184-206
Dark blue
11
207-229
Light green
12
230-252
White
13
253-255
Warm white
DMX Mode 2:
CHANNEL
VALUE
FUNCTION
CH1
0-255
RED
CH2
0-255
GREEN
Summary of Contents for LEDARCH248
Page 1: ......


