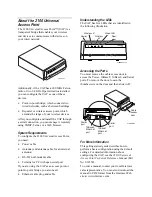
Performing a Basic
Configuration
Follow these steps to perform a basic
configuration that uses the default settings.
1.
Use the RS-232 null-modem cable to
connect the serial port on the UAP to a
serial port on your PC.
2.
Use a communications program such as
HyperTerminal to configure the serial
communications parameters on your PC to:
9600
baud
8
data bits
no
parity
1
stop bit
no
flow control
3.
Connect the power cable to the UAP and
then to a power source.
4.
Press Enter when the message “
Starting
system
”
appears on the screen. The logon
screen appears.
5.
Type the default password In
termec
and
press Enter. The Configuration menu
appears.
6.
Use the Quick Start menu to configure these
parameters:
IP Address
IP Subnet Mask
LAN ID (Domain)
You also need to configure IP Router if the
UAP will communicate with devices on
another subnetwork.
7.
Configure the radio parameters.
•
If you are using 2.4 GHz OpenAir
radios, configure these parameters:
Channel
Subchannel
Security ID
•
If you are using 900 MHz Falcon radios,
configure Mode-Channel.
•
If you are using IEEE 802.11 radios,
configure these parameters:
Network name
Frequency
•
If you are using UHF radios in the
United States and you are required to
transmit a call sign, configure Call Sign.
8.
Save the configuration.
9.
Disconnect the null-modem and power
cables.
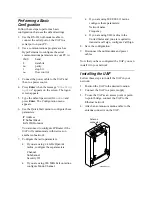
Now that you have configured the UAP, you can
install it in your network.
Installing the UAP
Follow these steps to install the UAP in your
network.
1.
Position the UAP in the desired location.
2.
Connect the UAP to a power supply.
3.
To use the UAP as an access point or point-
to-point bridge, connect the UAP to the
Ethernet network.
4.
Attach an antenna or antenna cable to the
antenna connector on the UAP.
2100G005.eps
Antenna
connector


