


User Manual
9 EN
OSD configuration
Configure the monitor using the onscreen display (OSD) menus and
submenus. Changes are immediately saved and implemented. The
menu screen timeouts after 10 seconds and returns to live mode.
To change a monitor parameter:
1. Press
the
MENU
button on the front panel to obtain the OSD menu
screen and toolbar.
2. Press the + or - buttons to scroll across the menu toolbar. The
settings are: Color, Image, OSD, Source and Exit. See
“Description of the menus” below for further information.
3. Press the up
or down
buttons to scroll up or down the list
of options in the selected submenu.
4. Press + or - buttons to increase or decrease the value of the OSD
menu option selected.
Note
: To quit a submenu and return to the menu toolbar, press the
SOU/AOU
button.
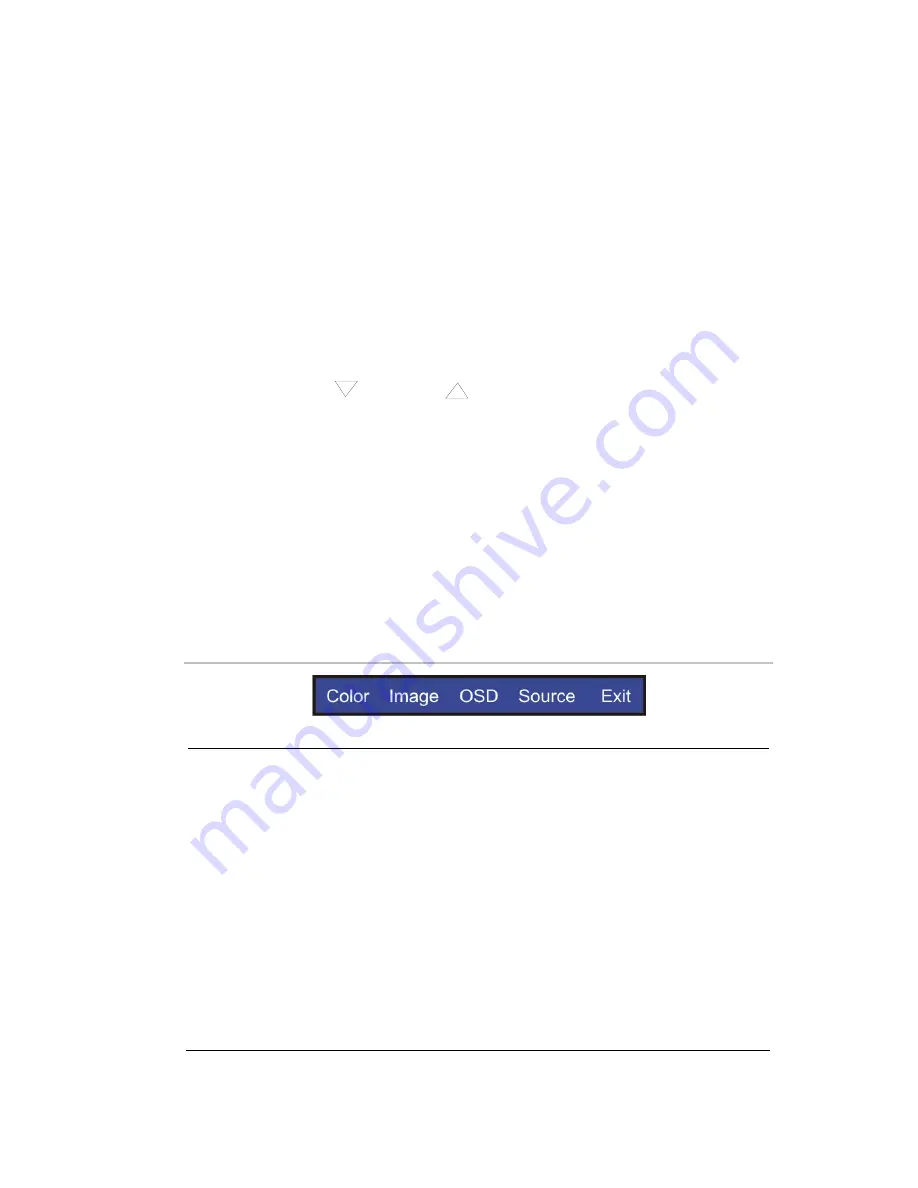
Description of the menus
Figure 3: Menu toolbar
Color
Auto Color:
Automatic color adjustment (Only for RD
engineer mode.)
Contrast:
Adjusts light and dark level of the TFT
display. Setting values range from 0 to 100. Default is
50.
Brightness:
Adjust shade and brightness level of TFT
display. Setting values range from 0 to 100. Default is
50.
Color Temp
: Adjusts the color temperature.
9300K
: Selects cold color temperature (White
and Blue color bias).


