background image


P/N 1073222-EN 

• REV 

• ISS 

01FEB19 


5

 / 

5


Figure 9: Login screen 


3. 

After typing


the password, the main screen appears as


shown in


Figure

 10 

below

.  

Figure 10: Main web screen of the industrial managed switch 


4

.  The 

switch menu on the left 

side 

of the web

 page permits 

access all the 

functions

 and 

status


provided by 

the 

industrial managed switch

.  


Refer to the 

User 

Manual for further information about using 

the 

web


management interface.


Note

For security purposes, change and memorize the new 

password after this first setup.


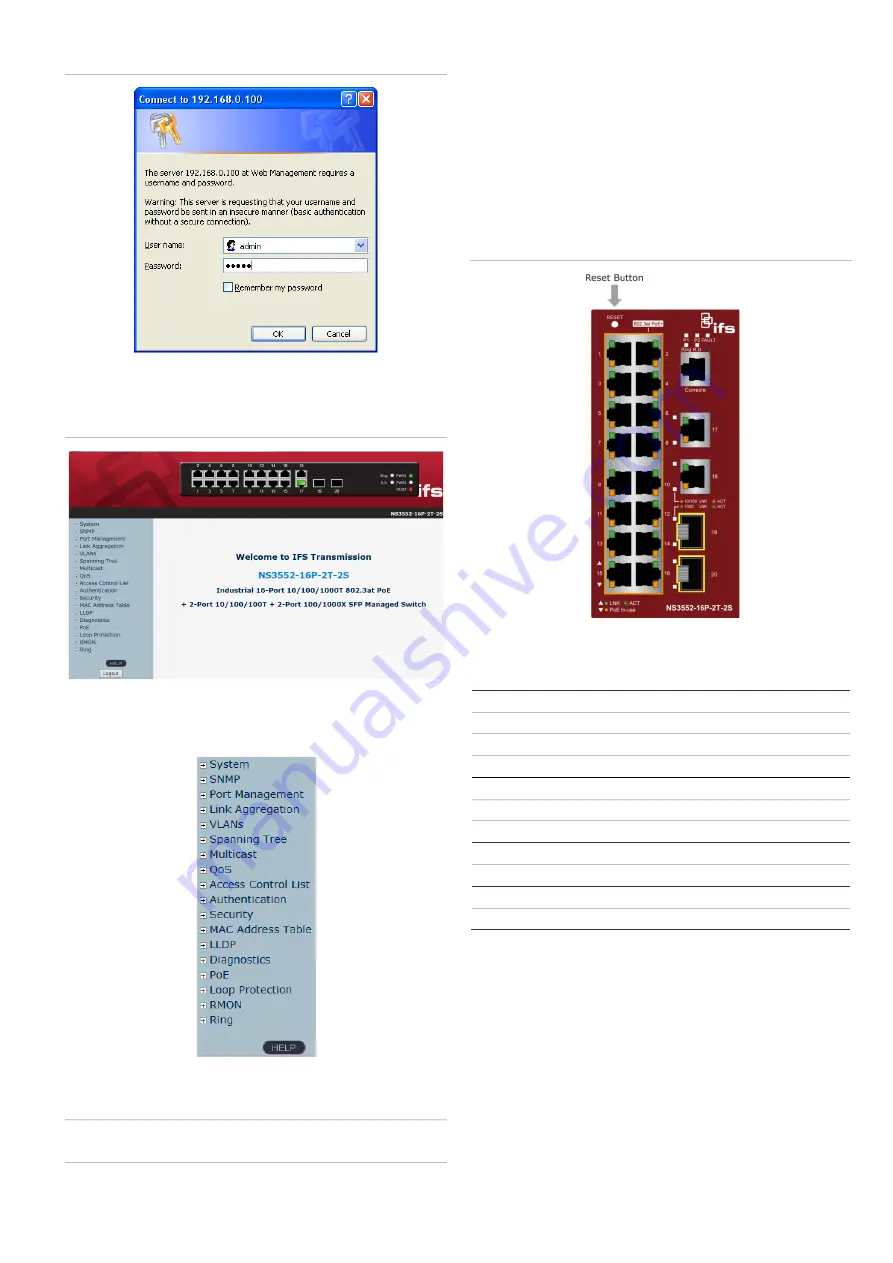
Resetting the switch to default 

To reset the IP address to the default IP 

address


“192.168.0.100” and th

e use

password to factory default mode 

(

default password is

 “admin”

), press the hardware reset button 

on 

the front panel for about 

10 

seconds. After the device is 

rebooted, log

 in to the management 

web


interface within the 

same subnet of 192.168.0.xx

 and 

default password. 

Note that 

all the previous setups 

are erased 

after the factory default 

reset.  

Figure 11: Industrial managed switch reset button 


Contact information 

North America 

+1 855.286.8889 


[email protected]


www.interlogix.com/support


Latin America 

+1 

561

-998-

6114


[email protected]


Europe, Middle East, and Africa 

Select 

Contact Us


at www.firesecurityproducts.

com 

Australia 

[email protected]


Summary of Contents for NS3552-16P-2T-2S

Page 1: ...6P 2T 2S 19 2 If any of these are missing or damaged contact your dealer immediately If possible retain the carton including the original packing materials for repacking the product in case there is a need to return it to us for repair Requirements The industrial managed switch provides a remote login interface for management purposes The following equipment is necessary for further management Wor...

Page 2: ... in This is not a hot swappable switch Hot swapping this device will result in damage DIN rail mounting installation To replace the wall mount application with DIN rail application on industrial gigabit Ethernet switch refer to the following figures to screw the DIN rail on the industrial gigabit Ethernet switch To hang the industrial gigabit Ethernet switch follow the steps below 1 Screw the DIN ...

Page 3: ...tart Programs Accessories Hyper Terminal 2 When the following screen appears ensure that the COM port is configured as shown below Click OK when finished with configuration 3 Log in to the console After the terminal has been connected to the device power on the industrial managed switch The terminal displays running testing procedures When the following dialog box in Figure 4 below appears type th...

Page 4: ...the new IP address Note If unfamiliar with the console command or the related parameter type help in the console to obtain the Help description Starting web management The section describes how to start up the web management function for the industrial managed switch Note that the industrial managed switch is configured through an Ethernet connection Ensure that the manager computer is set to the ...

Page 5: ...et the IP address to the default IP address 192 168 0 100 and the user password to factory default mode default password is admin press the hardware reset button on the front panel for about 10 seconds After the device is rebooted log in to the management web interface within the same subnet of 192 168 0 xx and default password Note that all the previous setups are erased after the factory default...

Reviews: